

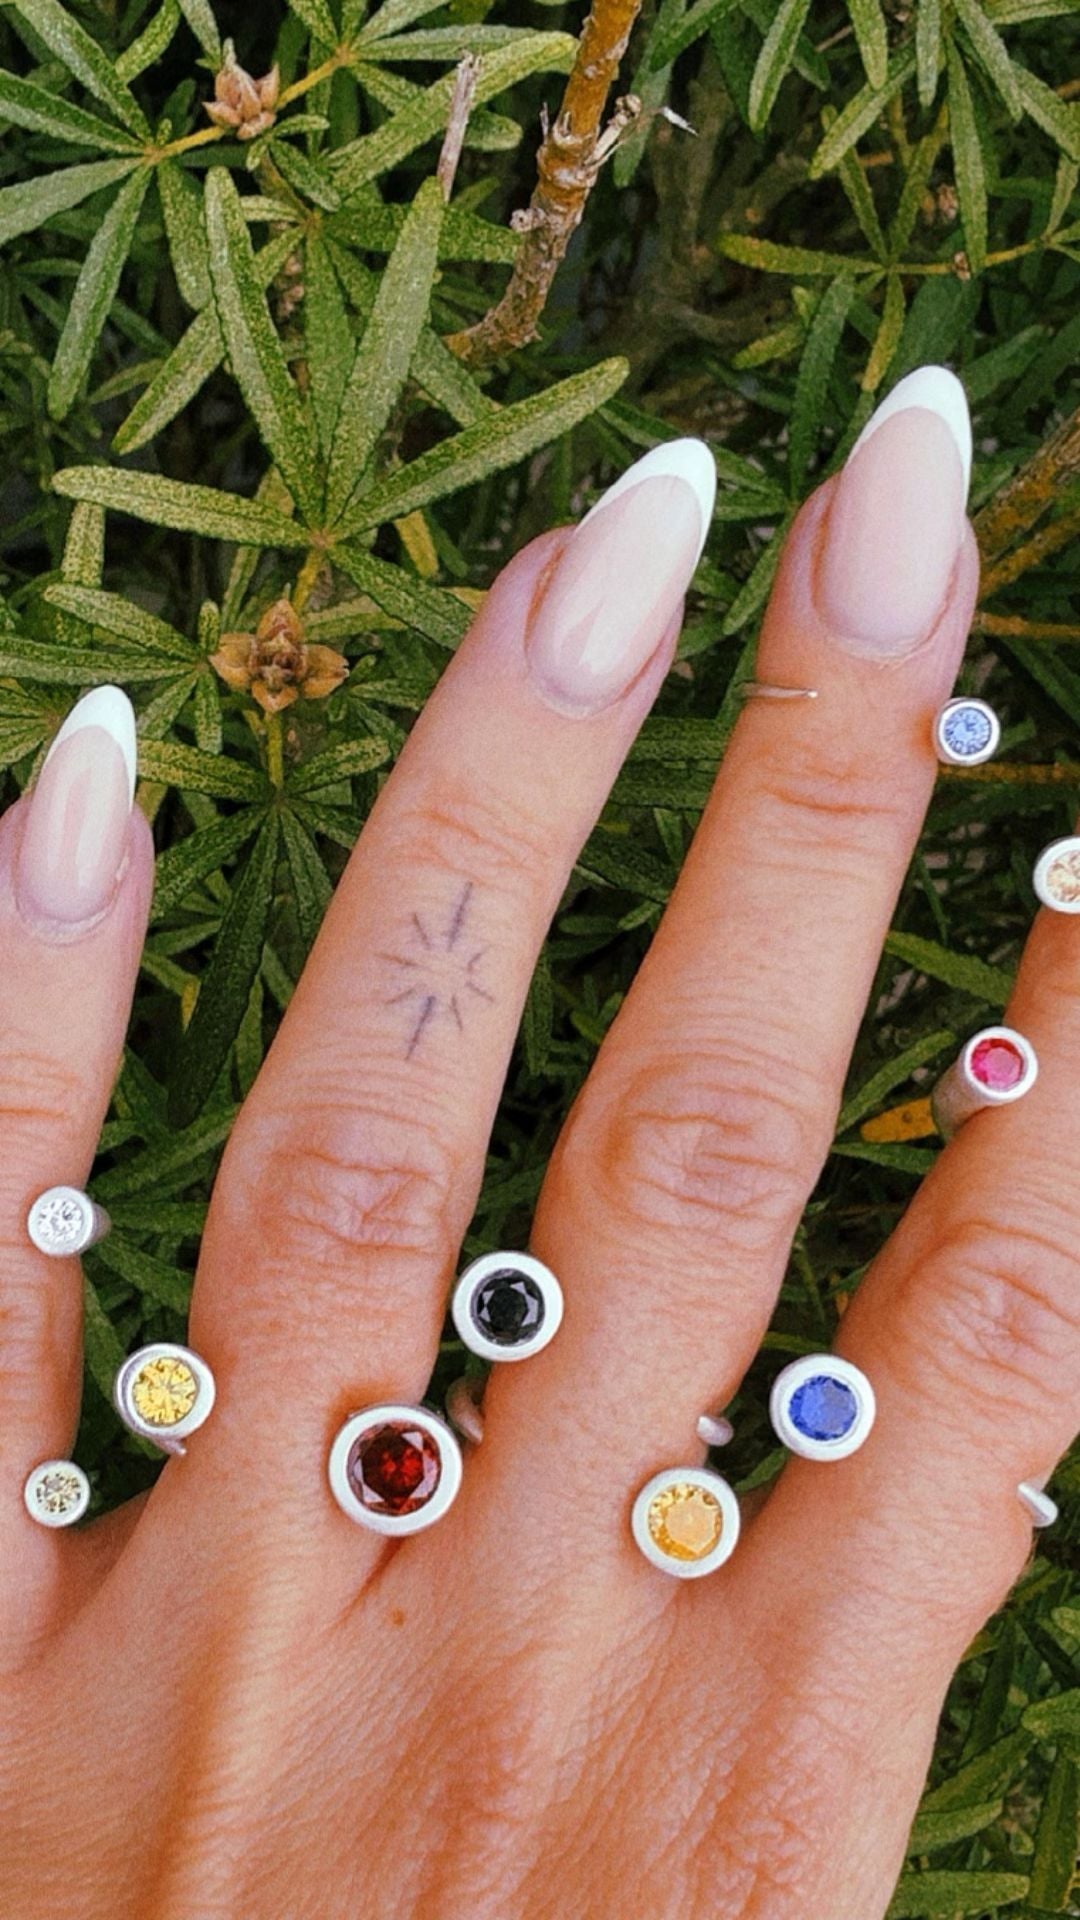
Once you have made a few pieces, the question changes from how to make them to where to put them. A good diy jewelry display keeps silver from tangling, scratching and tarnishing, and it makes a table of handmade work look like a collection rather than a pile. The useful part is that almost none of it needs buying.
What a diy jewelry display actually needs to do
Three jobs. It has to hold pieces apart so chains do not knot and rings do not scratch each other. It has to raise things to different heights so the eye has somewhere to go. And it has to stay out of the way visually, because a busy display competes with the work rather than showing it. Neutral colours, matte surfaces and simple shapes do all three at once.
Displays you can make this weekend
- A wrapped block. A block of wood or a stack of books wrapped in linen makes an instant riser. Two or three at different heights is all most tables need.
- A cork board for earrings. Cork or dense felt in a plain frame holds studs and hooks without them sliding around.
- A branch stand. A dry branch set into a small pot of plaster holds a surprising number of chains.
- A ring roll. A strip of felt rolled tight and tied holds rings upright in a line, which is far easier to browse than a flat tray.
- A stone or tile. A single slate tile or pale stone under one piece gives it importance without any construction at all.
Displays for markets and fairs
At a market the display has to survive being packed, carried and rebuilt, sometimes in the wind. That rules out anything tall and light. Keep risers low and heavy, use one material throughout so the table reads as a whole, and leave more empty space than feels comfortable. A crowded table makes individual pieces look cheaper than they are. It also helps to have one piece people are allowed to pick up, because handmade silver sells far better once someone has felt the weight of it.
Photographing against your display
The same setup that shows work on a table usually photographs well too, provided the background is plain and the light comes from the side rather than the front. Fine silver is highly reflective, so it picks up whatever surrounds it. A sheet of white paper curved behind the piece will bounce light back into it and soften the shadows. Our post on how to use silver clay covers the finishing stages that make the biggest difference on camera, since a well-burnished surface photographs far better than a rough one.
Keeping silver bright while it is on show
Open display is the fastest way to tarnish silver, because tarnish is a reaction to the air rather than a sign of dirt. If pieces live on a stand rather than in a box, expect to polish them more often. For anything you are not actively showing, a closed drawer or a small bag is better. A soft cloth and a few seconds of rubbing brings fine silver back without any chemicals, and 99.9% fine silver tarnishes more slowly than sterling does, which is one of the quieter advantages of working in silver clay.
Start with one riser
You do not need a full set. Make one riser, live with it for a week, and add the next only when you can say what is missing. Displays built that way tend to suit the work; displays bought in one go tend to suit the shop that sold them.
If you are still building the collection that needs displaying, our silver clay starter kit includes the clay, torch, tools, cubic zirconia stones and instructions, and the silver clay is available on its own once you are past the first few pieces. We ship worldwide with duties covered.
