

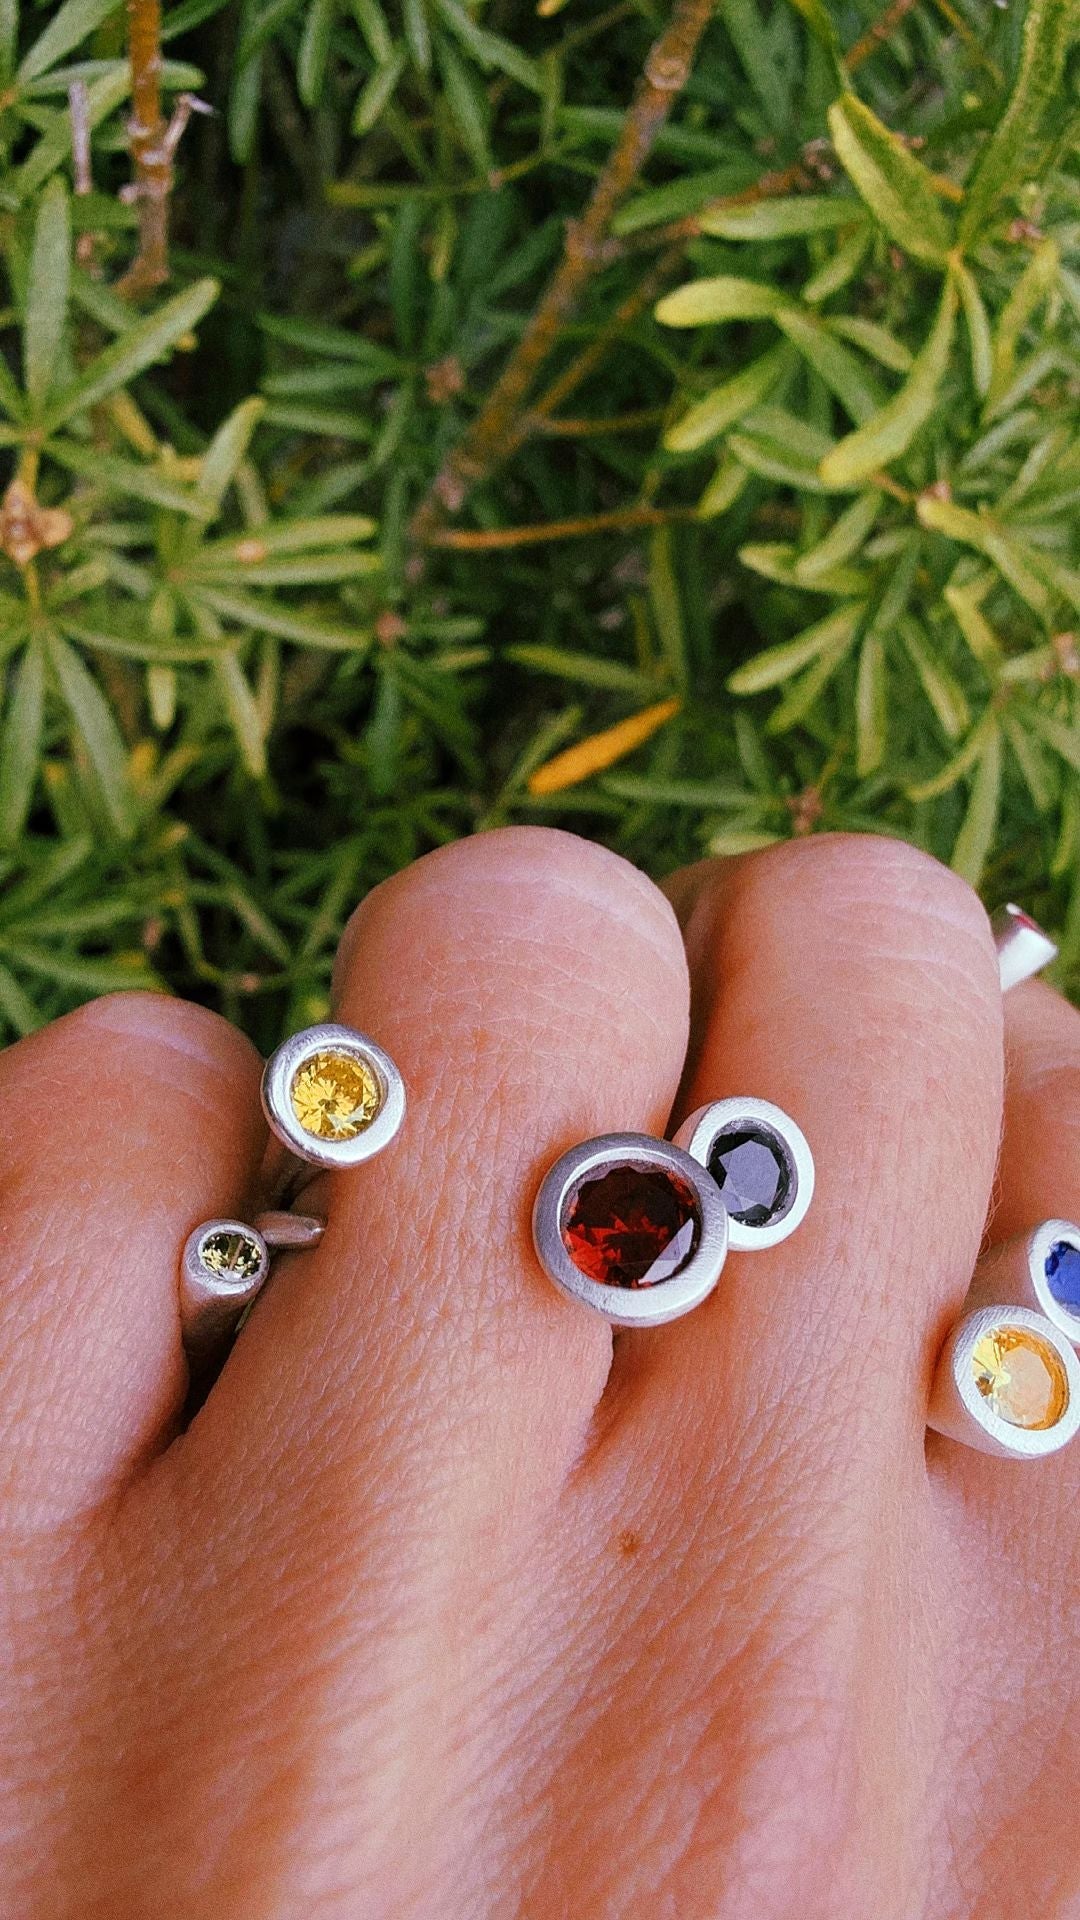
You fire your first piece, brush it up, and it looks wonderful in your hand. Then you photograph it and the picture shows a grey blob. This is the most common frustration in jewelry photography, and it has very little to do with your camera. Silver is a mirror. A photograph of silver is really a photograph of whatever the silver is reflecting, so the job is not to light the metal but to give it something worth reflecting.
Jewelry photography is lighting, not gear
A phone from the last five years has more than enough resolution for a piece the size of a thumbnail. What it cannot do is invent light. Work next to a window on an overcast day, or on the shaded side of a bright one. Direct sun gives you hard white blowouts on every curve and deep black shadows in the recesses. Soft, broad light gives you a gentle gradient across the surface, which is what reads as "silver" to the eye.
If your only window faces the sun, tape a sheet of baking paper or a thin white pillowcase over it. That single change usually does more than any lens, ring light or editing preset.
Give the metal something to reflect
Set your piece on a plain surface and put a large white card just out of frame, angled towards it. The card becomes a soft white shape in the reflection and instantly makes the silver look polished rather than grey. A second card on the opposite side lifts the shadow. If your piece looks flat, the answer is almost always another card, not more light.
A small piece of black card does the reverse. Placed close, it puts a dark band into the reflection, and that contrast between light and dark is what makes an edge look crisp. Photographers call these reflectors and flags, but a cereal box painted black works just as well.
Backgrounds that do not fight the piece
Handmade silver has texture, and texture needs quiet around it. Plain paper, a piece of unglazed tile, linen, or a slab of grey card all work. Avoid busy patterns and avoid pure white unless you are shooting for a marketplace that requires it, because a white background often tricks the camera into underexposing the metal.
Do also shoot at least one photo on a hand or neck. Buyers cannot judge scale from a piece floating on paper, and scale matters a great deal with silver clay, since your work shrinks by roughly 8-10% during firing. A worn shot answers the size question before anyone has to ask it.
Camera settings worth changing
Three adjustments cover most of it. First, tap to focus on the part of the piece you most want sharp, usually a stone or a stamped detail. Second, drag the exposure slider down slightly - silver almost always photographs a stop too bright, and pulling it back recovers the highlights. Third, turn the flash off and leave it off. On-camera flash produces a hard white dot in the middle of every polished surface.
If your phone has a macro mode, use it, but check the result. Many macro modes switch to a lower-quality wide lens up close. Backing off slightly and cropping in often gives a cleaner file.
Editing without overcooking it
Keep it to three moves: straighten, crop, and a small lift in contrast. Resist the temptation to raise saturation or clarity. Over-sharpened silver looks like grey plastic, and a buyer who receives something duller than the photo will remember it. If you set a stone, check that its colour on screen matches the stone in front of you before you publish.
Build a repeatable set-up
The real win is consistency. Once you find a spot and an arrangement you like, mark the table with tape and photograph everything there. A shop where all the images share the same light and background looks considered even when the pieces are wildly different.
If you are still working towards that first photogenic piece, our silver clay starter kit contains the clay, torch, tools, cubic zirconia and instructions you need to make something in real 99.9% fine silver at home, and the complete guide to silver clay walks through the process from soft clay to finished piece. Once it is fired and polished, the photography is the easy part.
