

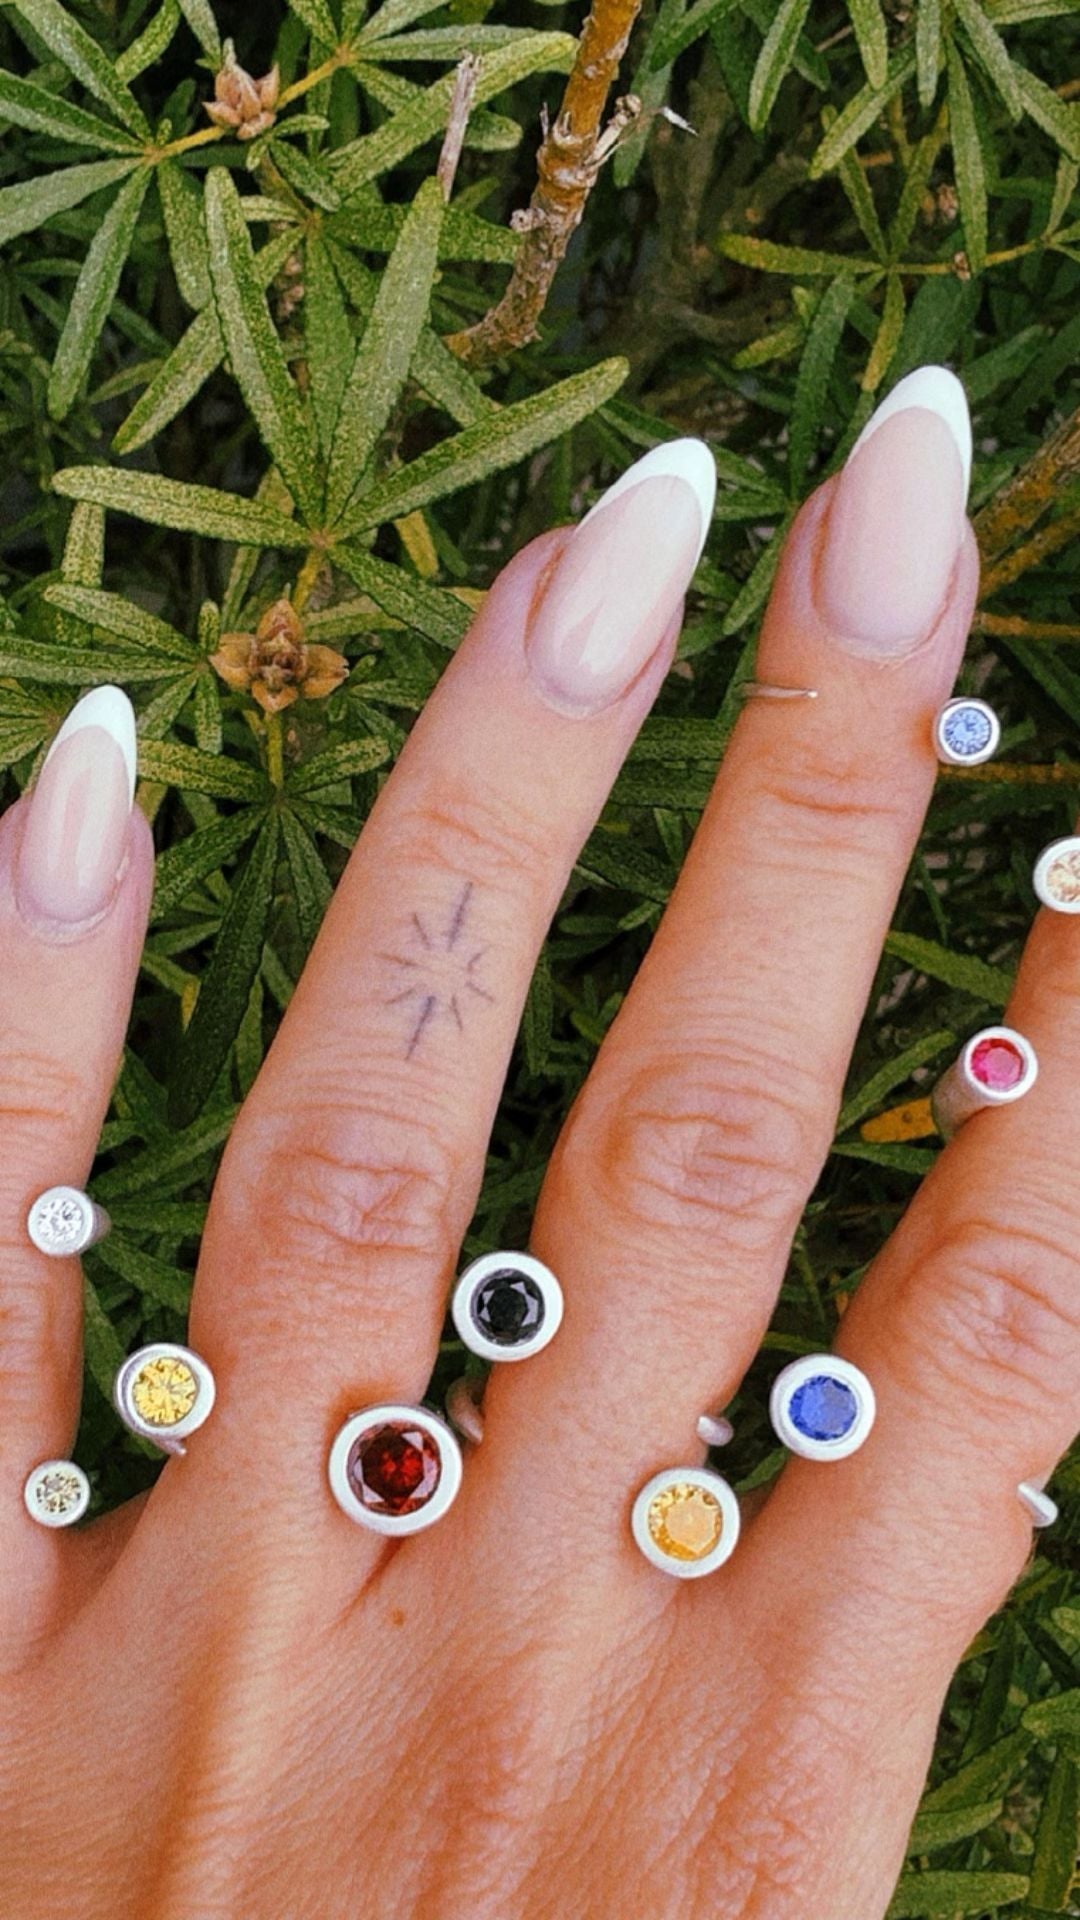
Shopping for personalized jewelry for a daughter usually starts the same way. You want something she will actually wear, something that is not a duplicate of what three other people gave her, and something that still means something in ten years. Engraving from a shop does part of that job. Making the piece yourself does the rest, and with silver clay that is far more achievable than most people expect.
What makes personalized jewelry for a daughter feel personal
Personalisation is not only a name on a tag. The details that hold up over time tend to be small and specific:
- A date that matters to the two of you, not just a birthday.
- Her handwriting, or yours, pressed into the metal before it dries.
- An initial kept small enough to wear every day.
- A texture lifted from something you already own: lace, a leaf from the garden, the pattern on a favourite mug.
- A single stone in a colour she picked herself.
That last one matters more than people think. A piece she chose the colour of is a piece that lives in the jewellery dish rather than the back of a drawer.
Ideas that suit different ages
For a small child, the piece is usually for you rather than her. A simple pendant with her initial or a tiny hand-drawn shape, kept safe until she is old enough for it, works better than anything she could wear now.
For a teenager, keep it plain and small. A slim stacking band, a single stud, or a short-chain pendant will get worn. Anything ornate tends not to.
For an adult daughter, you have more room. A wider textured band, a stone-set pendant, or a heavier ring with a date on the inside all read as jewellery rather than as a keepsake, which is often what she would prefer.
Why silver clay suits a handmade gift
Silver clay is fine silver particles held together in an organic binder. You shape it much like modelling clay, let it dry, then fire it. The binder burns away and what is left behind is 99.9% fine silver. It shrinks by roughly 8-10% during firing, which is worth allowing for when you are sizing a ring. It can be fired with a handheld torch on a heatproof surface, so there is no kiln to buy or find space for.
What that means in practice is that you can make a real silver piece at a kitchen table in an afternoon, without soldering, casting, or a workshop. If the first attempt is not right, you have learned something and the next one will be better.
Making it yourself, start to finish
The order of work is always the same. Roll the clay to an even thickness. Cut or shape it. Add the personal detail while it is still soft, whether that is stamped letters, a pressed texture, or a stone set into the surface. Let it dry completely, because firing damp clay causes problems. Refine the dry piece with a file or fine sandpaper, since anything you tidy up now saves effort later. Then fire it, quench it, and brush and burnish it up to a shine.
If you have not worked with the material before, our guide to using silver clay walks through each of those stages, and the complete silver clay guide covers the material itself in more depth.
Everything you need is in the silver clay starter kit: clay, a torch, tools, a cubic zirconia and instructions. We ship worldwide and cover import duties.
Keeping it wearable
Fine silver is softer than sterling and it is also slower to tarnish, which is a fair trade for a piece that is worn often. Keep rings a little thicker than looks necessary and they will hold their shape. A quick rub with a soft cloth is usually all the upkeep it needs.
The point of making it rather than buying it is not that it is cheaper. It is that the piece carries an afternoon of your attention in it, and that is the part she will remember.
