

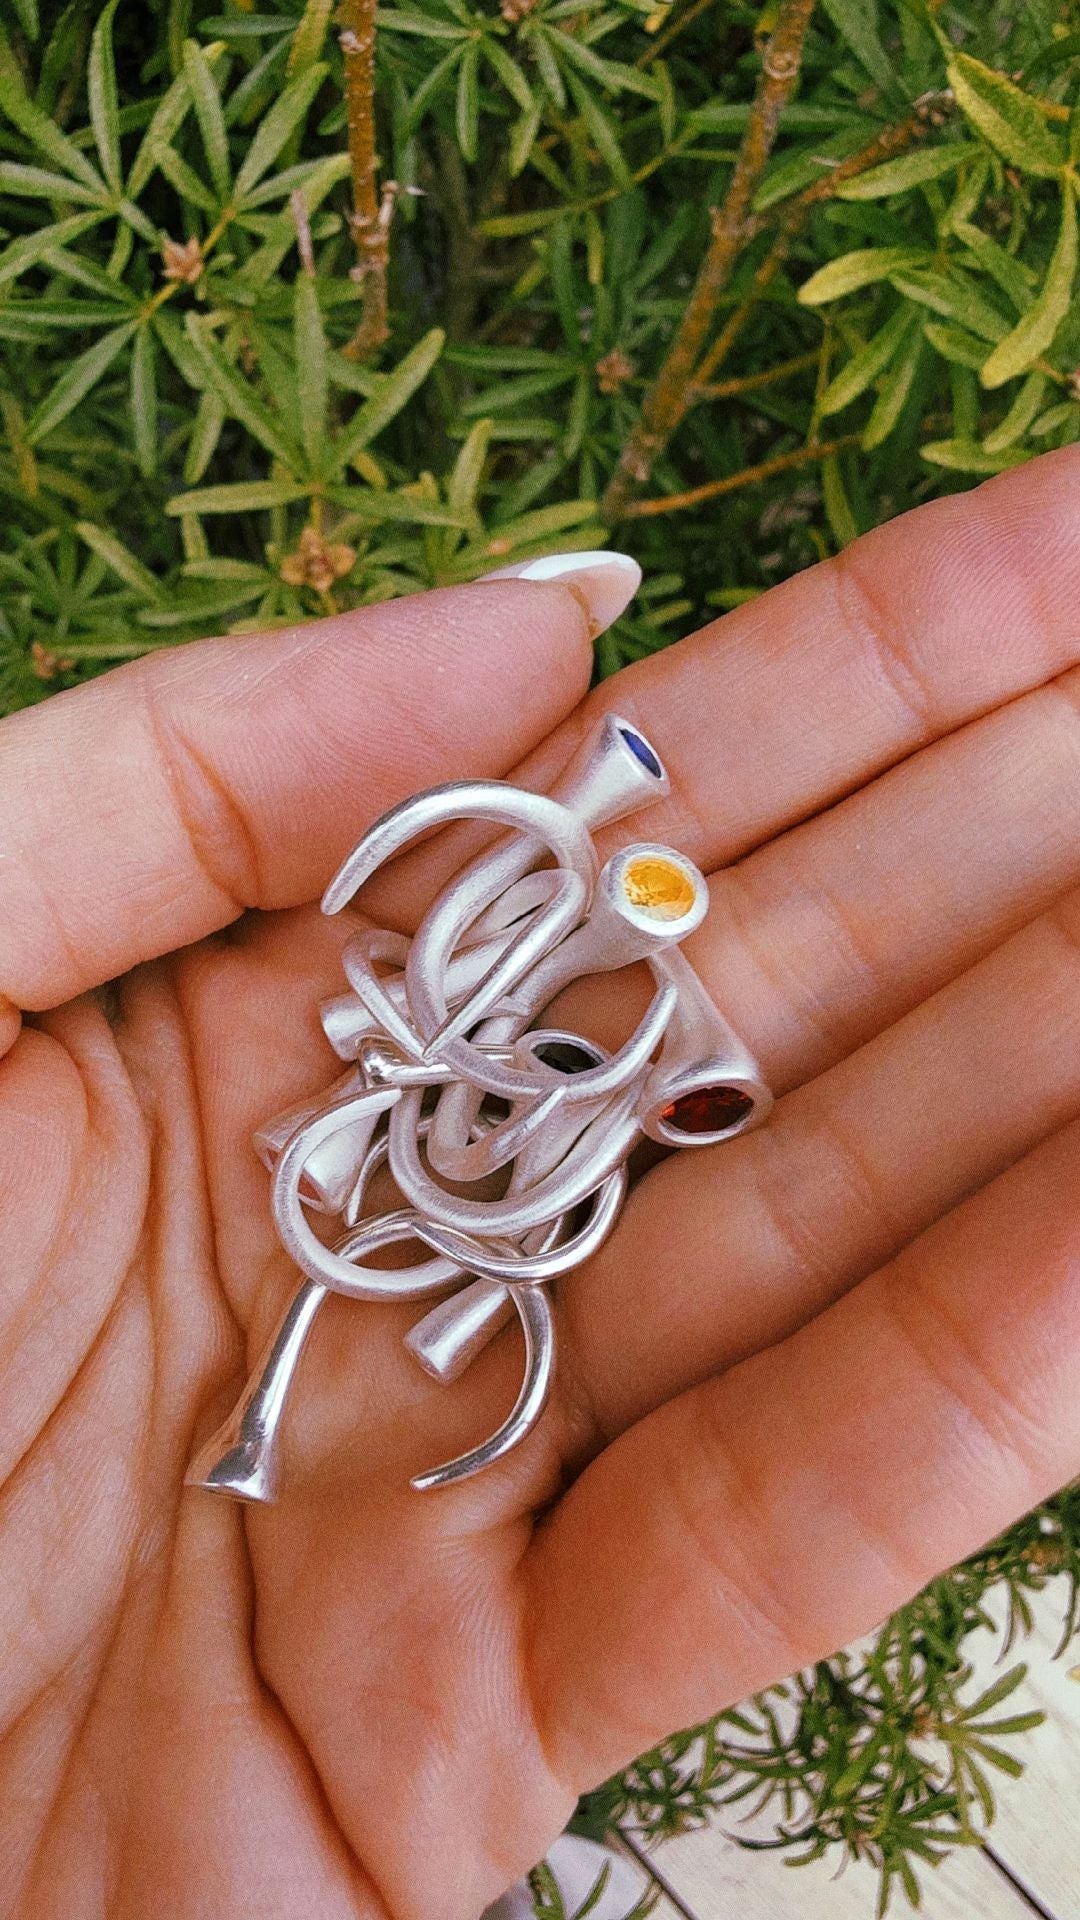
A silver clay necklace is one of those projects that looks far harder than it is. The silver itself is the straightforward part: you shape the clay, let it dry, fire it, and what is left behind is 99.9% fine silver. What most people underestimate is everything around the silver — where the piece hangs from, how it sits against the chest, and which chain you thread it onto. Get those three things right and a very simple shape starts to look like something from a gallery window.
Decide how your silver clay necklace will hang before you shape it
This is the one decision that is almost impossible to undo later. Fired fine silver can be drilled, but it is far easier to plan the hole while the clay is still soft. You have two sensible options.
The first is a hole drilled straight through the top of the piece. It is quick, it keeps the design flat, and it suits small pendants and simple silhouettes. Make the hole while the clay is leather-hard, using a needle tool or a drill bit turned gently by hand, and make it larger than you think you need. The clay shrinks as it fires, and the hole shrinks with it.
The second is a bail: a separate loop of clay attached to the back of the piece. A bail lets a wider chain pass through and keeps the front of the design clean. Join it with a generous amount of paste, let everything dry through, and reinforce the seam before firing. A bail that comes loose in the torch flame is the most common way a good pendant is lost.
Balance matters more than shape
A pendant hangs from a single point, so anything heavier on one side will rotate and sit crooked on the chain. Before you dry your piece, hold it by the hole or bail and watch how it settles. If it tips, either move the hanging point or take a little material off the heavy side. It takes thirty seconds and saves a great deal of quiet frustration later.
Visual weight counts too. A thick, wide pendant on a very fine chain looks unresolved, and a tiny charm on a heavy chain disappears. Match the two to each other rather than choosing each one on its own.
Choosing a chain
Fine silver is soft, which is why chains are normally made from sterling silver rather than the same metal as your pendant. That is entirely normal and the colour difference is negligible in wear.
Length deserves real thought. A shorter chain sits at the collarbone and flatters small, detailed pieces. A longer chain drops onto the chest and gives a larger pendant room to be seen. If the necklace is a gift and you cannot measure, a mid length is the safest choice because it works with most necklines.
One practical check: make sure your jump ring or bail actually fits the chain you intend to use, and do it before you fire. Opening a jump ring is easy. Enlarging a fired hole is not.
Finishing is where the piece is won
Straight out of the torch, fired silver clay is white and matte. That is the true surface of the fine silver, and it is a perfectly good finish in its own right — soft, quiet and rather lovely. Brushing it with a stainless steel brush lifts a satin sheen. Burnishing only the raised areas and leaving the recesses matte creates contrast, which is what makes texture read from across a room.
If you have set a stone, check it is still snug once you have finished. Everything in the piece moves slightly during firing.
Where to start
If you have never worked with the material before, how to use silver clay walks through the basic sequence from shaping to firing, and the complete guide goes deeper into tools and technique. Everything you need for a first piece — clay, a torch, tools, a cubic zirconia and instructions — is in the silver clay starter kit, which ships worldwide with duties covered.
