


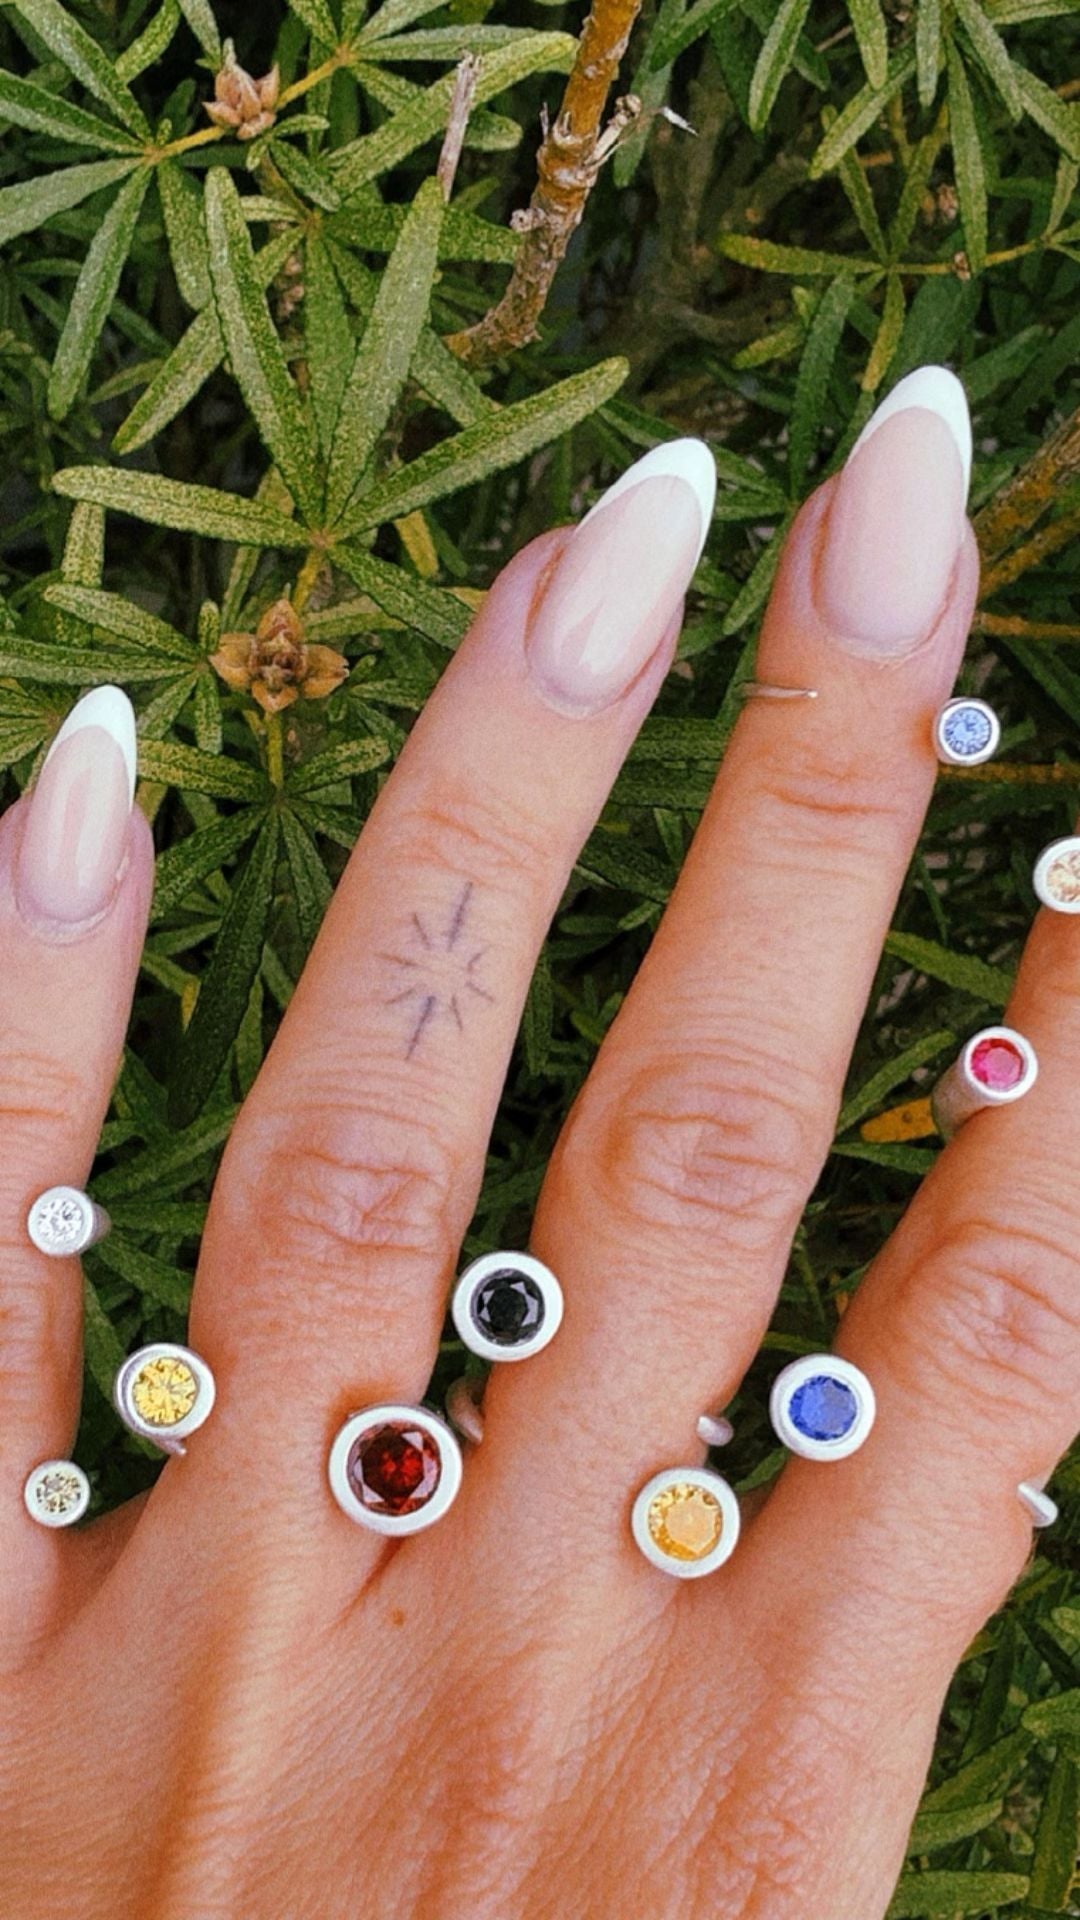
A real silver ring, made by you, at your kitchen table: no goldsmith training, no soldering, no furnace. This is the project most of our customers start with, and it is the most satisfying one. Here is exactly how to make a silver clay ring, step by step.
What you need
- Silver clay: 6–9 g for a plain band in a common size, 4–5 g for a thin stacking ring (see our silver clay weight guide)
- Ring mandrel or sizing stick, plus a ring sizer
- Roller and thickness guides (playing cards work)
- Olive oil or balm to stop sticking, a small brush and a bowl of water
- Craft knife and sanding paper or nail files
- Butane torch and firebrick for firing
- Brass or steel brush and polishing papers for finishing
All of it is in the Silver Clay Starter Kit, or grab the clay refill if you already have tools.
Step 1 — Size it right
Important: silver clay shrinks 8–10% during firing. Make your ring band 1.5–2 sizes larger than your target size. Wrap a paper strip around your finger, mark where it overlaps and measure the length, then add 10%: if your finger measures 52 mm around, your clay strip should be about 57 mm long. On a mandrel, mark the larger size before you start.
Step 2 — Roll and shape the band
Lightly oil your hands and surface, knead the clay for 10–15 seconds, then roll it into an even strip about 3–4 playing cards thick and 5–8 mm wide. Wrap a strip of paper around the mandrel at your marked size, wrap the clay around it, overlap the ends by a few millimetres and blend the seam with a drop of water until the join is invisible. Want a chunky ring? Simply roll the strip thicker.
Step 3 — Add texture or stones
Before the clay dries: press in patterns with fabric or leaves, stamp initials, or push a cubic zirconia stone straight into the clay (the stone fires along with the ring and survives the torch). Smooth the whole surface with a damp brush. Fill any gap at the join with a little silver clay paste.
Step 4 — Dry and refine
Let the ring dry on the mandrel for about 10 minutes, slide it off carefully on its paper strip, then let it dry completely: 2–3 hours, or 15–30 minutes with a hairdryer. Hold it against your lip; if it feels cool, it is not dry yet. Then sand inside and outside, along the band rather than across it, and round the edges gently. Sand more than you think you need to. Dry clay carves beautifully: this is where a plain band becomes a one of a kind ring.
Step 5 — Fire it
Place the ring on the firebrick and hold the torch about 5–7 cm away, moving in small circles. The binder burns off first, you may see a small flame, and then the ring starts to glow a soft peachy orange. Hold that glow for 2–3 minutes. The silver sinters into solid metal. Let it cool or quench it in water. Full walkthrough: how to fire silver clay with a kitchen torch.
Step 6 — Polish to a mirror shine
After firing the ring looks matte white. Brush it with a brass or steel brush and a little soapy water, then work through the polishing papers to a mirror finish, or tumble it with steel shot. You just made a 99.9% fine silver ring.
Tips for success
- Work quickly: silver clay dries faster than you expect
- Keep the rest of the clay sealed while you work
- The drier the clay before firing, the better the result
- Make everyday rings a little thicker; fine silver is softer than sterling
- Your first ring might not be perfect, and that is completely fine
Start your first ring
Everything in this tutorial (clay, torch, ring mandrel, tools, stones and instructions) is in the Silver Clay Starter Kit. New to silver clay entirely? Read what is silver clay first, or follow how to use silver clay for a simple pendant. You can compare every clay pack and kit on our silver clay page, and if you want the ring to carry a fingerprint, see how to make a fingerprint ring.
