

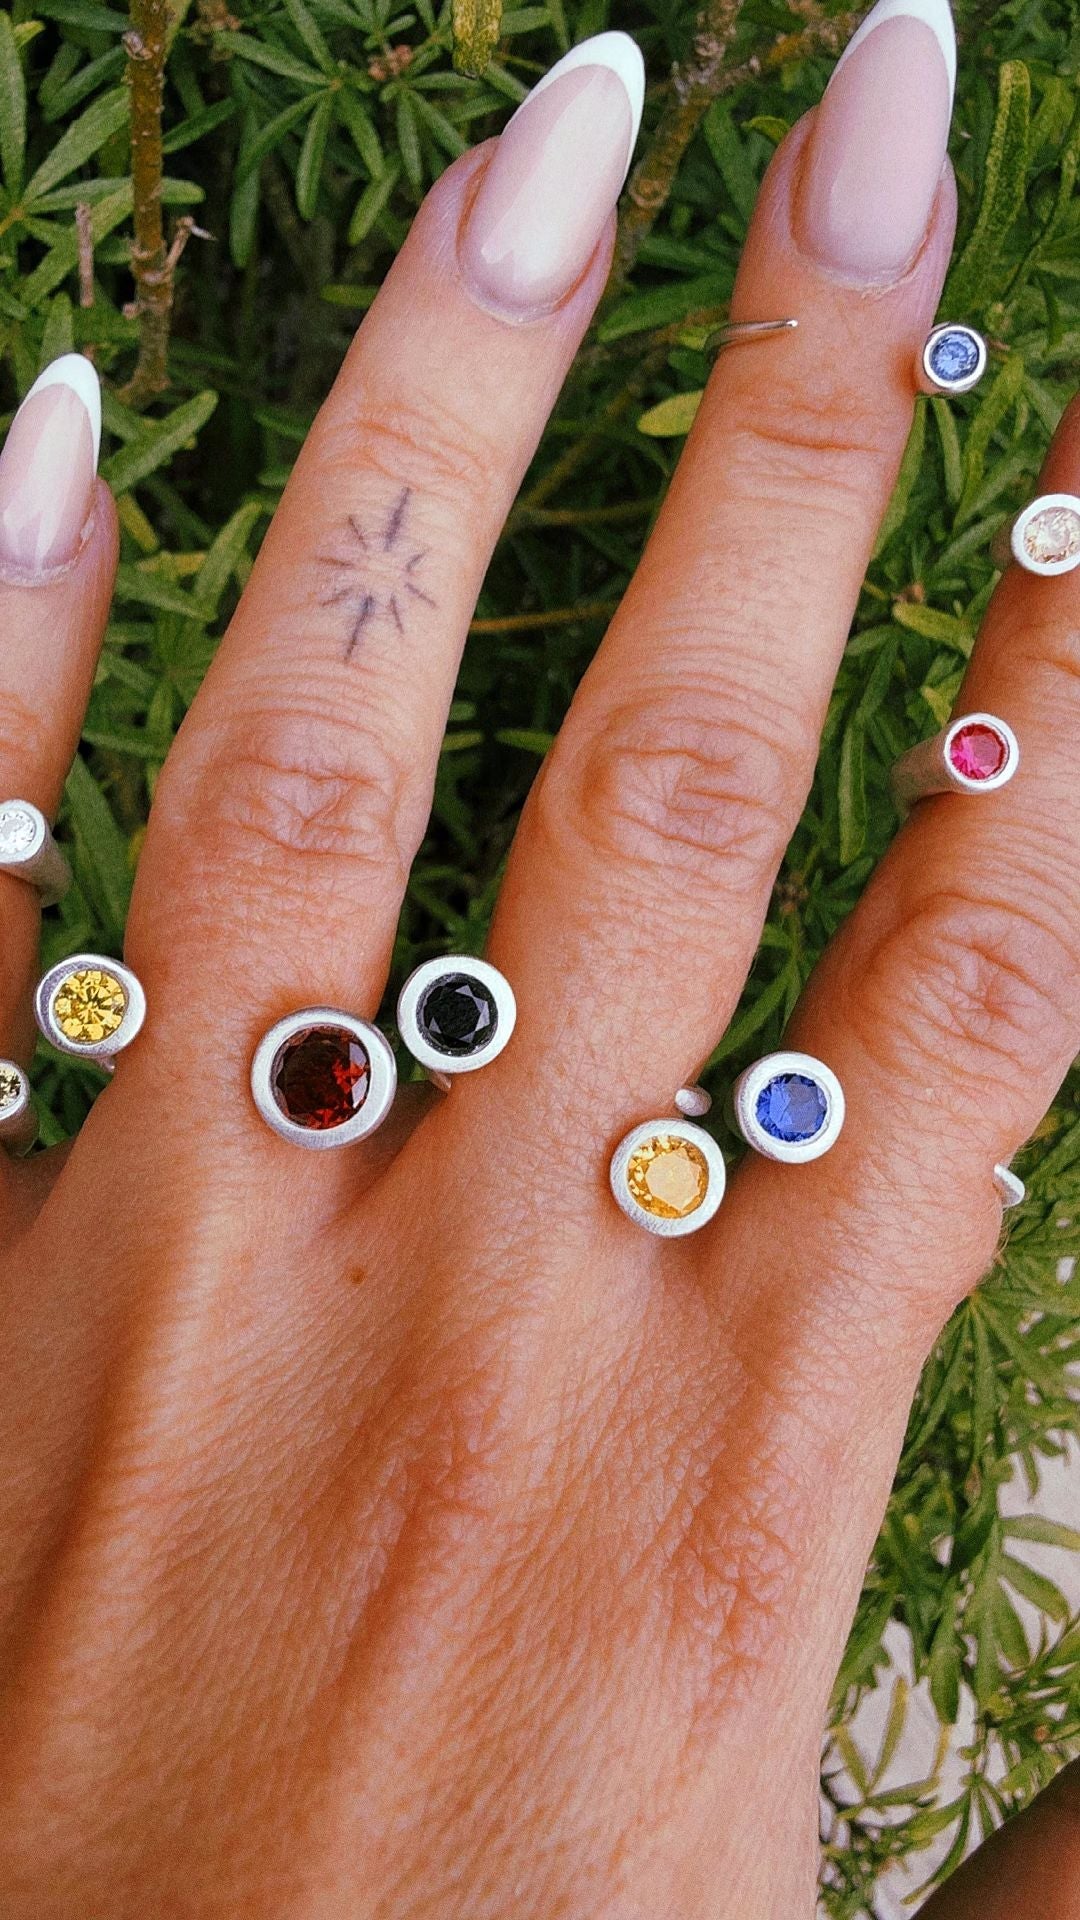
A ring mandrel is the tapered cone that jewellers use to shape, size and true up a ring, and it is the one tool that turns ring making from guesswork into something repeatable. If you work with silver clay, a mandrel matters even more than it does in traditional silversmithing, because you are shaping a ring that is going to get smaller before you ever put it on a finger.
What a ring mandrel actually does
A mandrel is a smooth tapered rod, usually marked with ring sizes along its length. It does three jobs. It gives you a former to wrap your band around so the inside of the ring is genuinely round rather than slightly oval. It tells you what size you are working at, because the marks along the taper correspond to finger sizes. And once the ring is finished, it gives you something solid to work against when you want to check the shape.
Traditional metalsmiths also use a mandrel with a mallet to stretch a ring up a size or two. That part does not carry over to fine silver clay pieces in the same way, so treat the mandrel primarily as a former and a measuring tool rather than a resizing tool.
Why silver clay changes the arithmetic
Here is the part that catches people out. Silver clay is fine silver particles held in an organic binder. When you fire it, the binder burns away and the silver particles sinter together, which means the piece contracts. That shrinkage is around 8 to 10 percent, and it applies to the ring's diameter just as much as to its width.
So the ring you form on the mandrel is not the ring you end up wearing. If you wrap your band at exactly the size you want, the fired ring will be too tight. You need to build it larger and let the firing bring it down.
The safest approach is not to trust a formula but to make one test band. Form a plain strip at a known mark on the mandrel, dry it, fire it, and then measure where the fired ring actually sits on the mandrel. The gap between those two marks is your personal offset, and it will hold for every ring you make afterwards with the same clay and the same band thickness. It takes one small piece of clay to learn something you will use for years.
Our complete silver clay guide covers what happens during firing in more detail.
How to use a ring mandrel with silver clay
Wrap a strip of baking paper or a sticky note around the mandrel first, at the mark you are working to. Clay will happily stick to bare steel, and you want to be able to slide the dried band off without a fight.
Roll your clay to an even thickness, cut a clean strip, and wrap it around the covered mandrel so the two ends meet. Join them with a little paste or water and smooth the seam properly while the clay is still soft, because a seam you ignore now becomes a crack later.
Leave the band on the mandrel to dry. This is the step people rush and regret. Drying on the mandrel keeps the ring round; drying flat on a table lets it slump into an oval that you will never quite recover. Once it is bone dry, slide it off, refine the edges, and then fire it.
If you want the full sequence from clay to finished band, the step-by-step ring tutorial walks through it.
Choosing a mandrel
Steel mandrels are the standard. They are heavy, perfectly smooth and will outlast you. Wooden mandrels are lighter and kinder if you are worried about marking a piece, but they wear and go slightly out of round over time. Stepped mandrels, which look like a stack of cylinders rather than a smooth cone, are useful for forming but less useful for measuring.
For silver clay specifically, a plain tapered steel mandrel with clear size markings is all you need. You do not need a grooved mandrel, and you do not need the heavy version sold for hammering.
The mistakes worth avoiding
Forming at the finished size and forgetting shrinkage is the big one. After that: not covering the mandrel, so the dry band cracks as you force it off; drying the band off the mandrel; and rolling the strip unevenly, so one part of the band is noticeably thinner and becomes the weak point.
None of these are difficult to avoid once you know about them. A mandrel is an inexpensive tool that removes a surprising amount of frustration, and if you are making rings at all regularly it earns its place on the bench quickly. Everything else you need to turn clay into a wearable ring is in the silver clay starter kit, which includes the clay, a torch, the finishing tools, cubic zirconia stones and instructions. We ship worldwide with duties covered.
