

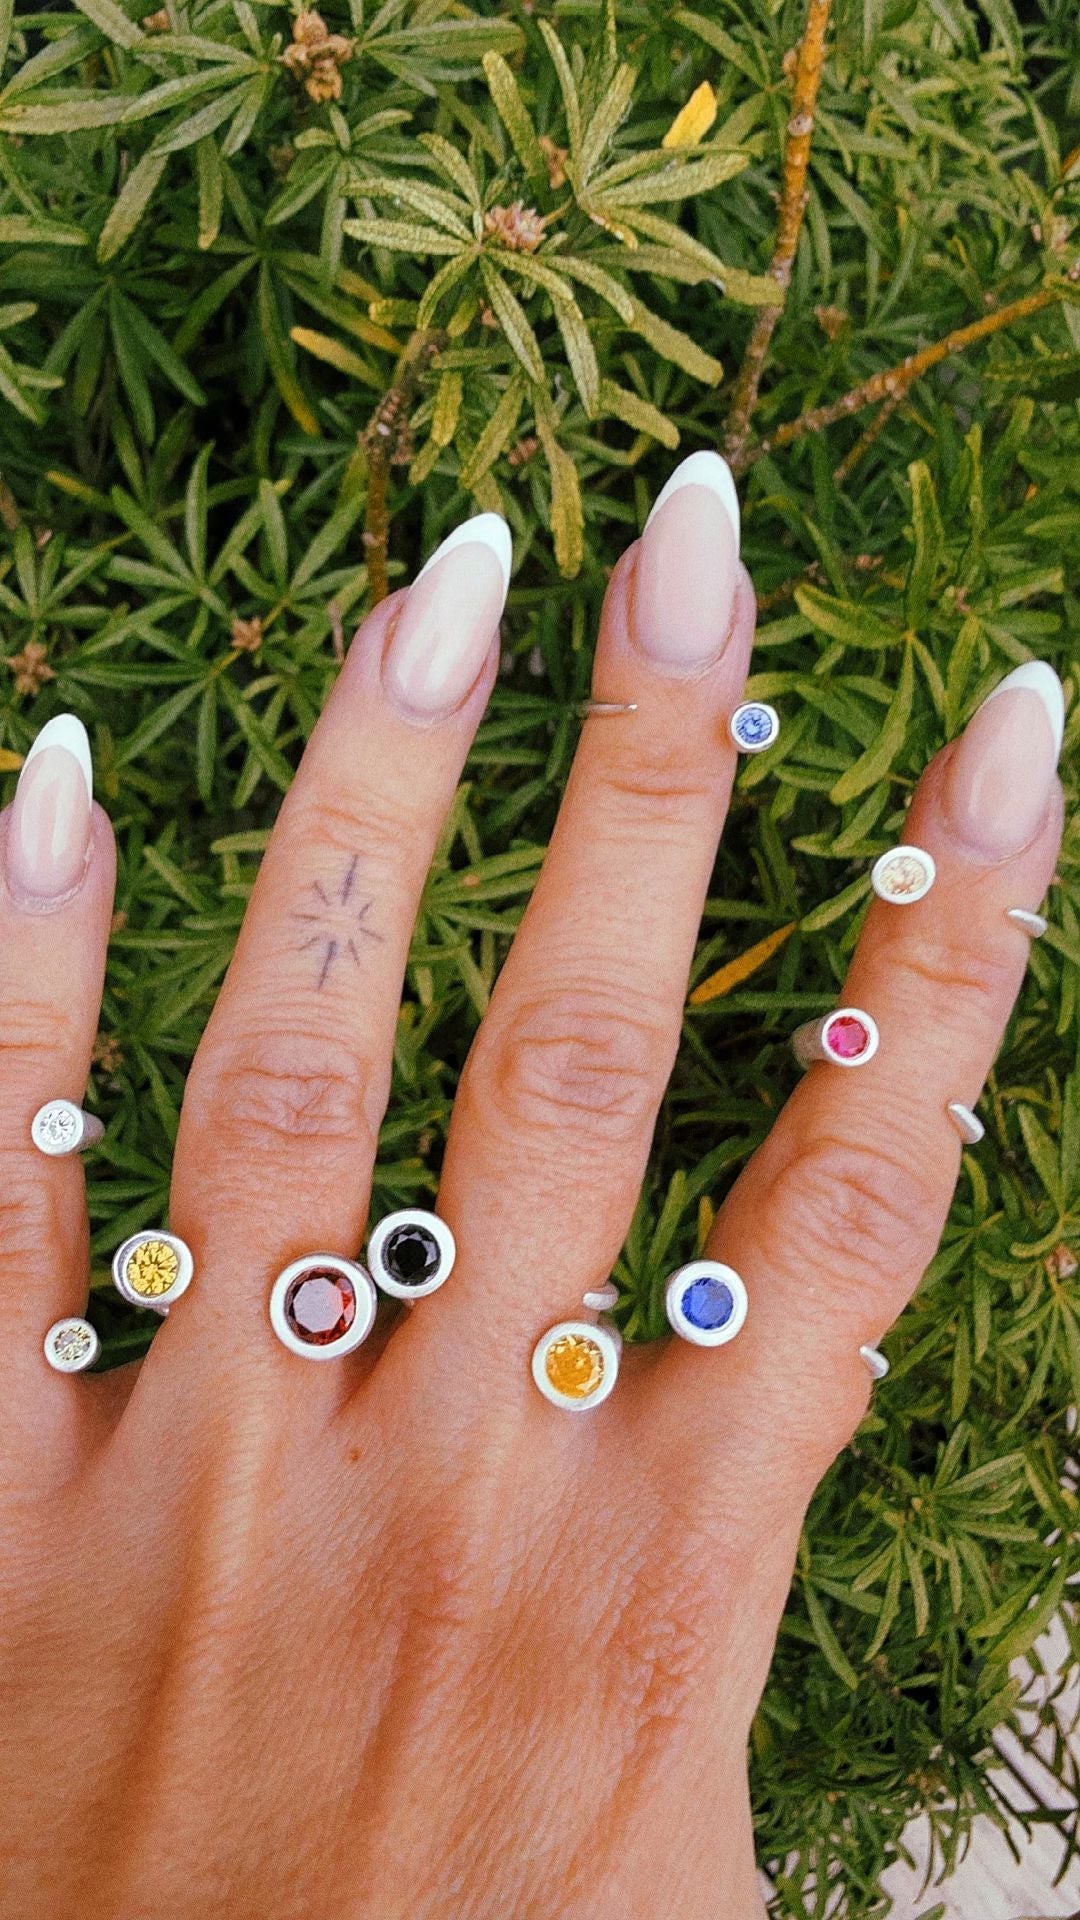
A fingerprint ring is one of the most personal pieces of jewellery you can own: a real print, pressed into real silver, worn every day. What surprises most people is that you do not need a jeweller to make one. With silver clay, a fingerprint ring can be made at your kitchen table in an afternoon, and it comes out of the flame as 99.9% fine silver.
What a fingerprint ring actually is
The idea is simple. A fingertip is pressed into soft clay, the clay keeps the impression, and after firing that impression is permanently held in solid silver. People make them from a partner's print, a child's print, or their own. Because the print is captured directly rather than scanned and engraved, the result has a softness and depth that machine-made versions rarely match.
The reason silver clay suits this so well is that it is a mouldable material: fine silver particles held together with a binder and water. While it is soft it takes an impression like modelling clay. When it is fired, the binder burns away and the silver particles fuse together. What you are left with is fine silver, with the fingerprint intact.
How to make a fingerprint ring with silver clay
If you have never worked with the material before, our silver clay ring tutorial walks through the full ring-making process. The fingerprint version follows the same steps with one extra moment in the middle.
1. Prepare your ring size. Silver clay shrinks by roughly 8-10% during firing, so the ring has to be made a little larger than the finished size you want. Measure the finger, then work at a size or two above it. Wrap a strip of paper around a ring mandrel or a dowel at that larger size.
2. Roll a band. Roll the clay into an even strip, thick enough to hold an impression without going through to the other side. Thin bands look elegant but will not keep a deep print, so err on the side of a slightly chunkier band for this project.
3. Take the print. Lightly oil the fingertip so it releases cleanly, then press it into the clay with steady, even pressure. Do not wiggle. One firm press gives a much clearer print than several hesitant ones. If it goes wrong, smooth the surface with a damp finger and try again while the clay is still soft.
4. Form and join the band. Wrap the strip around the paper-covered mandrel, cut the ends at an angle, and join them with a little water or silver clay paste. Smooth the seam.
5. Dry completely. The ring must be bone dry before firing. Leave it overnight, or use gentle warmth. Once dry, tidy the edges with a fine file or sanding pad, taking care not to touch the print itself.
6. Fire. Silver clay is torch-firable. A small hand-held torch is enough for a ring: heat until the piece glows a soft peach-orange colour and hold it there for the time your clay instructions give. Let it cool, then brush and polish.
Tips for a clear, lasting fingerprint or thumbprint
Use the pad of the finger, not the very tip, for the most detailed ridges. Keep the clay slightly on the firm side; very wet clay smears. Work quickly once the clay is out of its packet, since it starts to dry the moment it meets air. After firing, a light polish on the raised areas and a matte finish in the grooves makes the print stand out beautifully.
If the print is for someone else, take it while the clay is on a flat surface first, then form the band. It is easier for a child or a partner to press a flat piece than a curved one.
What you need to get started
Everything for a first fingerprint ring is in our silver clay starter kit: the clay, a torch, the basic tools, cubic zirconia stones if you want to add a little sparkle, and step-by-step instructions. If you already have tools and just need more material, silver clay is available on its own, and you can compare every pack and kit on our silver clay page. Everything for this project is gathered on our fingerprint jewelry kit page. Sizing the band is easiest on a ring mandrel, and if you would rather wear the print around your neck, here is how to make a fingerprint necklace. We ship worldwide, with duties covered.
For a deeper understanding of the material before you begin, the complete guide to silver clay covers drying, firing and finishing in more detail.
