

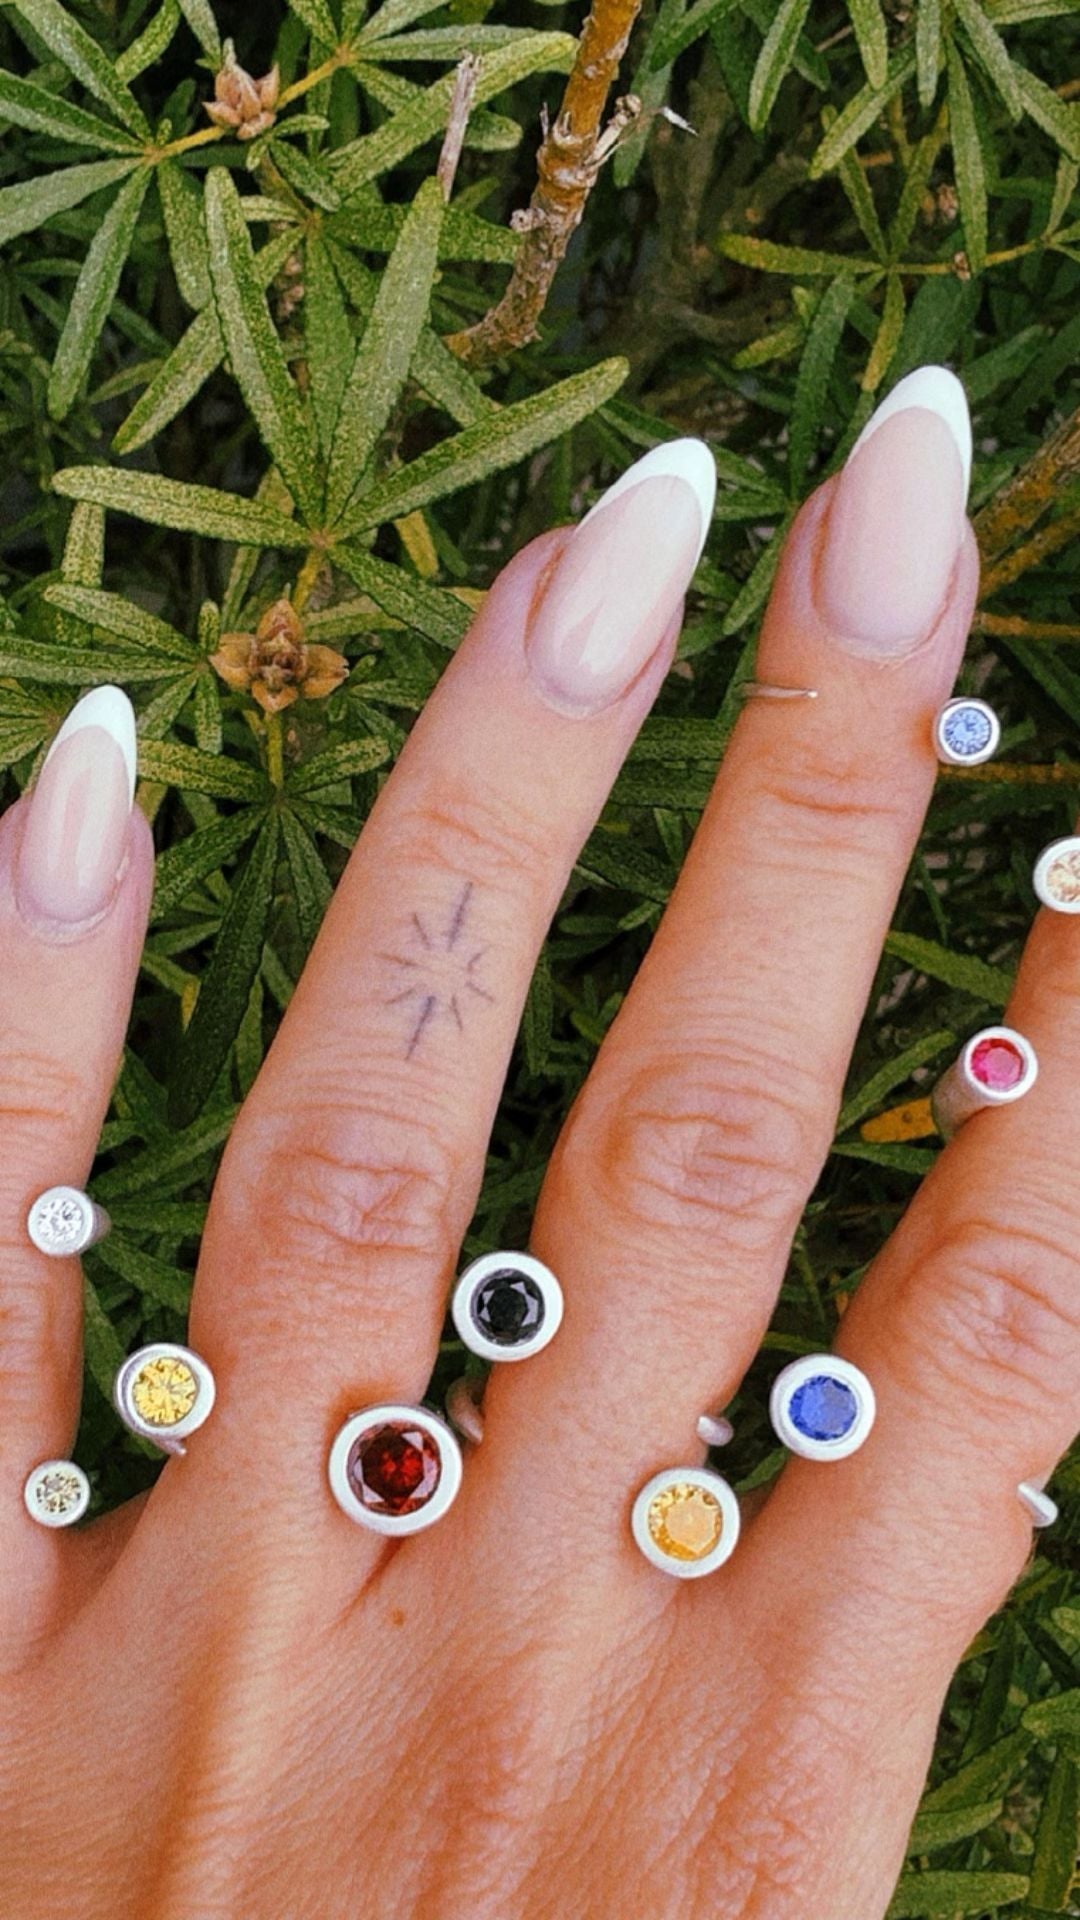
An engraved silver ring is usually something you order and collect a week later. It does not have to be. If you make the ring yourself from silver clay, the marking happens while the metal is still soft, which is far kinder to a beginner than cutting into finished silver with a graver.
Why an engraved silver ring is easier to make than to engrave
Traditional engraving means removing metal from a hard, finished band. It takes a sharp graver, a firm grip and a good deal of practice before the lines look deliberate rather than accidental.
Silver clay reverses the order. You shape a soft band, mark your design into it, let it dry and then fire it with a small torch. The binder burns away, the silver particles fuse, and the mark you made becomes part of a solid piece of 99.9% fine silver. No soldering, no plating.
Three ways to mark the band
Draw into soft clay. The simplest route. With a fine tool or a needle, draw straight into the band while the clay is still soft. Lines come out slightly rounded and organic, which suits initials, dates and simple line drawings.
Carve once it is leather-hard. Let the band firm up but not dry completely, then cut into it with the tip of a craft knife. You get crisper edges and much more control, which is what you want for anything geometric.
Press a texture in. Lace, sandpaper, the edge of a leaf, a patterned button: press it into the soft band and lift it away. This is not engraving in the strict sense, but it reads as a decorated band and it is by far the most forgiving of the three.
Cut deeper than you think you need to
This is the mistake almost everyone makes first. A shallow scratch that looks clear on grey clay can all but disappear once the ring is fired and polished, because polishing rounds off the top edges of every line. Aim for a groove you can feel with a fingernail, not one you can only see.
Size it before you decorate it
Silver clay shrinks by roughly 8-10% during firing, so the band has to be built oversized. Work out the size you want first, add the shrinkage, form the band at that larger size, and only then start marking it. Trying to correct the fit after the design is in place rarely ends well.
The full sequence, from rolling the band to the moment it comes off the firing brick, is covered step by step in how to make a silver clay ring.
Designs that hold up over time
Fine silver is soft, and a ring is worn against keys, taps and door handles. Deep, simple marks survive that. Very fine hairline detail slowly polishes itself away. Initials, a date, a wave, a band of dots and a single ring of texture around the middle all age well.
What you need to try it
Very little. The silver clay starter kit holds clay, a torch, tools, a cubic zirconia and instructions, and everything else you might want for marking a band is already in a kitchen drawer. When you want more material, silver clay is sold on its own. We ship worldwide and cover any duties.
If you are entirely new to the material, start with the complete silver clay guide and make one plain band before you make an engraved one. The second ring is always the better ring.
