

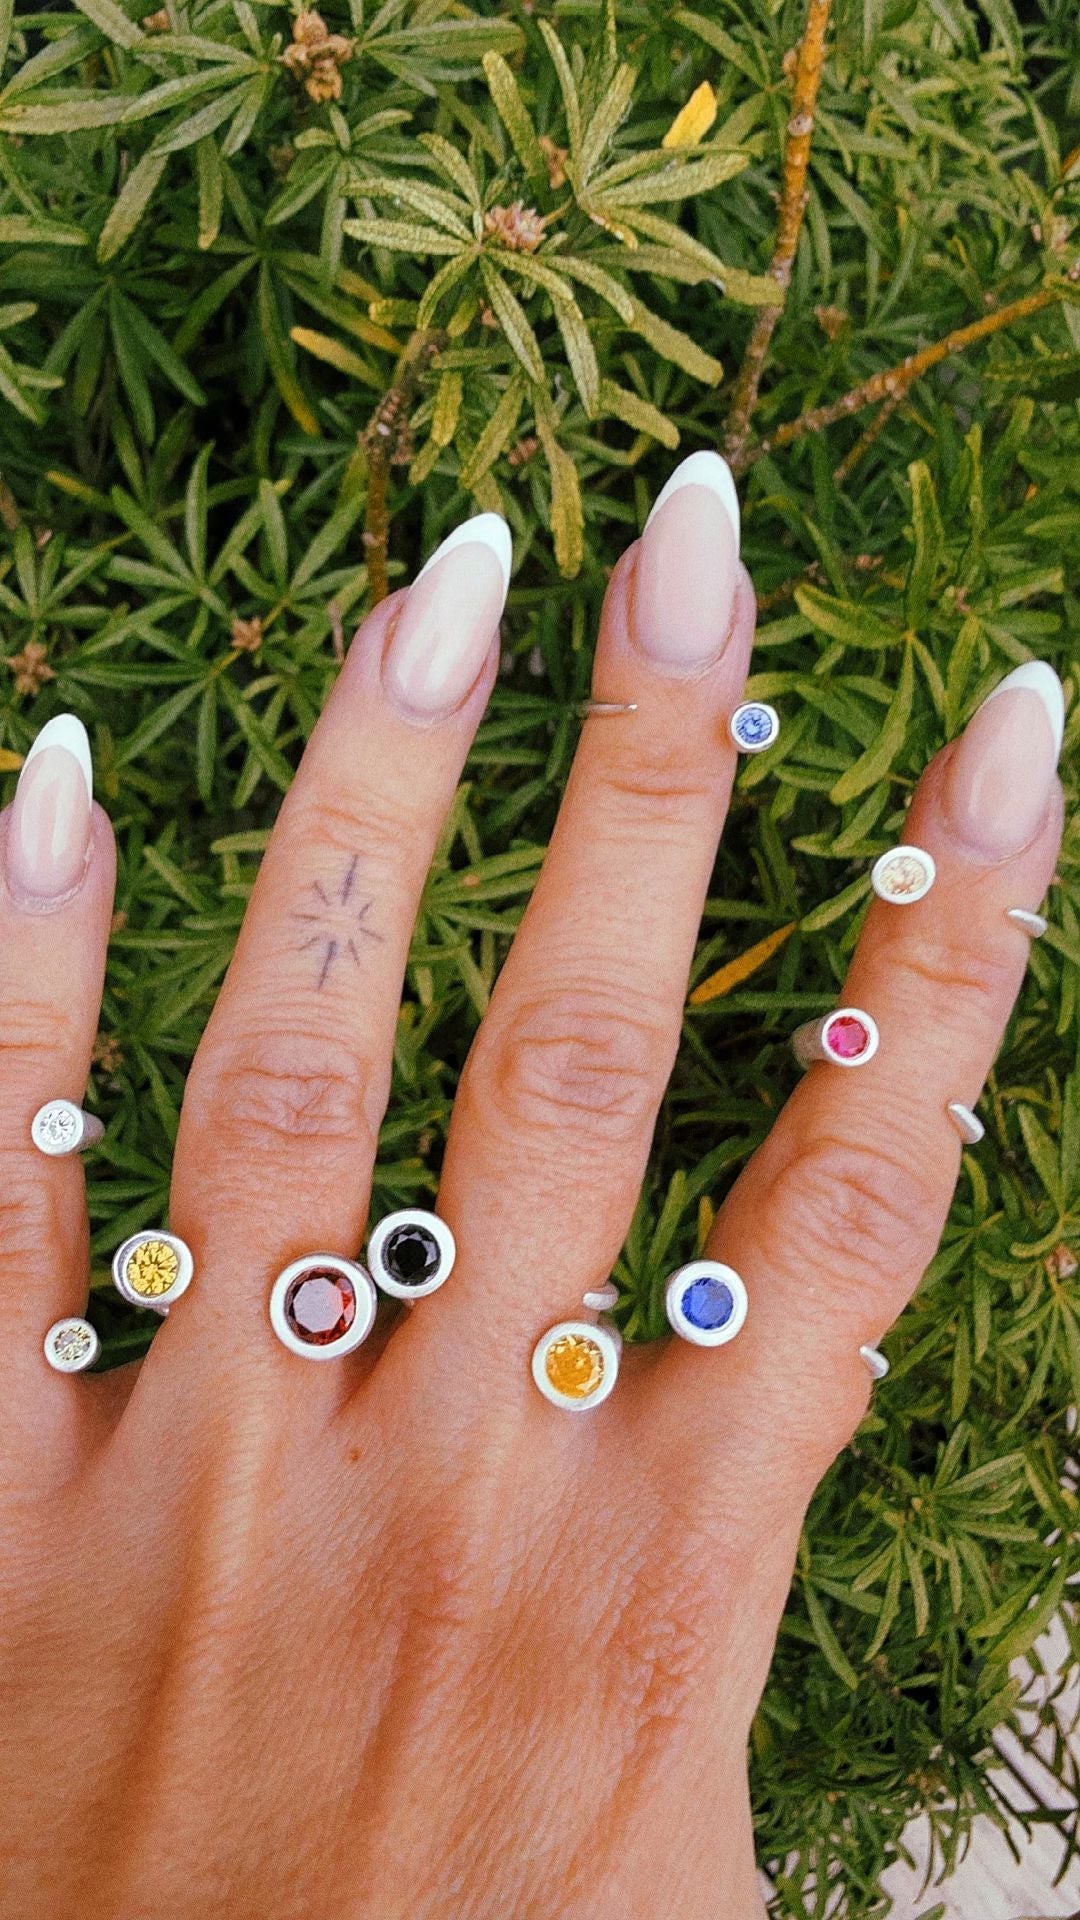
Silver stacking rings are never judged individually. They are judged as a group, which changes how you should plan them. A single ring can carry a bold design on its own; a stack of five needs each band to give the others room. If you make your own with silver clay, you get to control that balance from the start rather than hunting for shop-bought rings that happen to sit well together.
What actually makes a stack work
Three things, in roughly this order of importance.
Varied width. Five bands of identical width read as one thick, slightly confusing ring. One wider band with three or four slim ones beside it reads as a deliberate stack. The wider band becomes the anchor and the eye reads the rest around it.
Varied surface. If every band is polished to the same mirror finish they blur together. Mixing a hammered or textured band with satin and polished ones gives the group depth, and it is far easier to do in clay than in sheet metal.
Restraint with stones. One or two set stones across a whole stack is usually plenty. More than that and the rings start competing with each other rather than working together.
Sizing a stack, and the shrinkage question
This is where most people come unstuck. Silver clay shrinks by roughly 8 to 10% during firing, so every band has to be built oversize. That is manageable for one ring, but with a stack the errors are visible next to each other: a band that ends up half a size small sits above the others and rocks.
Two things help. First, build all the bands for a stack in one session, using the same method and the same oversize allowance, so they shrink consistently. Second, accept that a stack does not need every band on the same finger. A set spread across two adjacent fingers is more comfortable, more wearable, and much more forgiving of a band that came out slightly tight.
The basic technique for forming and joining a band is covered step by step in our silver clay ring tutorial, and it is worth making one ring on its own before attempting a matched set.
Texture is the cheapest way to add interest
Because silver clay is soft while you work, texture costs you nothing but a few seconds. Press the band against coarse fabric, a piece of bark, a file, or the edge of a tool before you join the ends. After firing, the raised areas polish up bright while the recesses stay darker, which gives a slim band far more presence than its width suggests.
A good default for a first stack: one textured band, one plain satin band, one polished band. Three rings, three surfaces, and they will look considered rather than repetitive.
Setting a stone in one band
Cubic zirconia can be set into the soft clay before firing, which is much simpler than setting a stone into finished metal. Press it in so the surface of the stone sits flush or very slightly below the surrounding clay, and make sure there is enough silver around it to hold it once the piece has shrunk. On a slim stacking band the safest place for a stone is the widest point of the band, not near a join.
Finishing so they do not scratch each other
Stacked rings rub constantly. Take a moment to round and smooth the inside and outside edges of each band before firing, while the dry clay still files easily. Sharp edges are uncomfortable against the finger and will scuff the neighbouring bands within a week of wear. After firing, everything is 99.9% fine silver, which is soft, forgiving to polish and takes a bright shine quickly.
Getting started
A stack of three or four slim bands uses surprisingly little material, which makes it one of the better value projects to attempt. The silver clay starter kit includes the clay, torch, tools, cubic zirconia and instructions, and if you are only topping up material you can buy silver clay separately. We ship worldwide with duties covered.
Start with three bands rather than five. It is quicker, you learn how your own sizing behaves, and you can always add to a stack later, which is rather the point of them.
