

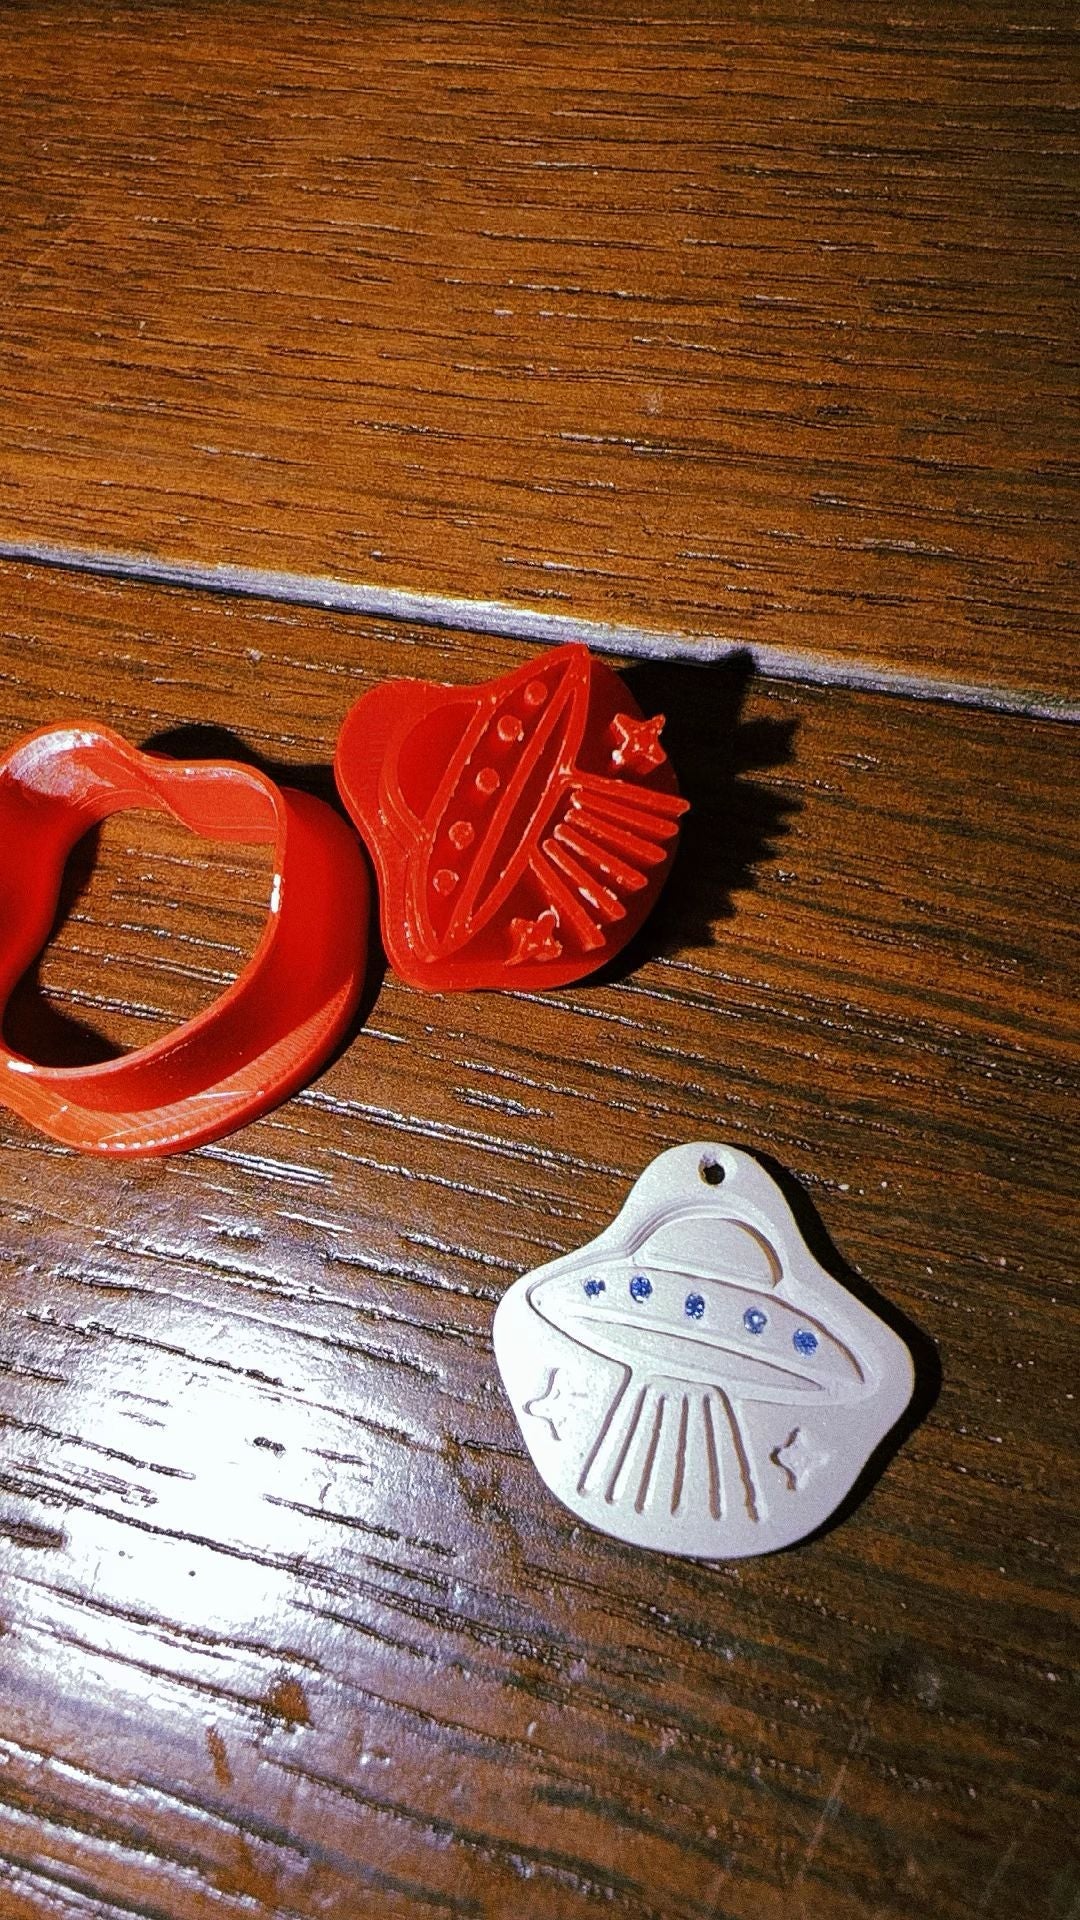
A fingerprint necklace is about as personal as jewellery gets. No two prints are alike, so the finished piece cannot be duplicated by a factory, or even by you a second time. What most people do not realise is that you do not need a workshop or a jeweller to make one. Silver clay lets you take the impression at your own kitchen table and end up with a pendant in 99.9% fine silver.
Why silver clay suits a fingerprint necklace
Silver clay is fine silver particles held in an organic binder. While it is damp it behaves like modelling clay, so it records very fine detail with barely any pressure. When the piece is fired the binder burns away and the silver particles fuse together, leaving solid 99.9% fine silver with the print still in it.
That is what makes this project work. You are not casting a copy or engraving an approximation, you are pressing into the metal itself while it is still soft. If the material is new to you, the complete silver clay guide explains how it behaves from packet to finished piece.
Taking a clean print
Roll the clay to an even thickness. Very thin pieces look elegant but are fragile, so be generous with something that will be worn every day. Work quickly, because silver clay starts drying as soon as it leaves the packet.
- Wash and dry the finger first. Oil or hand cream softens the ridges.
- Press straight down, firmly, once. Rocking the finger smears the print.
- Lift straight up rather than dragging sideways.
- Check the impression in low, raking light before committing. If it is patchy, re-roll and try again, the clay is completely forgiving at this stage.
Cut your shape around the print and make the hanging hole now, while the clay is still soft. Make it a little larger than you think you need.
Drying, firing and shrinkage
Let the piece dry through completely before it goes anywhere near heat. Silver clay shrinks by roughly 8 to 10% during firing, so the finished pendant will be slightly smaller than the shape you cut, and the fingerprint shrinks with it. In practice this tends to make the ridges look crisper rather than worse, but it does mean you should plan the hanging hole with a bit of margin.
A pendant this size can be fired with a torch on a heatproof surface, so a kiln is not required. Our step-by-step walkthrough covers the firing sequence in detail.
Finishing so the print stays readable
Straight out of firing the silver is chalky white. Brushing brings up a soft satin surface, and burnishing the raised areas takes them to a shine. The trick with a fingerprint necklace is contrast: polish the flat surface around the print but leave the recessed ridges matt and slightly darker. That difference in tone is what makes the print legible at arm's length rather than only close up.
Common mistakes worth avoiding
Pressing too hard is the usual one. A deep impression distorts the ridges and thins the pendant in the middle, which is exactly where it will eventually bend. Light, decisive pressure records more than heavy pressure does.
The other is drilling the hole after drying. It can be done, but the dry clay is brittle and chips easily. Making the hole while the clay is soft takes seconds and saves a lot of frustration.
What you need to get started
You need silver clay, something to roll it evenly, a way to cut a clean shape and a heat source. The silver clay starter kit brings the clay, torch, tools, cubic zirconia and instructions together in one box, which saves piecing it together from separate suppliers. If you already have tools and simply want more material, silver clay is available on its own. We ship worldwide and cover the duties.
A fingerprint necklace makes an unusually good gift, and an even better keepsake. It takes an afternoon, and the result is real silver carrying a mark that belongs to one person only.
