

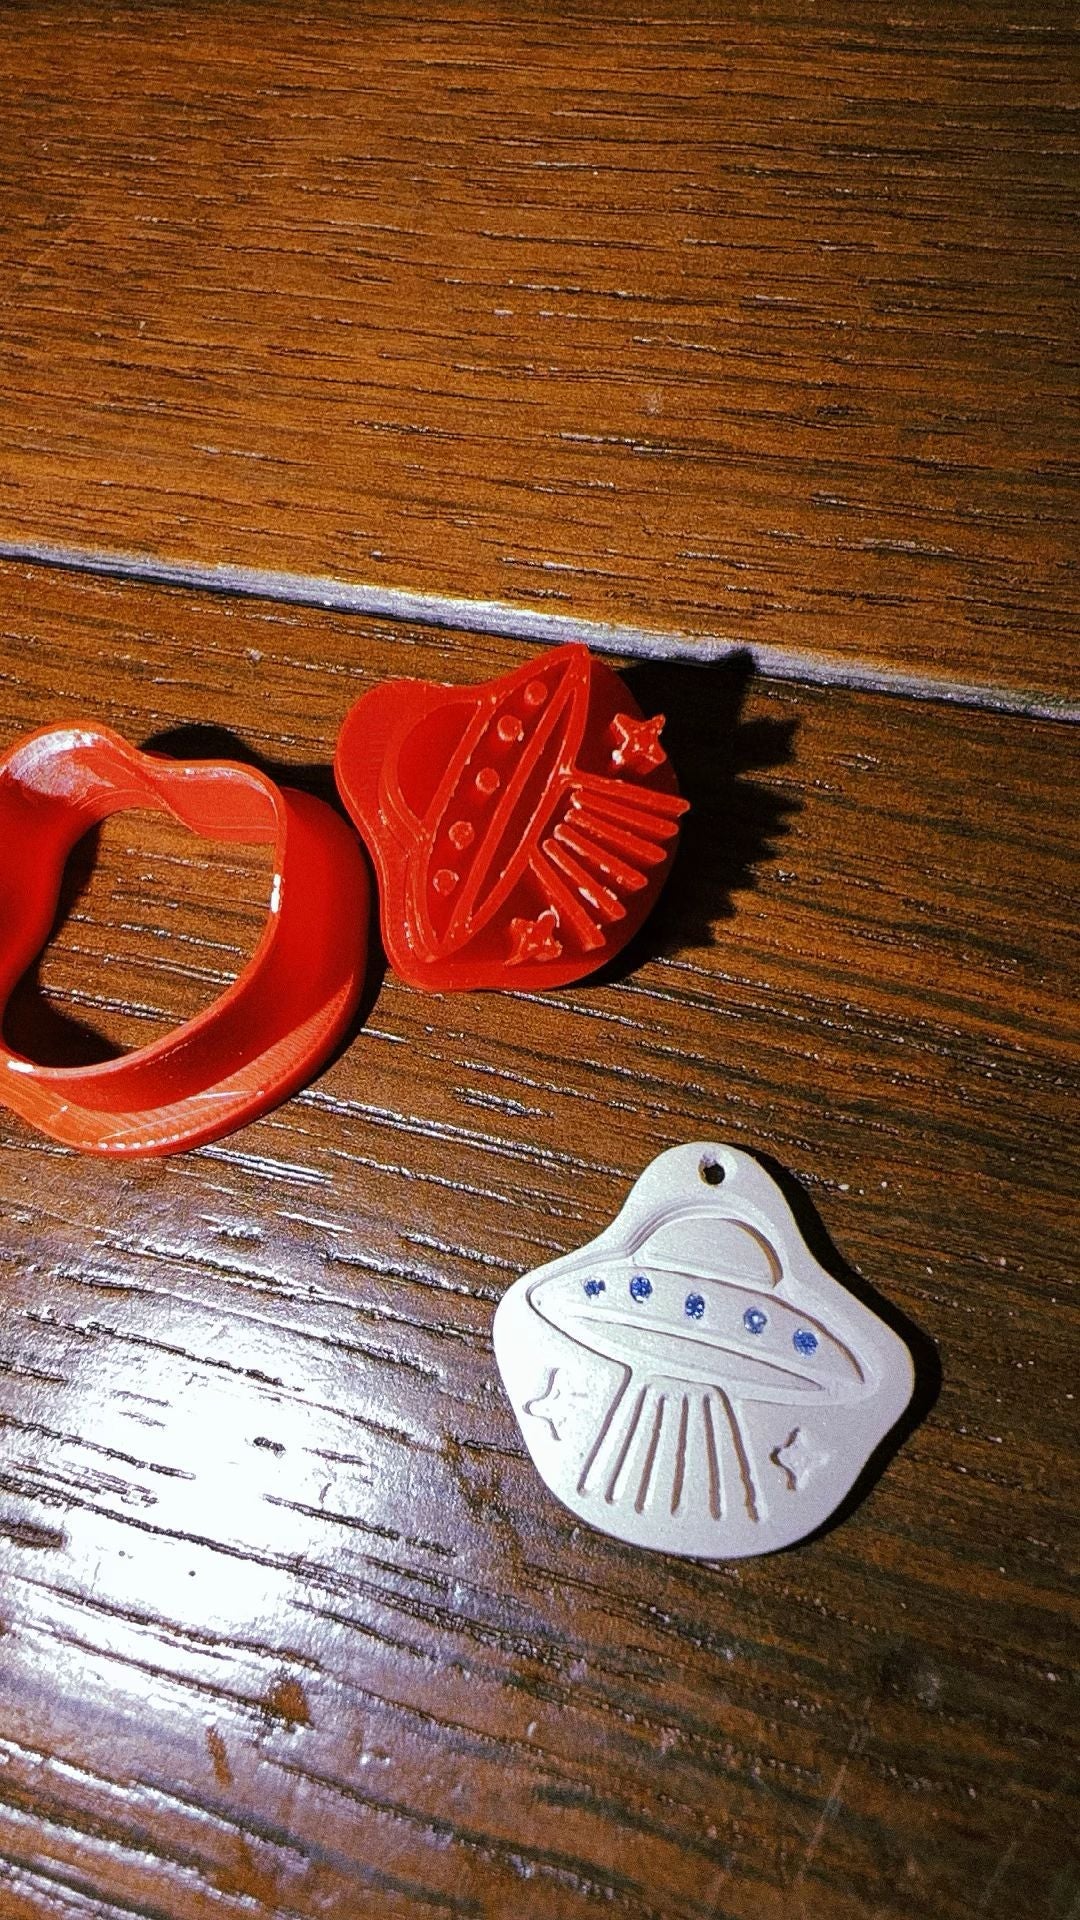
Silver clay charms are, quietly, the best value project in metal clay. They use very little material, they dry quickly, they are easy to fire with a torch, and because each one is small you can make several in an afternoon without committing to anything. If you have a piece of clay left over from a larger project, a charm is almost always the right thing to do with it.
Why silver clay charms are such a good place to start
Small pieces are forgiving. A charm has less surface area to crack while drying, less mass to heat evenly, and less to go wrong in the torch flame. If a charm does fail, you have lost a gram or two of clay rather than an afternoon's work. That lowers the stakes enough that most people relax, and relaxed hands make better jewellery.
They also finish quickly. Once fired, the piece is 99.9% fine silver, and a small charm takes only a few minutes to brush and burnish to a proper shine. The gap between starting and holding a finished silver object is short, which is exactly what you want when you are learning.
Designs that work at charm scale
The mistake most people make is shrinking a large design down. Fine detail that looks crisp on a pendant turns to mush at fifteen millimetres. Charms want bold, simple silhouettes: a heart, a star, a leaf, an initial, a small animal, a shape that means something only to you.
Texture is your friend here. A single deep impression — a stamp, a piece of lace, a leaf pressed into the surface — gives a small piece something to catch the light. One strong texture beats three subtle ones on a piece this size.
Thickness matters more than you would expect. A charm knocks against other charms and against zips and buttons all day, so roll it a little thicker than you would a pendant. Something around the thickness of two stacked playing cards is a sensible minimum for anything that will hang from a bracelet.
Make the hole first, and make it bigger
Every charm needs somewhere for a jump ring to pass through. Make that hole while the clay is leather-hard, before it is bone dry, and make it noticeably larger than the jump ring you plan to use. Silver clay shrinks as it fires, and the hole shrinks along with everything else. A hole that looked generous in the raw clay can end up too tight for the ring you bought.
Keep the hole away from the edge, too. Leave a comfortable margin of silver around it, or the charm will eventually tear through at its weakest point.
Firing several at once
Charms are small enough that you can fire more than one in a session, but resist the urge to crowd them together. Give each piece room so the flame can reach it evenly, and fire them one at a time if you are working with a torch. Watching a single small piece come up to colour is much easier than trying to judge three at once.
Because charms are light, they can shift under the flame. A soldering block with a shallow depression, or a piece of fire brick, will keep them where you put them.
What to do with them
A set of charms is a genuinely lovely thing to give. One per year of a friendship, one for each member of a family, one for each place you have lived. Because they are quick to make, a collection can grow over time rather than being finished in a single sitting, which suits the sentiment better anyway.
They also make excellent practice pieces. If you want to try a new texture, a new stamp or a stone setting for the first time, do it on a charm before you commit to something larger.
Getting started
If this is your first time with the material, how to use silver clay covers the full sequence from shaping to firing, and the complete guide goes further into tools and finishing. You can buy silver clay on its own if you already have a torch, or start with the silver clay starter kit, which includes clay, a torch, tools, a cubic zirconia and instructions and ships worldwide with duties covered.
