

Silver clay firing temperature is the question that worries most beginners, and understandably so. Too cool and the silver particles never fully fuse, leaving a piece that looks fine but snaps under pressure. Too hot and you can melt the surface or slump the whole design. The good news is that the working range is wider than it sounds, and with a torch you judge it by colour rather than by a number. This post explains what is happening inside the clay, what temperatures matter, and how to hit them reliably at home.
What firing actually does
Silver clay is made of tiny particles of fine silver held together with an organic binder and water. Drying removes the water. Firing does two things: it burns off the binder, and then it sinters the silver, which means the particles fuse together at a temperature below the metal's melting point. Fine silver melts at 961°C, and sintering happens comfortably below that. When it is done properly, the result is a solid piece of 99.9% fine silver that has shrunk by roughly 8 to 10% from its dried size.
The important idea is that sintering is a combination of temperature and time. A lower temperature held for longer can give the same result as a higher temperature held briefly. This is why kiln schedules for silver clay come in several versions, and why torch firing works even though you cannot read the temperature off a dial.
Silver clay firing temperature with a torch
With a small torch you do not measure temperature directly. Instead, you watch the colour of the piece. As it heats, the binder burns off with a brief flame and a little smoke. Then the piece starts to glow: first a dull red, then a warmer peach or salmon-orange. That peach-orange glow is your target. Hold the piece at that colour for two to five minutes, keeping the flame moving so no single spot overheats.
If the surface begins to look shiny, wet or mirror-like, you are on the edge of melting. Pull the flame back straight away. A brighter yellow-white glow is too hot. Dull red for the whole firing is too cool, and the piece will not be fully sintered. Working in a dimly lit space makes the colours far easier to read.
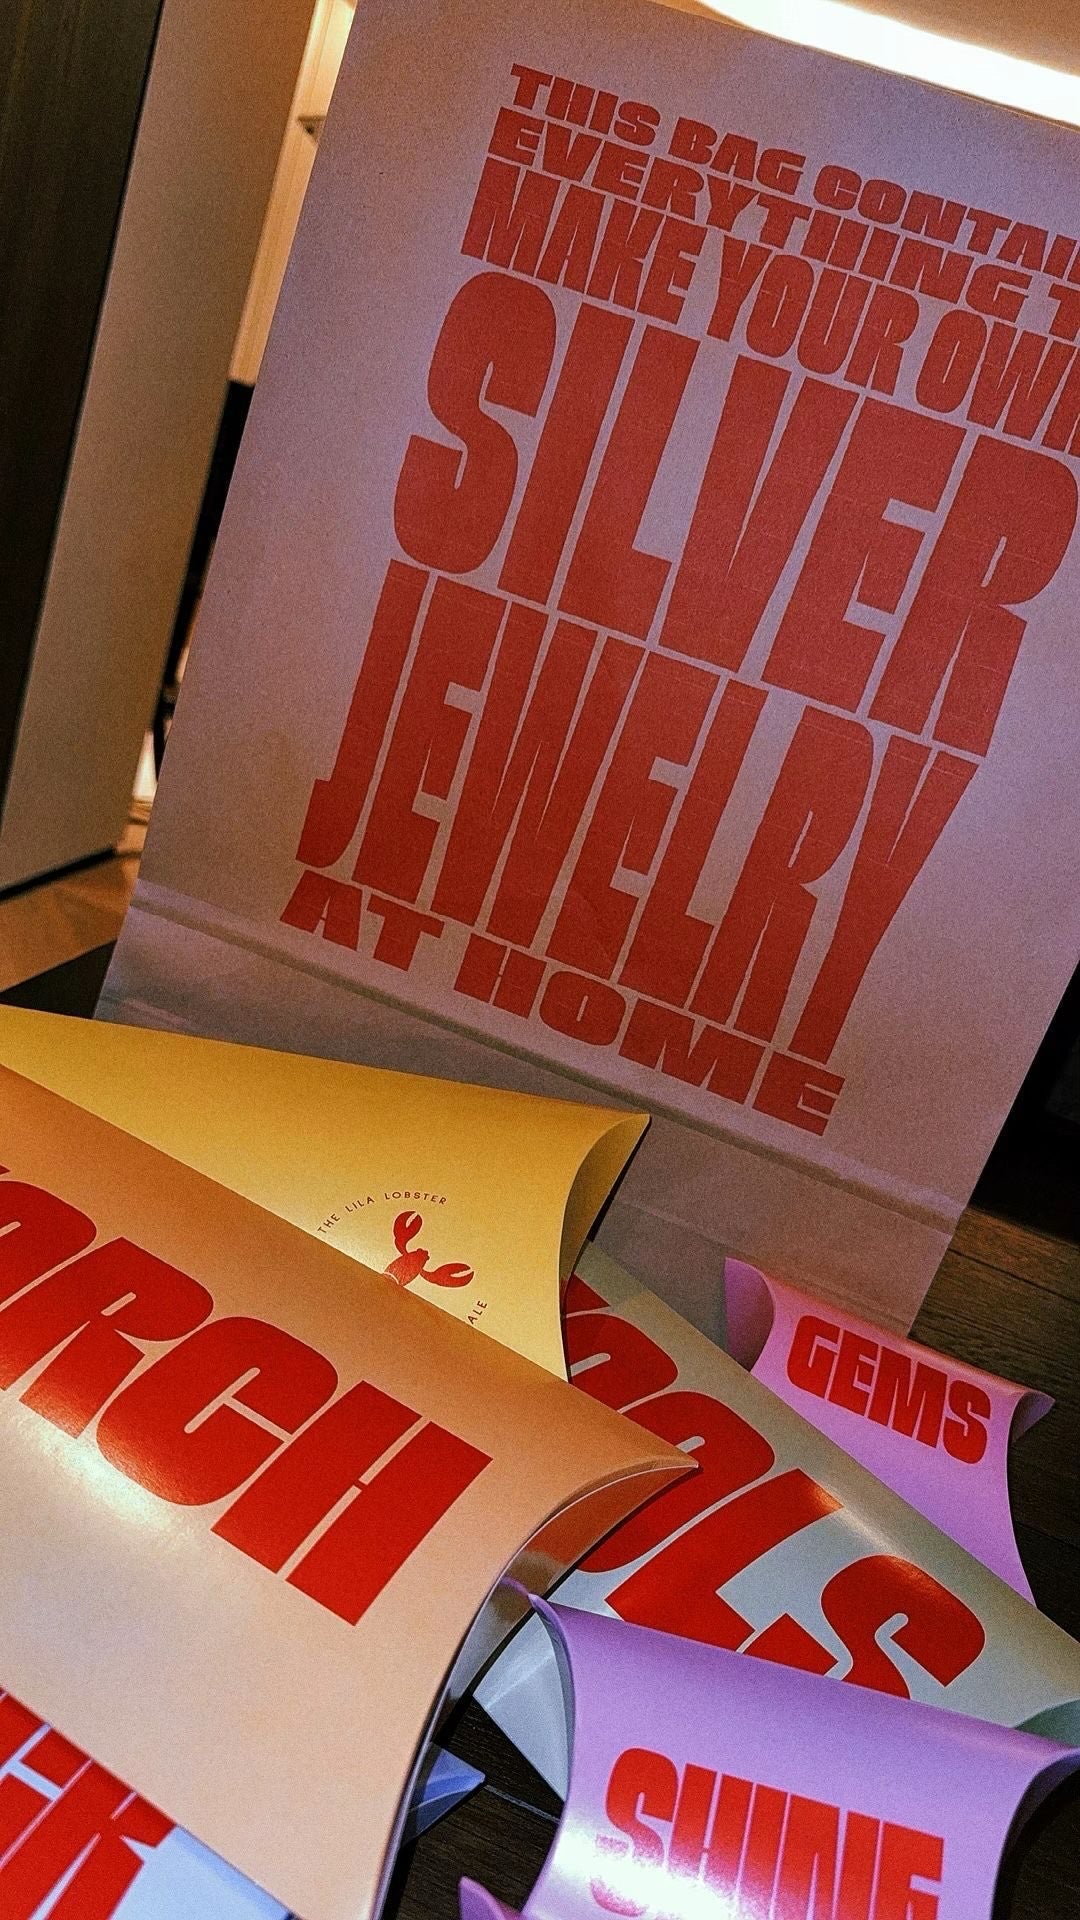
The clay from TheLilaLobster is torch-firable, and the silver clay starter kit includes the torch, the clay, tools, cubic zirconia stones and instructions, so you have everything needed for a first firing. Our step-by-step guide to firing silver clay with a kitchen torch covers the process in more detail.
Firing in a kiln
A kiln gives you precise, repeatable control, which matters for thick pieces, large batches or work that includes glass or enamel. Most fine silver clays are kiln-fired somewhere in the region of 650°C to 900°C, with the lower end needing a longer hold and the upper end a shorter one. Higher temperatures generally give a denser, stronger result, so if there is nothing heat-sensitive in the piece, the hotter schedule is usually the safer bet.
Because schedules vary between brands and product types, always follow the instructions that come with your clay rather than a schedule you found for a different product. Paste and syringe clay, for instance, may have their own recommendations, and clays that contain sterling alloy rather than fine silver need a different process altogether.
Things that change the answer
Thickness is the big one. A thin, flat charm reaches temperature quickly and can be torch-fired easily. A thick ring band or a solid bead holds a lot more material and takes longer to heat through, which is where a kiln, or a longer torch hold, earns its keep. As a rule of thumb, torch firing suits smaller pieces, and a kiln suits anything chunky.
Stones matter too. Some cubic zirconia can be fired in place, which is why they are included in the kit, but natural stones often cannot survive the heat and need to be set after firing. If you are unsure, fire the piece with the stone setting empty and set it afterwards.
Dryness is the third factor. A piece that still holds moisture can crack or pop when the water turns to steam. Make sure it is bone dry before you fire; see how to use silver clay for drying tips.
How to tell if it fired properly
A well-fired piece comes out of the torch looking white and chalky, not silver. That white layer brushes off with a wire brush to reveal the metal beneath. The real test is strength: a properly sintered piece will bend without snapping and take a polish without crumbling at the edges. If a piece fails, you can usually refire it with a longer hold.
Keep it simple
For most home makers, the practical answer to silver clay firing temperature is: heat with a torch until the piece glows peach-orange, hold it there for two to five minutes, and stop before it turns shiny. If you move on to thicker work or larger batches, a kiln with the schedule recommended for your clay is the next step (see kiln or torch for silver clay). Exact times per weight are in our silver clay firing chart, and if you were wondering about the kitchen oven, here is why it will not fire silver clay. Either way, the complete guide to silver clay is a good place to fill in everything around the firing itself.
