

Turning ashes to jewelry is one of the most personal things you can ask a piece of metal to do, and it is a subject where honest information matters more than enthusiasm. Most people only get one attempt. This guide explains what is realistic if you want to make the keepsake yourself in real silver, and which part of the process the ashes should stay well away from.
What ashes to jewelry actually means
The phrase covers several quite different things. Commercial services may press ashes into a synthetic stone, suspend a small amount in glass, or seal them inside a hollow pendant. At home the practical version is simpler: you make a small silver setting or vessel yourself, and the ashes go into it afterwards and are sealed in place. The silver is the frame. The ashes are the contents.
That sounds like a technicality. It is the single most important decision in the whole project.
Why the ashes should go in after firing, not before
Silver clay behaves like modelling clay while you shape it, then becomes 99.9% fine silver once it has been fired. The firing itself is done with a torch, at a heat high enough to burn away the binder and fuse the silver particles together. Mixing anything into the clay beforehand puts it through all of that.
There are two reasons not to. The first is practical: added material can interfere with how well the silver sinters, and a piece that has not sintered properly is brittle. The second reason is the one that matters more. If a piece cracks, warps or simply does not come out as you hoped, anything fired inside it is gone.
Making the silver first and adding the ashes afterwards removes that risk completely. A failed first attempt then costs you some clay and an afternoon, and nothing else. Given what the piece represents, that is a trade worth making every single time.
Designs that suit a keepsake
Three shapes work well and are all within reach of a beginner:
- A shallow cup pendant. A disc with a raised rim, so there is a recess to fill and seal. The simplest of the three.
- A disc with a recessed well. Press a small dome into the surface of a thick disc while the clay is soft. Clean lines, nothing to line up.
- A two-part locket. Two discs, one slightly domed, fired separately and joined afterwards. More work, but it hides everything inside.
Keep the piece small. A keepsake that gets worn is worth more than an ambitious one that lives in a drawer, and small pieces are far more forgiving to fire.
Planning for shrinkage
Silver clay shrinks by roughly 8–10% during firing, and the recess you have carefully made shrinks with it. If you want a specific internal space, build it noticeably larger than the finished size you have in mind. It is easier to fill a recess that turned out slightly generous than to work with one that closed up.
Make a practice piece first. Not a test of the design, but a test of your own hands with an unfamiliar material. Almost everyone's second attempt is markedly better than their first, and there is no reason for the real piece to be the one you learn on.
Where to begin
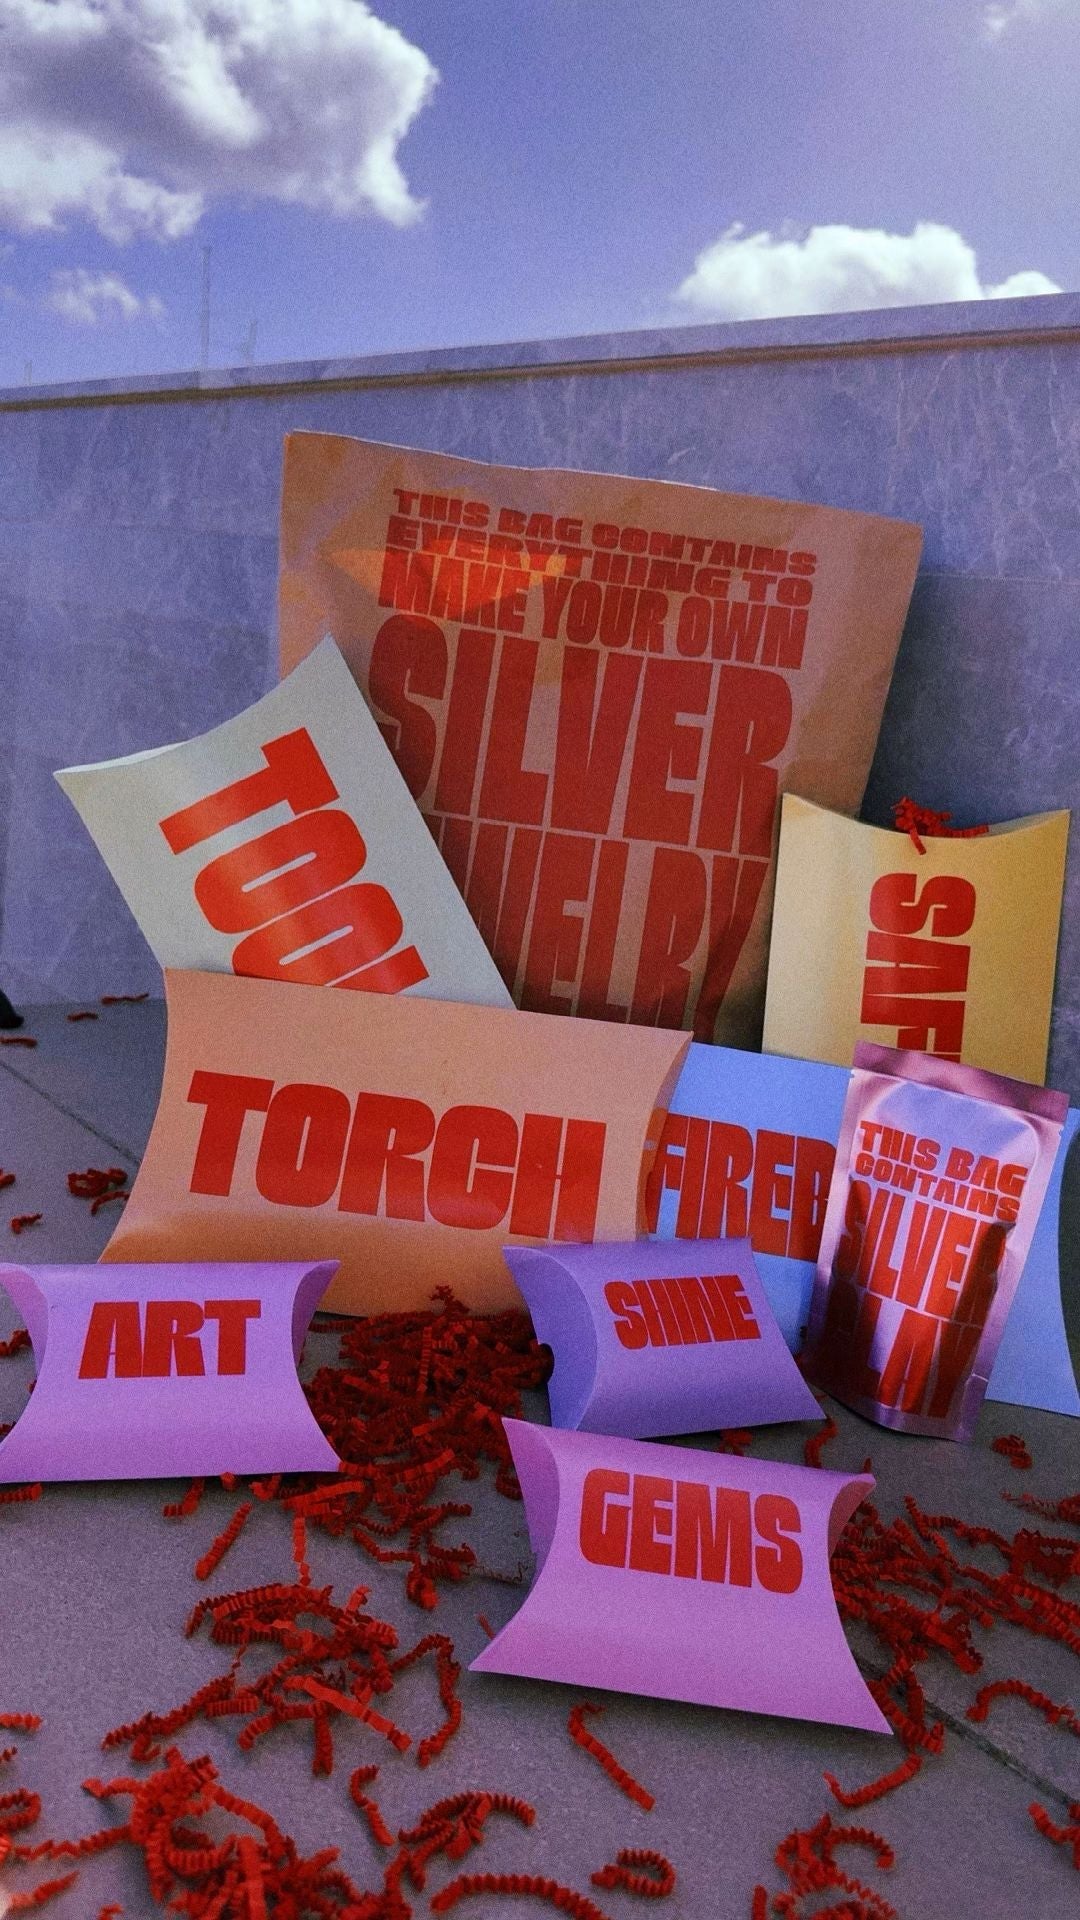
If you have not worked with the material before, the silver clay starter kit contains the clay, torch, tools, cubic zirconia stones and instructions, so there is nothing else to source before you start. We ship worldwide with duties covered.
Before you shape anything that matters, read the complete silver clay guide and the walkthrough on how to use silver clay. Both cover the basics of shaping, drying and firing, which is all the groundwork this project needs.
Take your time with it
There is no correct moment to make something like this, and no deadline attached to it. Some people want to start immediately and some leave the kit in a cupboard for a year. Both are fine. The silver will be exactly as ready whenever you are.
