

Pet hair memorial jewelry deserves an honest answer rather than an enthusiastic one. People want to keep something of an animal they loved, they want it in real silver, and there is a great deal of vague advice about how to do it. Here is what genuinely works with metal clay, and what does not.
Why hair cannot simply be fired into the silver
Silver clay becomes 99.9% fine silver because the binder holding the silver particles together burns away in the heat. Anything organic in the piece burns away with it. Hair is organic. Press it into the clay and it will not be there afterwards; you will have a small void where it used to be.
This is not a quirk of one brand or one method, and it is not something a lower temperature solves. It applies to torch firing and kiln firing alike. Any approach that promises hair sealed inside solid fired silver is describing something that cannot happen. The workable methods all keep the hair and the heat apart.
Route one: a silver vessel
Make the silver first, keep the hair separate, and bring the two together at the end. A small tube or hollow bead with a fitted cap can be built from silver clay, fired, finished, and then filled and sealed. A hinged locket is a genuinely difficult piece to make in metal clay, so a plain sealed capsule on a chain is the realistic version of this idea.
Route two: set a preserved stone
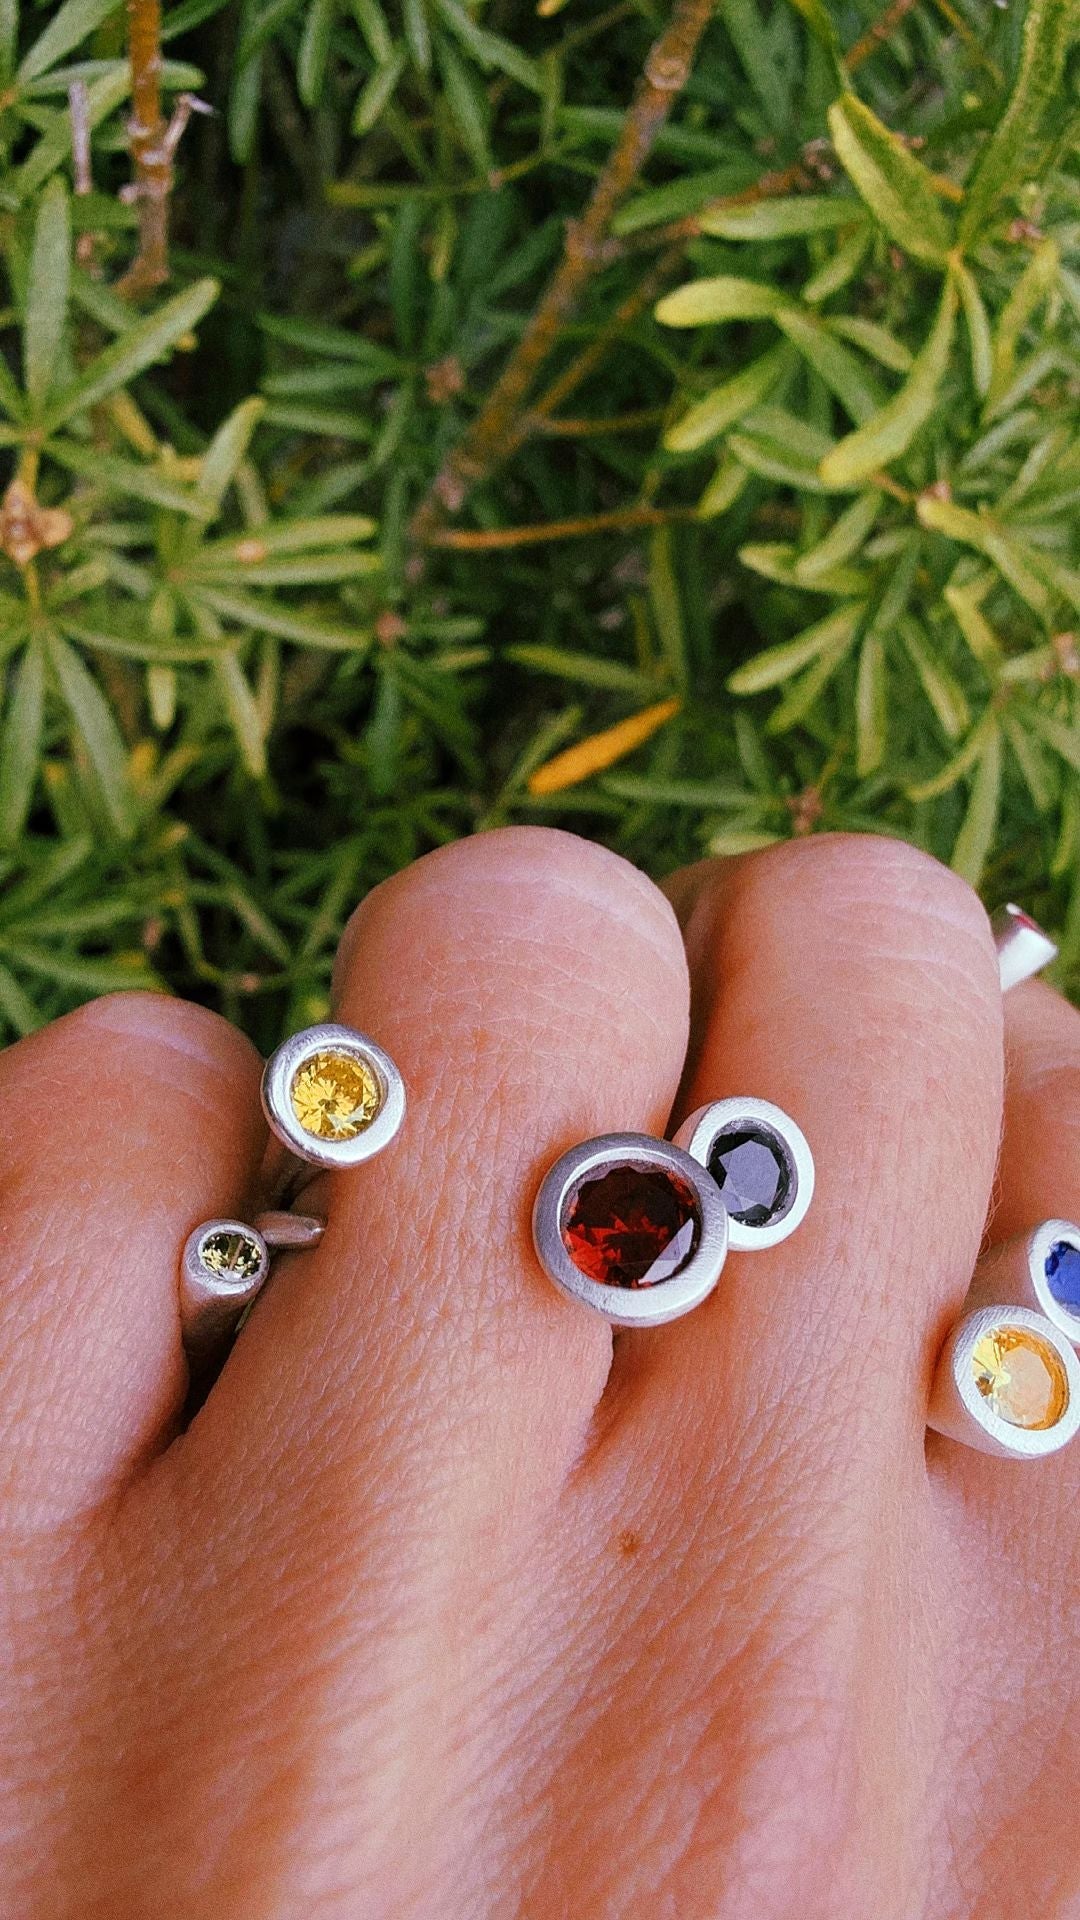
Hair can be set into resin, either by a specialist or with a preservation kit, which produces a small solid stone. That stone is then held in a silver setting you make yourself. The stone never goes near the flame; the setting is fired and finished first, and the stone is fitted afterwards.
This is the same workflow as any other keepsake stone, and the practical details of sizing a bezel are covered in our guide to setting a keepsake stone in real silver. The one number to remember is that silver clay shrinks by roughly 8-10% in firing, so the opening must be built oversized.
Route three: an impression rather than the hair
Often the strongest keepsake is not a physical piece of the animal at all, but a mark they made. A paw print pressed into soft clay and fired becomes permanent fine silver, and it carries a shape that is unmistakably theirs. Our guide to paw print jewelry walks through taking and transferring the impression.
Some people combine the two: a paw print on the front of a small capsule, with a lock of hair sealed inside. Neither element compromises the other, because they are made at different stages.
The silver skill all three routes share
Whichever route you choose, the same handling applies: roll the clay evenly, shape it, let it dry completely, refine it while dry, then fire. Small pieces can be fired with a handheld torch, so a kiln is not needed. How to use silver clay covers the whole sequence from soft clay to finished metal.
Practise first, always
Whatever you are keeping is irreplaceable, so make the piece twice. Build a practice version with nothing precious in it, learn where your own shrinkage and fit land, and only then make the one that matters. There is no rush with this kind of project, and rushing is the only way to lose something twice.
The silver clay starter kit contains the clay, torch, tools, cubic zirconia and instructions, which is enough for a practice piece and the real one. We ship worldwide with duties covered.
