


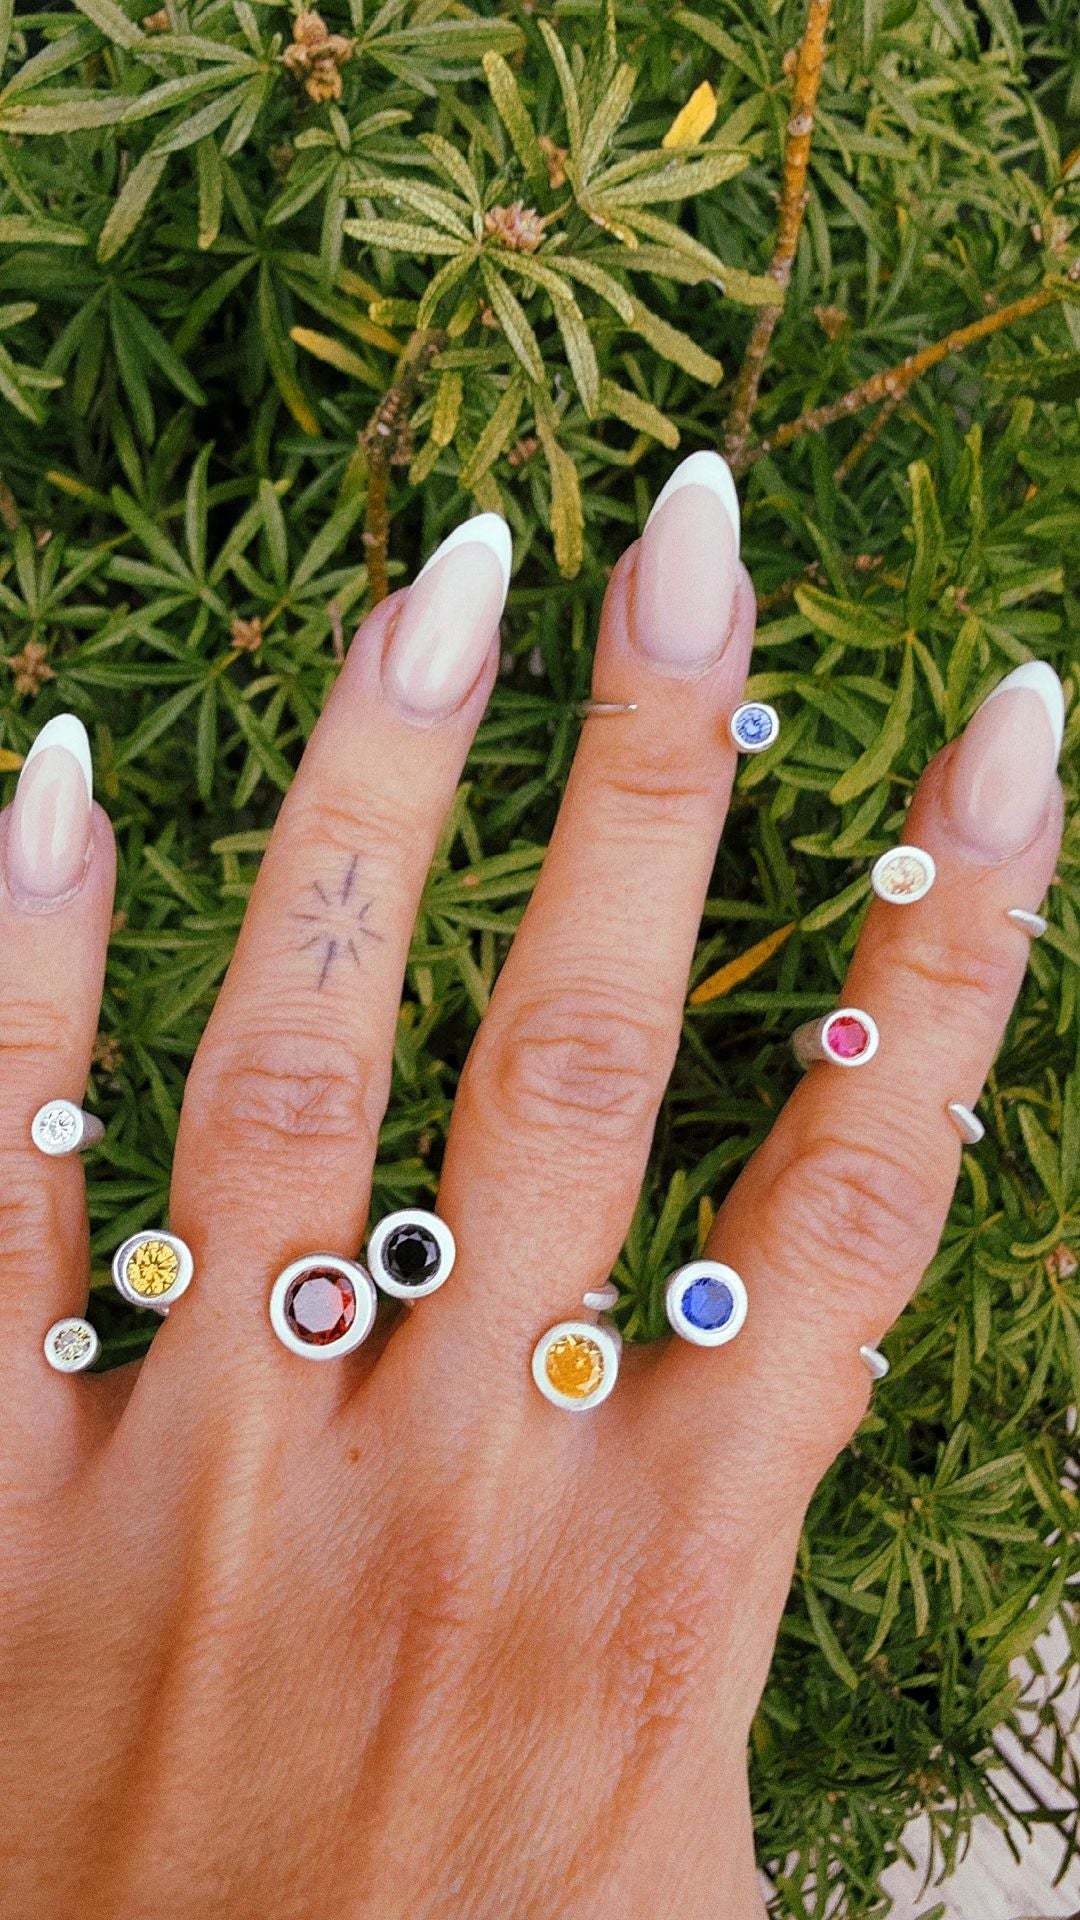
8.5 million people watched this 15-second moment: a star-shaped silver piece, fresh from firing… and the stone was never placed. Here's the reel — and everything you need to know about setting gemstones in silver clay, including how to fix exactly this mistake.
How stone setting works in silver clay
Cubic zirconia and lab-grown stones can be pressed directly into wet clay before firing — they survive torch temperatures. Push the stone in until the clay edge sits slightly above the stone's widest point (the girdle); during firing the clay shrinks and locks the stone permanently in place. No prongs, no glue, no setting tools.
That lock comes from shrinkage, which is worth understanding before you place your first stone. Silver clay is fine silver powder held together with a binder and a little water. Firing burns the binder away and the silver particles sinter together, so the finished piece comes out 8–10% smaller than you made it and 99.9% fine silver. The stone does not shrink. The clay closes in around it instead, by a fraction of a millimetre, and a stone that was merely resting in a hollow beforehand is gripped afterwards.
Which also means the setting is only as good as the seat you build. If the clay edge sits below the girdle, the stone has nothing to hold on to and shrinkage will simply push it up and out. If the stone is buried too deep, you lose the sparkle you set it for. Slightly above the girdle, all the way round, is the whole target.
That collar of clay around the stone is doing the same job as a bezel in traditional metalwork, without the soldering — if you want the wider picture of how stone settings are built, the guide to bezels for jewellery making covers both bought bezel cups and formed ones.
Which stones can be fired into silver clay?
The dependable list is short: cubic zirconia, and lab-created corundum and spinel. These are grown rather than mined, which is exactly why they work — no water trapped inside, no natural inclusions to expand and fracture, and a composition that does not change colour when it is taken to a bright glow. Our gemstone collection is selected to be fire-safe, so stones bought there do not need checking one by one.
Cubic zirconia
The default, and the stone most people should start with. It is inexpensive, comes in a long list of colours, sits at about 8 on the Mohs hardness scale, and is sold in round, square and marquise cuts that suit rings, pendants and earrings equally well. Every Silver Clay Starter Kit includes cubic zirconia stones for this reason — they are forgiving enough to practise on. If you want the material explained properly, we have a full guide to cubic zirconia.
Best for: first pieces, colourful designs, faceted sparkle.
Lab-created sapphire
Lab sapphire is corundum, the same mineral as the natural stone, grown under controlled conditions. At 9 on the Mohs scale it is harder than cubic zirconia and extremely durable in wear, and the deep blue — along with the pinks, yellows and whites corundum also comes in — makes a convincing centrepiece on a ring.
Best for: statement rings and pendants where one stone carries the piece.
Lab-created ruby
Also corundum, also Mohs 9, and the strongest colour contrast you can get against polished fine silver. Red reads as deliberate in a way that pale stones sometimes do not, which makes ruby a good choice for a small piece that needs a focal point.
Best for: classic designs with bold colour.
Lab-created spinel
Less talked about than the other two and useful for the colours corundum does not do as cleanly — particularly a true black and a dense navy blue. Slightly softer than sapphire but still comfortably hard enough for everyday jewellery.
Best for: modern, graphic designs and black-stone settings.
Stones to set after firing instead
Some stones should never go into the kiln or under the torch. Opal holds water in its structure and will crack. Amethyst changes colour with heat. Emerald usually carries inclusions that fracture as it expands. Pearl is organic and will simply burn. Turquoise is porous and discolours.
Natural garnet and hematite come up constantly in metal clay groups, and the advice on them is genuinely mixed. We do not fire them, and we would not suggest finding out on a piece you have spent an evening making. The rule that never catches anyone out is the simple one: if it is not cubic zirconia or a lab-created corundum or spinel, set it after firing.
Setting afterwards is not a consolation prize, either. Fired fine silver is soft and very workable, so a seat can be drilled and the stone secured with a jewellery-grade adhesive, or you can build a bezel wall from clay before firing, leave it empty, and tap it gently over the stone once the piece is finished. That second route gives you a proper mechanical setting with no glue anywhere near it, and it opens up every stone on the avoid list.
Setting a stone step by step
- Shape the piece first. Roll, cut and texture the clay and get the form you actually want before a stone goes anywhere near it. Pressing a stone into clay you then need to reshape is how stones end up crooked.
- Press the stone in. Push it down until roughly half to two-thirds of its depth is below the surface and the clay edge stands slightly above the girdle. Press straight down, not at an angle, and check it from the side rather than from above.
- Build a bezel around it. Roll a thin snake of clay and lay it around the base of the stone, so there is a continuous collar of clay rather than four thin spots where the clay happened to squeeze up.
- Smooth the bezel in. A damp brush blends the collar into the surrounding clay. Work it until there is no visible join — a seam here is a place the piece can crack later.
- Dry completely. Give it two to three hours somewhere warm, and longer for anything thick. Before firing, try to move the stone with a fingertip: it should not shift at all. If it does, add a little clay paste and dry again.
- Fire as normal. Bring the heat up gradually rather than going straight to full flame, and keep the torch moving. Our kitchen torch walkthrough covers the technique, and the firing temperature guide covers how hot and how long for both a torch and a kiln.
If stone setting is new to you, the general how-to guide is the better place to start, and the pendant tutorial is an easier first canvas than a ring — a flat piece gives you a stable surface to press into. When you are ready for a band, the ring tutorial takes the shrinkage allowance into account for you.
Choosing the stone size and where to put it
Because the clay shrinks and the stone does not, a stone that fills most of a small piece will fight the metal as it closes in, and the piece can distort or crack around it. A useful habit is to keep a margin of clay around the stone at least as wide as the stone is deep, and to keep that margin even all the way round.
For a first attempt, 2–4 mm stones are much easier than large ones. They need a shallower seat, they are far less fussy about being level, and if one does not go well you have lost very little. Place them away from the thinnest part of a piece — the middle of a pendant rather than near the bail, and the top of a ring rather than anywhere on the band, where the metal flexes most in wear.
If you want a reason to choose a particular colour rather than whatever is nearest, birthstone pieces are an easy place to begin, and the green stone ring project shows what a single coloured stone does to a plain band.
Stones in keepsake jewelry follow the same rule: cubic zirconia can be fired in, anything organic cannot.
Forgot the stone? Two rescues
1. Drill and set after firing — fired fine silver is soft enough to create a seat with a hand drill, then secure the stone with a dab of jewellery-grade adhesive.
2. Add fresh clay — apply a small amount of new silver clay around the stone position, press the stone in, and re-fire the piece. Silver clay bonds to fired silver: that's the fix used in the reel.
The second rescue is the better one if the piece matters, because it ends with the stone held by metal rather than by adhesive. It also works for a stone that has gone in crooked: break the collar away, clean the seat, and rebuild it with fresh clay.
Finishing around a set stone
Finishing is the same as for any other piece, with one adjustment: work around the stone rather than across it. A brass brush with a drop of washing-up liquid brings up the white satin surface, polishing papers take it further, and a burnisher run around the bezel edge both brightens that edge and tightens it against the stone a little more. Fired cubic zirconia and lab corundum come out of the process unbothered; if a stone looks dull afterwards, it is almost always firing residue on the surface rather than damage, and it cleans off.
A set stone can go into almost any kind of piece, and the mount is only half the decision — the style and the fitting decide how it sits and catches the light once it is worn. Our guide to the types of earrings is the glossary for that side of it, and silver clay earrings are the quickest project on which to practise a small stone, because there is less clay to go wrong and you make two of them.
Frequently asked questions
Can you really fire cubic zirconia with a hand torch? Yes. Cubic zirconia is stable well past the point at which silver clay sinters, which is why it is the standard choice for stones set before firing. No kiln is needed for this — a torch is enough, as it is for the clay itself.
Will the stone fall out later? Not if the clay edge sat above the girdle before firing and the collar of clay around it was continuous. Shrinkage then works in your favour. Stones come loose when they were pressed in too shallowly, or when the clay squeezed up on two sides only.
What size stone should a beginner use? Something in the 2–4 mm range. Small stones need a shallower seat, are more forgiving about being perfectly level, and leave plenty of clay around them to take up the shrinkage.
Can you set a natural gemstone in silver clay at all? Yes, but after firing rather than before. Build a bezel wall into the piece while the clay is wet, fire it empty, then set the stone into the finished silver. That way opals, pearls and anything else on the avoid list are all available to you.
Try it yourself
The Silver Clay Starter Kit is the simplest way in: it contains the clay, a torch, the tools, cubic zirconia stones and the instructions, so a stone-set piece is possible on the first evening. If you already have the tools and only need material, silver clay on its own and the rest of the silver clay range are there, with fire-safe stones in the gemstone collection and everything else in supplies.
We ship worldwide and cover the duties, so the price you see is the price you pay. New to the material? Start with Silver Clay: The Complete Guide.