

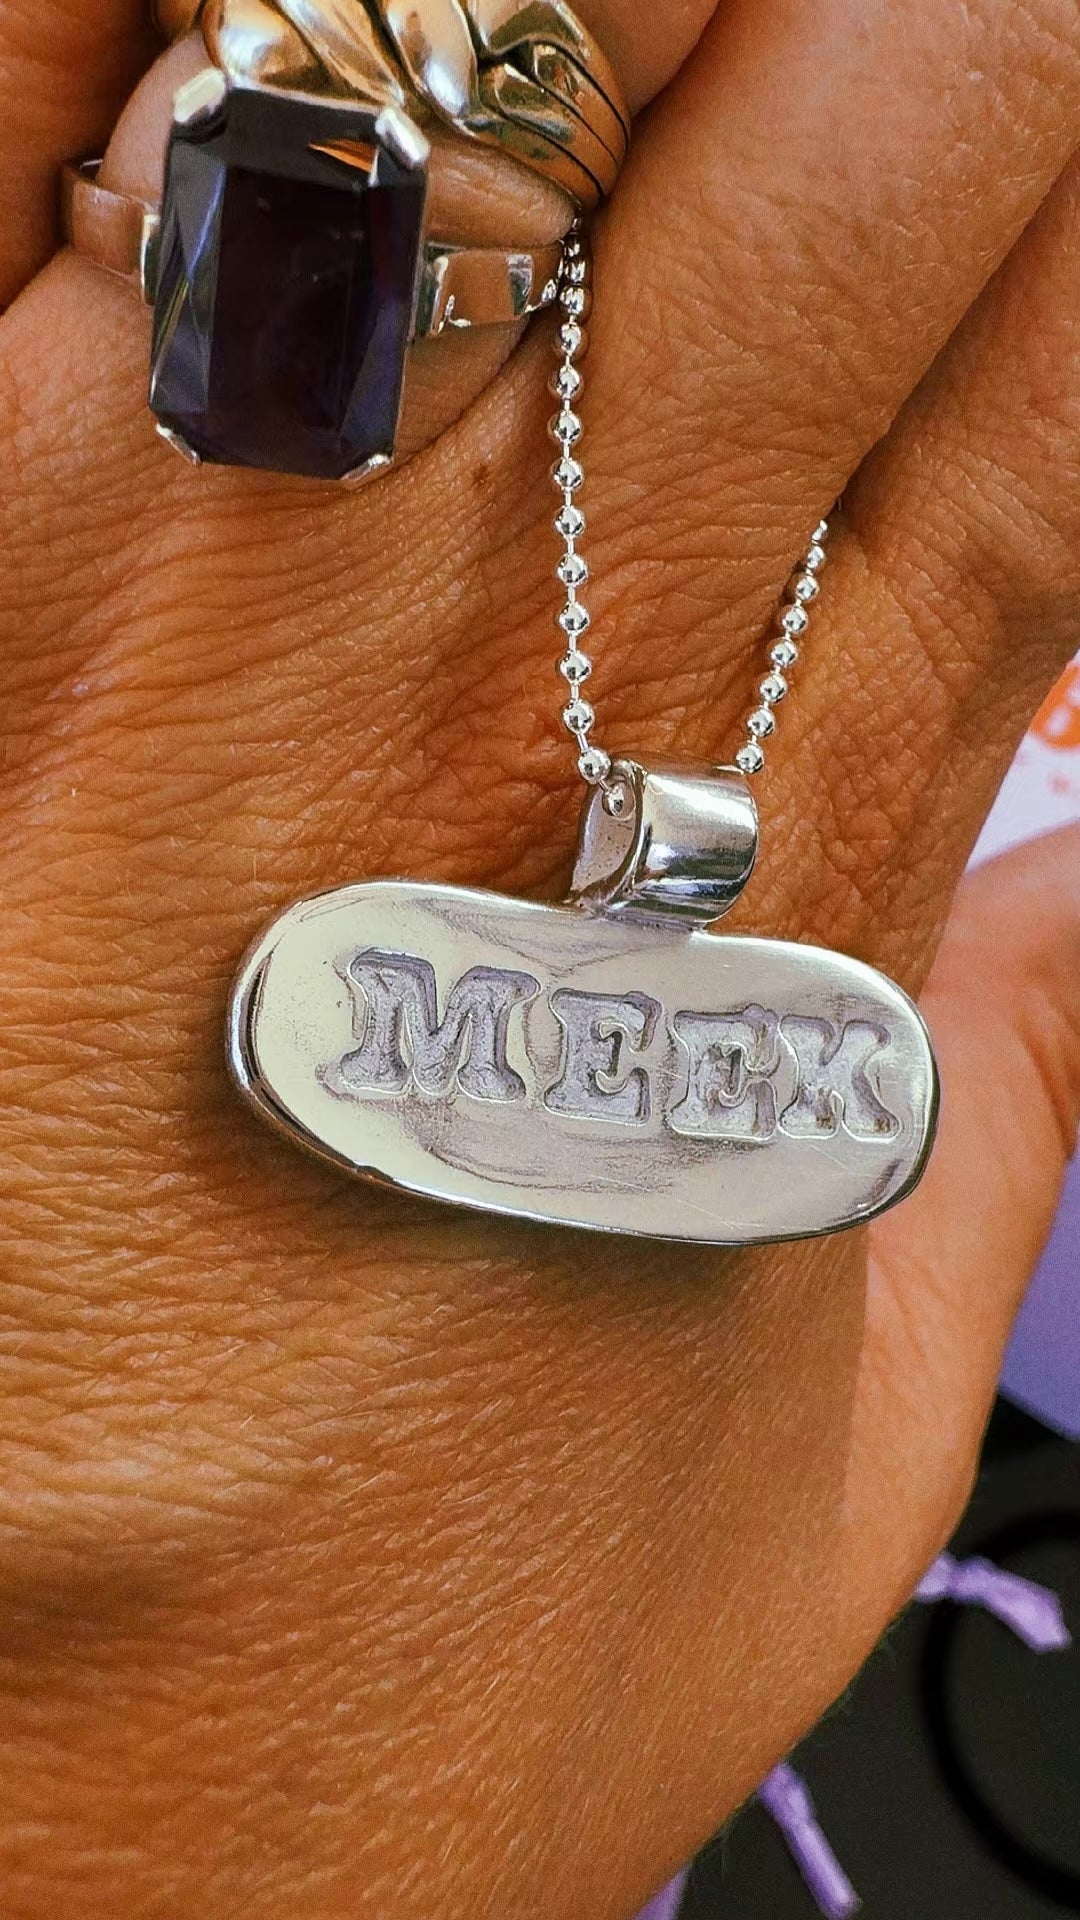
Silver clay earrings are one of the most satisfying projects for a beginner, and there is a good reason for that: they are small. A pair of studs uses very little clay, dries quickly, fires in minutes and gives you something wearable at the end of an afternoon. There is no ring band to size and no bail to attach — just two small shapes and a decision about how to finish them.
Why earrings suit silver clay so well
Silver clay behaves like modelling clay while you work and becomes 99.9% fine silver once fired. Because earrings are worn in pairs but seen one at a time, small differences between the two barely register — which takes a lot of pressure off. Compare that with a ring, where every part of the band is visible at once.
The material shrinks by 8-10% during firing, so make each piece slightly larger than the finished size you have in mind. For earrings this is rarely a problem; a 15 mm disc becoming roughly 13.5 mm is still a good size. It only matters if you are matching earrings to an existing piece, in which case scale up deliberately.
Four silver clay earring designs to start with
Textured discs. Roll the clay to an even thickness, press a texture into the surface — lace, leaves, a patterned roller — and cut two circles with a cutter. Simple, and the texture does all the work.
Organic shapes. Tear or cut freeform petal and leaf shapes. Slight irregularity looks intentional here, which makes it very forgiving.
Stone-set studs. Press a cubic zirconia into each shape before drying, easing the clay up around the girdle of the stone so it is held securely. Fireable stones go straight into the clay and come through the firing intact.
Small drops. Make two flat shapes with a hole near the top, then hang them from ear wires after firing. Use a drinking straw or a fine drill bit to make the hole while the clay is leather-hard.
Making a pair of silver clay earrings, step by step
- Roll evenly. Use thickness guides so both pieces are the same depth. Uneven thickness is the main cause of a mismatched pair.
- Texture and cut. Apply your texture, then cut both shapes one after the other so they match.
- Make holes now. If the design needs a hole for an ear wire, do it while the clay is soft or leather-hard — never after firing.
- Dry completely. Small pieces still need to be bone dry before firing. Any trapped moisture can cause blistering.
- Refine. Sand edges smooth with a fine file or sanding pad. Time spent here shows in the finished piece more than anything else.
- Fire. Silver clay is torch-firable, so a small pair of earrings can be fired at home on a firing brick.
- Finish. Brush the white fired surface with a brass brush to bring up the shine, then polish further if you want a mirror finish.
Attaching the findings
For studs, the usual approach is to glue a sterling silver ear post to the back of the fired piece with a jeweller's epoxy — make sure the back is sanded flat and clean first so the post has something to grip. For drops, open a jump ring sideways (never pull it apart), thread it through the hole and the ear wire, and close it so the ends meet cleanly.
Whichever route you choose, sit the finished pair side by side and look at them at arm's length before you commit. It is much easier to sand a little more off one earring than to explain why one hangs lower than the other.
A note on getting the pair to match
Work on both earrings at every stage rather than finishing one and then starting the other. Roll both, texture both, cut both, sand both. Your hands drift over the course of an hour, and doing the same step twice in a row keeps the pair consistent in a way that working sequentially never quite manages.
If you are starting out, the silver clay starter kit contains clay, a torch, tools, a cubic zirconia and instructions, which is everything a first pair of earrings needs. We ship worldwide with duties covered, so the price you see is the price you pay.
For the wider picture, read the complete silver clay guide, and if you would rather begin with a ring, there is a step-by-step ring tutorial too.
