

A silver clay bracelet sounds like the most ambitious thing you could make with metal clay, and yet it is one of the friendliest projects for a second or third attempt. The trick is that you never make a bracelet as one long band. You make small pieces and join them afterwards, which keeps every step well within the size a kitchen torch can comfortably handle.
Why a silver clay bracelet is made in pieces
Silver clay turns into 99.9% fine silver once it is fired, but a torch can only bring a limited amount of metal up to temperature at once. A solid bracelet-sized band is simply too much material for that. Working in small components keeps each firing quick and reliable, and it gives you the freedom to redo one piece rather than the whole thing.
If you have not fired anything yet, the step-by-step walkthrough of how to use silver clay is the place to start before you scale up to a multi-part project.
The charm bracelet route
This is the easiest way in. Roll your clay to an even thickness, cut or shape five or six small charms, and make a hole in each one while the clay is still soft. Let them dry fully, tidy the edges with a fine file, then fire each charm in turn. Once they are polished you thread them onto a ready-made chain with jump rings. Nothing needs to be soldered, which is what makes this project so forgiving.
Making your own links
If you want the whole bracelet in silver, make flat links with two holes each and connect them with jump rings. Keep the links small and consistent: roll the clay between two guides of the same thickness so every piece fires the same way. Texture is your friend here. Press linen, lace, a leaf or a stamp into the surface before drying, and the finished links will catch the light in a way plain silver never does.
A cuff, if you want something solid
A cuff is possible but asks for more clay and more care. Shape the dried piece over a curved former before firing, because dry clay is brittle and will snap if you try to bend it cold. Keep it narrow, keep the thickness even, and treat it as a project for once you are comfortable with the torch.
Sizing, shrinkage and finishing
Silver clay shrinks by roughly 8-10% as it fires, so make every hole and every link slightly larger than you think you need. On a bracelet those small losses add up across a whole row of links, so it is worth measuring your dried pieces against your wrist before you fire rather than after.
After firing, the surface comes out white. Brush it with a steel brush to bring back the shine, then polish the raised areas bright and leave the recesses darker for contrast. Textured links look far better with that contrast than with a uniform mirror finish.
What you need to get started
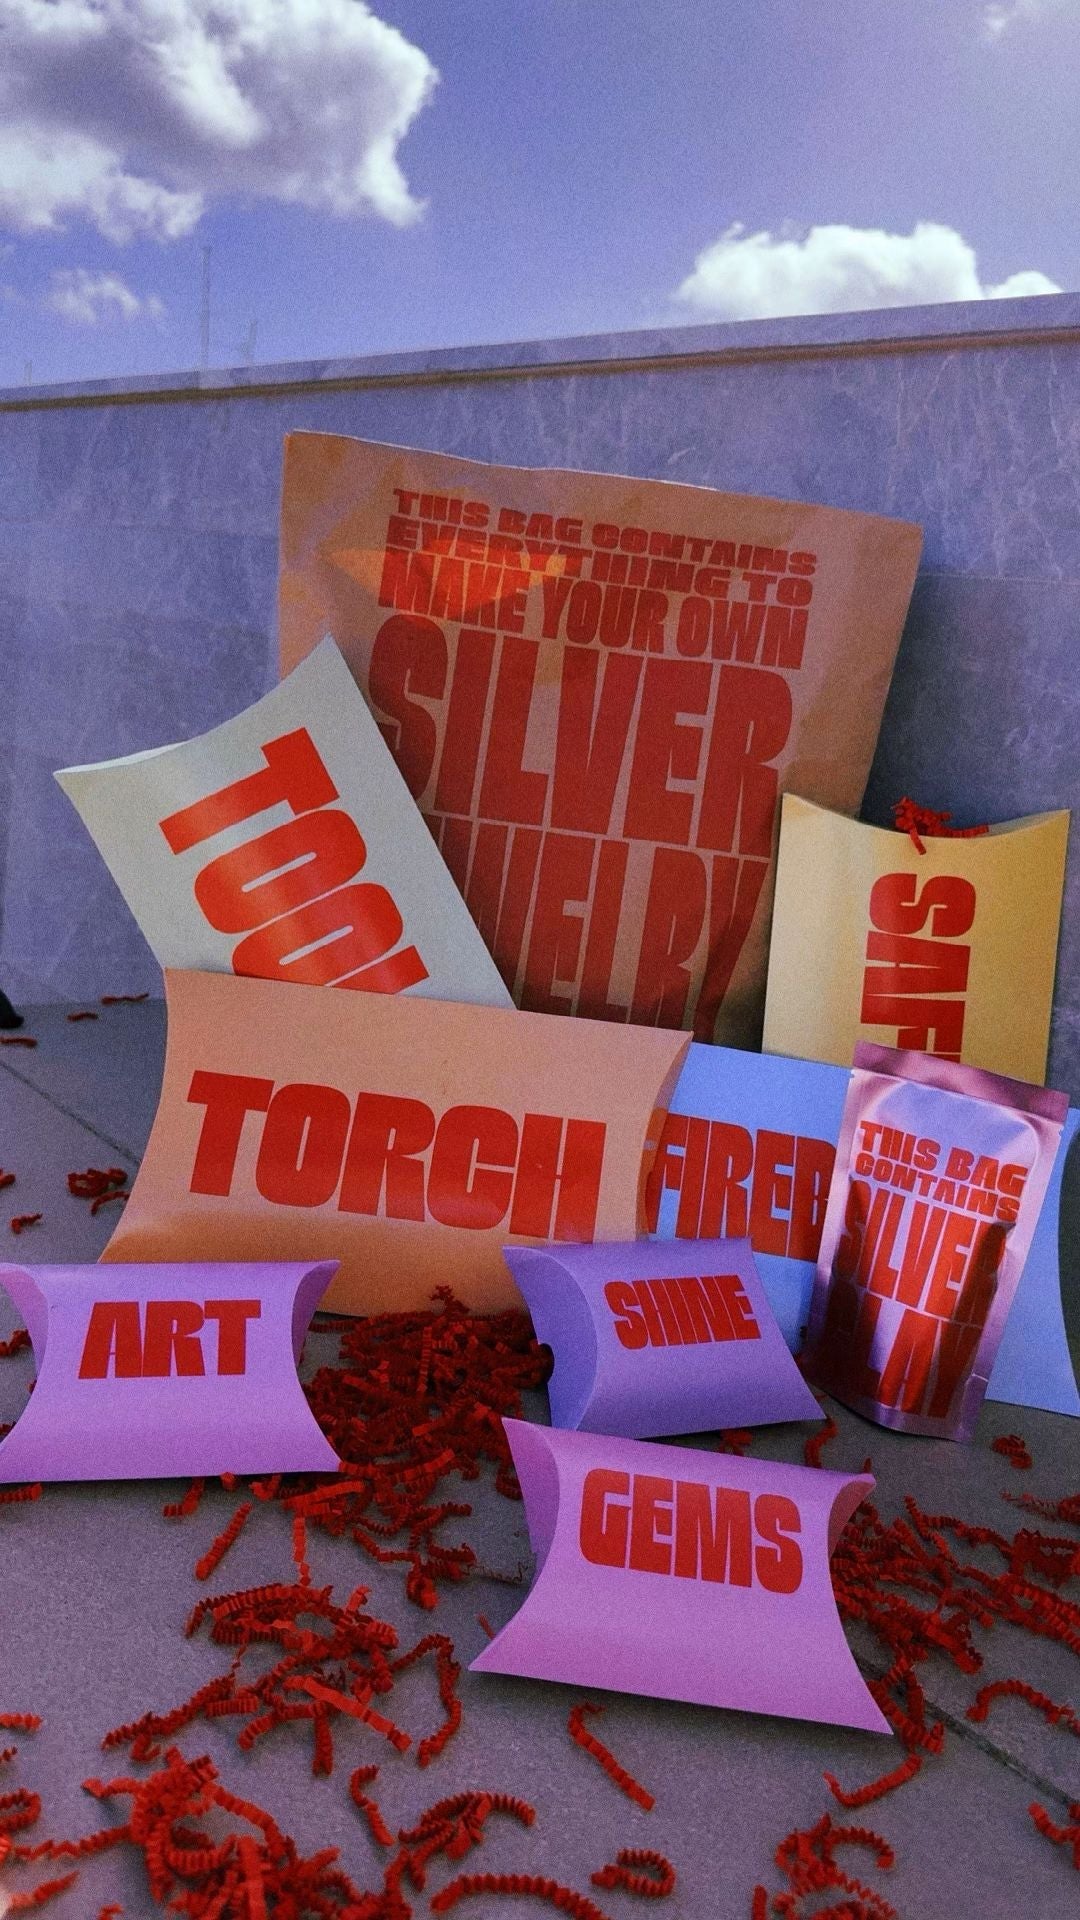
Everything for a first attempt is in the silver clay starter kit, which contains clay, a butane torch, the tools, a cubic zirconia and printed instructions. A bracelet uses several pieces rather than one, so extra silver clay is worth having on hand. We ship worldwide with duties covered.
Start with three charms. Fire them, polish them, and see how they hang on your wrist. A finished bracelet is really just that same project repeated a few more times, and by the third charm the process stops feeling like an experiment.
