

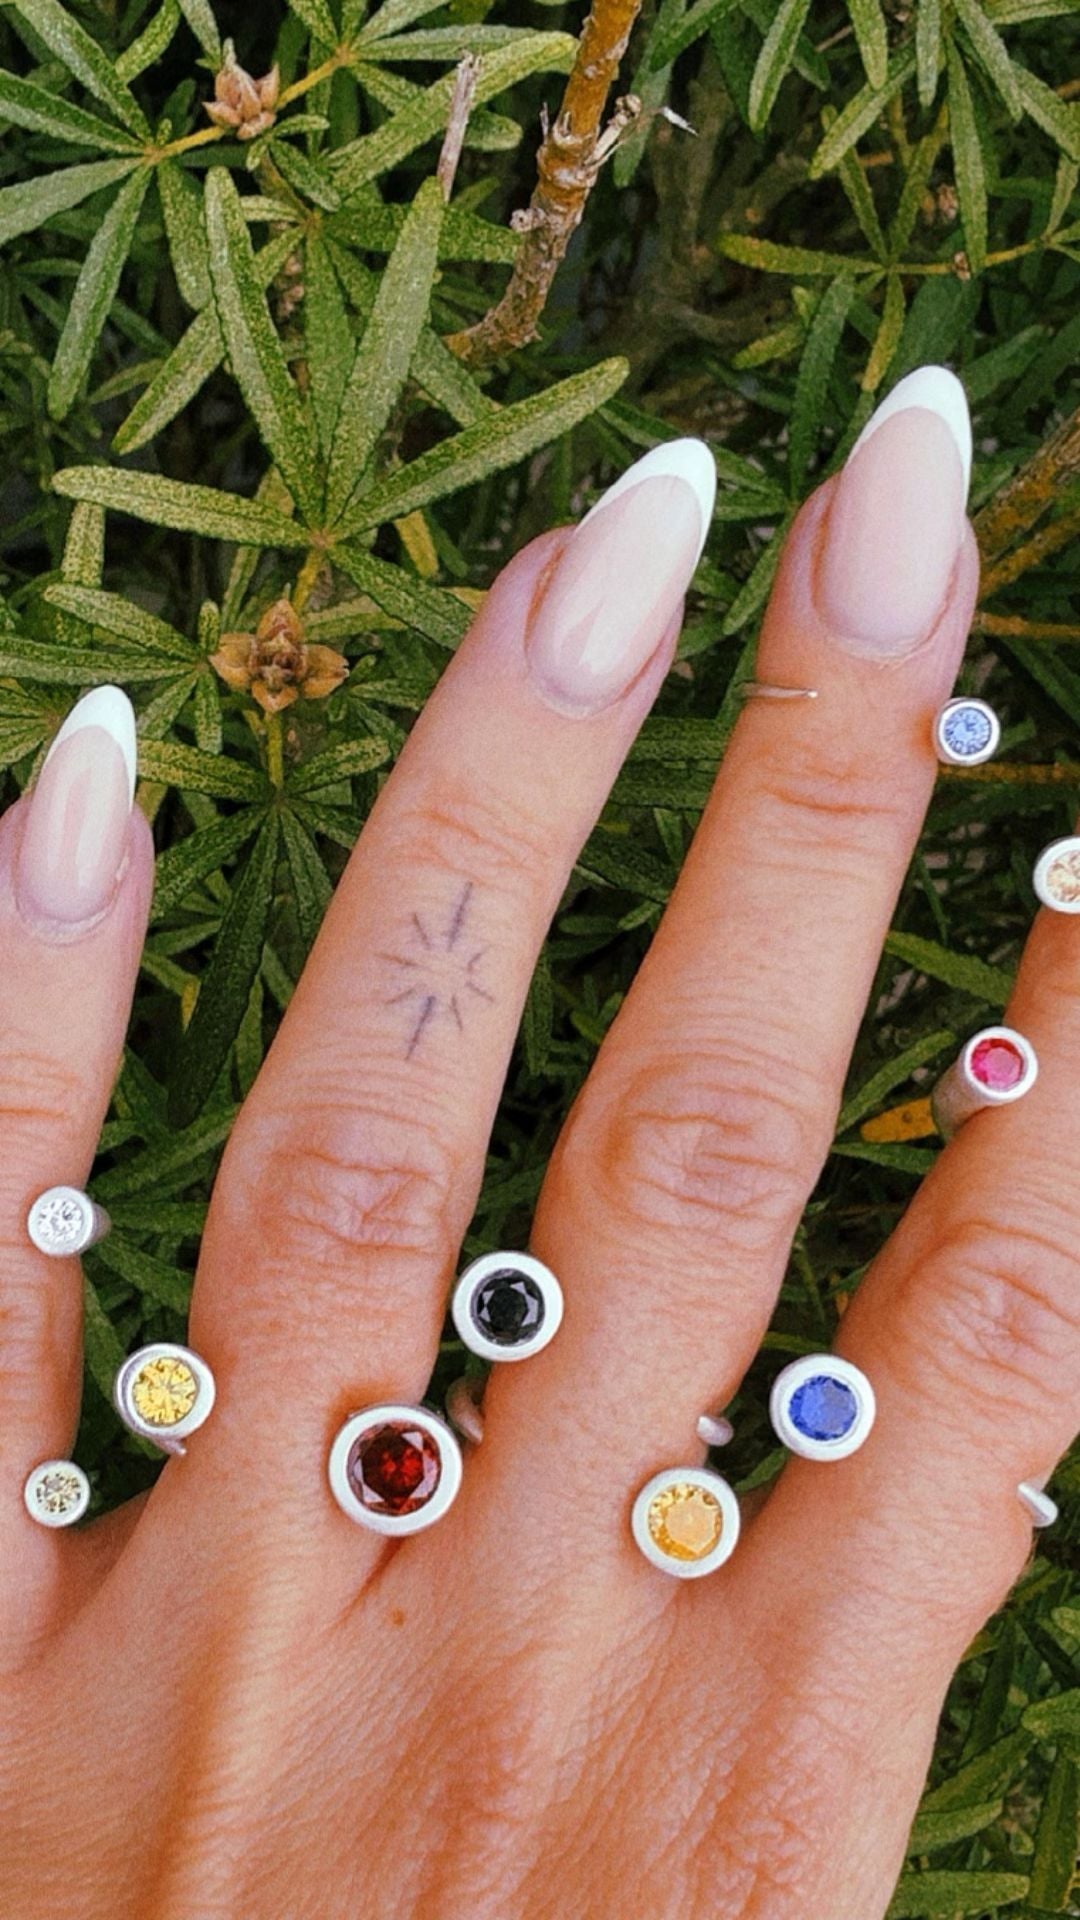
Bezels for jewelry making are the least glamorous part of stone setting and the part that decides whether the stone stays in. A bezel is simply a wall of metal that surrounds a stone and is pressed over its edge to trap it. No glue, no prongs, no tension. Done properly it is the most secure setting a beginner can manage.
What a bezel actually is
Picture a short collar of metal standing up from a flat base, sized so the stone drops in with almost no gap. Once the stone is seated, the top edge of that collar is rubbed inwards until it leans over the stone and grips it. The stone is then held mechanically, all the way round, by metal that cannot let go without being cut.
This is why bezels are the standard setting for soft or brittle stones. A prong setting concentrates pressure on four or six points. A bezel spreads it evenly, which is gentler on the stone and far less likely to snag on clothing.
Bought bezel cups versus formed bezels
A bezel cup is a ready-made setting you buy in a fixed size and solder or glue onto your piece. It is quick, consistent and limited: the stone has to match a size someone else decided on, and the look is generic.
A formed bezel is one you make yourself, sized to the stone in front of you. It takes longer and it can go wrong, but it fits properly and it looks like part of the piece rather than a component bolted onto it. Most people start with cups and move on.
Making bezels for jewelry making in silver clay
Silver clay changes the job considerably, because you are not cutting and soldering a strip of metal. You build the wall while the material is still soft, pressing or rolling it around the stone position, and it hardens into shape as it dries.
The one thing you must plan for is shrinkage. The clay contracts by roughly 8-10% during firing as the binder burns away and the remaining metal sinters into 99.9% fine silver. A bezel built to fit the stone exactly will be too tight afterwards, so the opening needs to start slightly generous.
That shrinkage is also what makes the technique forgiving. Because the metal closes in on the stone as it fires, a well-judged bezel tightens itself. There is a fuller account of the process in the complete guide to silver clay.
Choosing a stone the bezel can hold
Not every stone survives being set this way in clay. The stone has to tolerate the firing temperature without cracking or losing colour, which rules out most organic materials and a good many natural gems. Cubic zirconia is the usual starting point because it is reliable under heat and cheap enough to practise with.
In practice that means cubic zirconia and lab-created corundum or spinel for anything fired in place, with everything else set cold once the silver is finished — the guide to setting gemstones in silver clay works through both routes stone by stone. A domed, unfaceted cabochon is the easiest shape for a bezel to hold, which is why most first settings use one.
Where beginners usually go wrong
Three mistakes account for most failures. Building the wall too tall, so it wrinkles when pushed over. Building it too thin, so it tears rather than folds. And seating the stone unevenly, so one side grips and the other lifts.
All three are easier to avoid on a small, simple piece than an ambitious one. A plain round pendant with a single stone teaches the whole technique in an afternoon, and if it fails you have lost very little.
If you want a project that walks through shaping and finishing first, how to make a silver clay ring covers the fundamentals without a stone involved.
Bezels turn up right across the range, from pendants to rings to drop earrings, and the fitting you pair them with changes how the stone finally sits. Our guide to the types of earrings works as a glossary of those styles and the fittings that go with them, and the findings guide covers the posts, bails and jump rings that attach a finished setting to something wearable.
To try it, the silver clay starter kit includes the clay, a torch, the tools, a cubic zirconia and printed instructions, so you can set a stone on the first attempt without sourcing parts separately. We ship worldwide and cover any duties.
