

Silver clay paste is the quiet hero of metal clay work. It is the same material as the clay in your hand, only thinned with water until it flows like thick cream — and once you know what it does, you will reach for it in almost every project. It repairs cracks, joins pieces together, builds up texture and turns found objects into silver. Best of all, you can make it yourself from offcuts you would otherwise throw away.
What silver clay paste actually is
Ordinary silver clay is fine silver particles held together by a water-based organic binder. Add more water and the mixture loosens into a paste — sometimes called slip. Nothing else changes. When you fire it, the binder burns away and the silver particles sinter together, exactly as they do in the solid clay. Paste fires to the same 99.9% fine silver, and it shrinks by the same 8-10%.
That last point matters. Because paste and clay behave identically in the kiln or under the torch, you can mix the two freely in one piece without worrying about them pulling apart as they shrink.
Making your own silver clay paste
You do not need to buy paste separately. Every scrap counts, so keep a small airtight jar on your bench and drop every offcut, every trimming and every dried crumb into it. When you have a reasonable amount:
- Cover the scraps with a little distilled water — less than you think you need.
- Leave the jar closed overnight so the clay softens right through.
- Stir with a small palette knife until smooth, adding water drop by drop.
- Aim for the consistency of thick double cream for joining, thinner for painting.
Lumps usually mean the scraps have not had long enough to soften. Give it another few hours rather than adding more water — paste that is too thin is much harder to correct than paste that is too thick.
Five things silver clay paste is brilliant at
Fixing cracks. Dry clay cracks along edges and around bends. Work a little paste into the crack with a fine brush, let it dry, then sand back flush. Do this before firing and the repair becomes invisible.
Joining pieces. Adding a bail to a pendant, or a decorative element to a ring band? Score both surfaces lightly, apply paste to each, press together and hold. Once fired, the join is as strong as the rest of the piece because it is the same metal.
Filling gaps around stones. When you set a cubic zirconia and the clay pulls back slightly as it dries, a touch of paste closes the gap and holds the stone securely.
Building texture. Dab paste on with a stiff brush or a sponge for a bark-like, organic surface that would be difficult to carve.
Smoothing a rough surface. A thin coat of paste, brushed on and sanded once dry, will take a slightly bumpy piece to a clean finish faster than sanding alone.
Working with paste: a few practical notes
Paste dries quickly, so work in thin layers and let each one dry fully before adding the next. Thick applications trap moisture, and trapped moisture causes bubbles and cracks during firing. Two or three thin coats always beat one heavy one.
Keep a jar of water and a soft brush within reach. Wipe the brush clean between applications — dried paste in the bristles will drag across your work and spoil a smooth surface. And close the jar every time. Paste left open turns to a dry cake within an hour or two, though it can be revived with water and patience.
If you are using paste for repairs on a piece that has already dried, dampen the dry clay very slightly first. Bone-dry clay pulls water out of the paste so fast that the repair shrinks away from the crack instead of filling it.
After firing
Fired paste looks identical to fired clay: the same white, matte surface that brushes up to a bright silver shine. Any join or repair simply disappears. If you can still see a seam after brushing, it usually means the paste was applied too thinly and needs a second pass before the next firing.
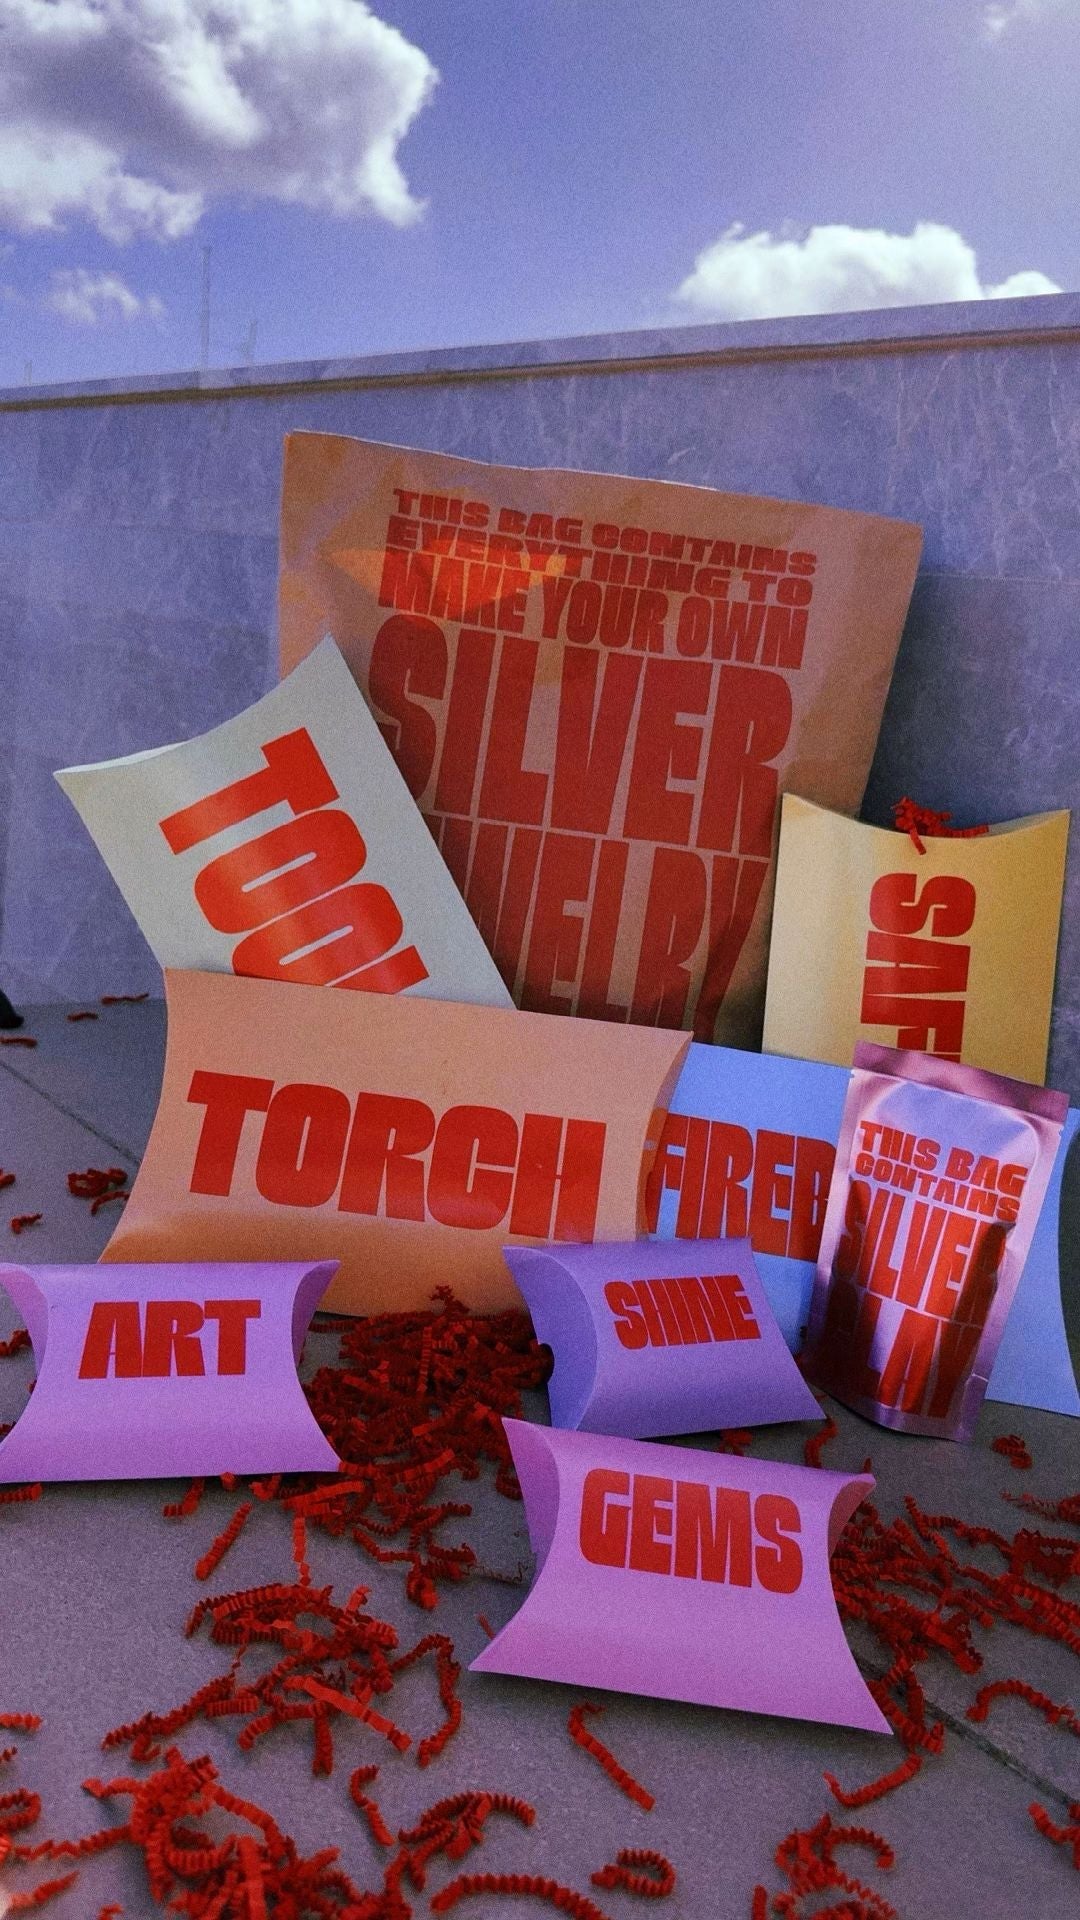
If you are new to all of this, the silver clay starter kit gives you clay, a torch, tools, a cubic zirconia and instructions in one box — everything needed to make paste from your own offcuts as you go.
Working out how the clay behaves first? Our step-by-step walkthrough of using silver clay covers the basics, and the complete silver clay guide pulls the whole process together.
Start saving your scraps today. In a few projects' time you will have a jar of paste that cost you nothing and solves problems you did not know you would have.
