

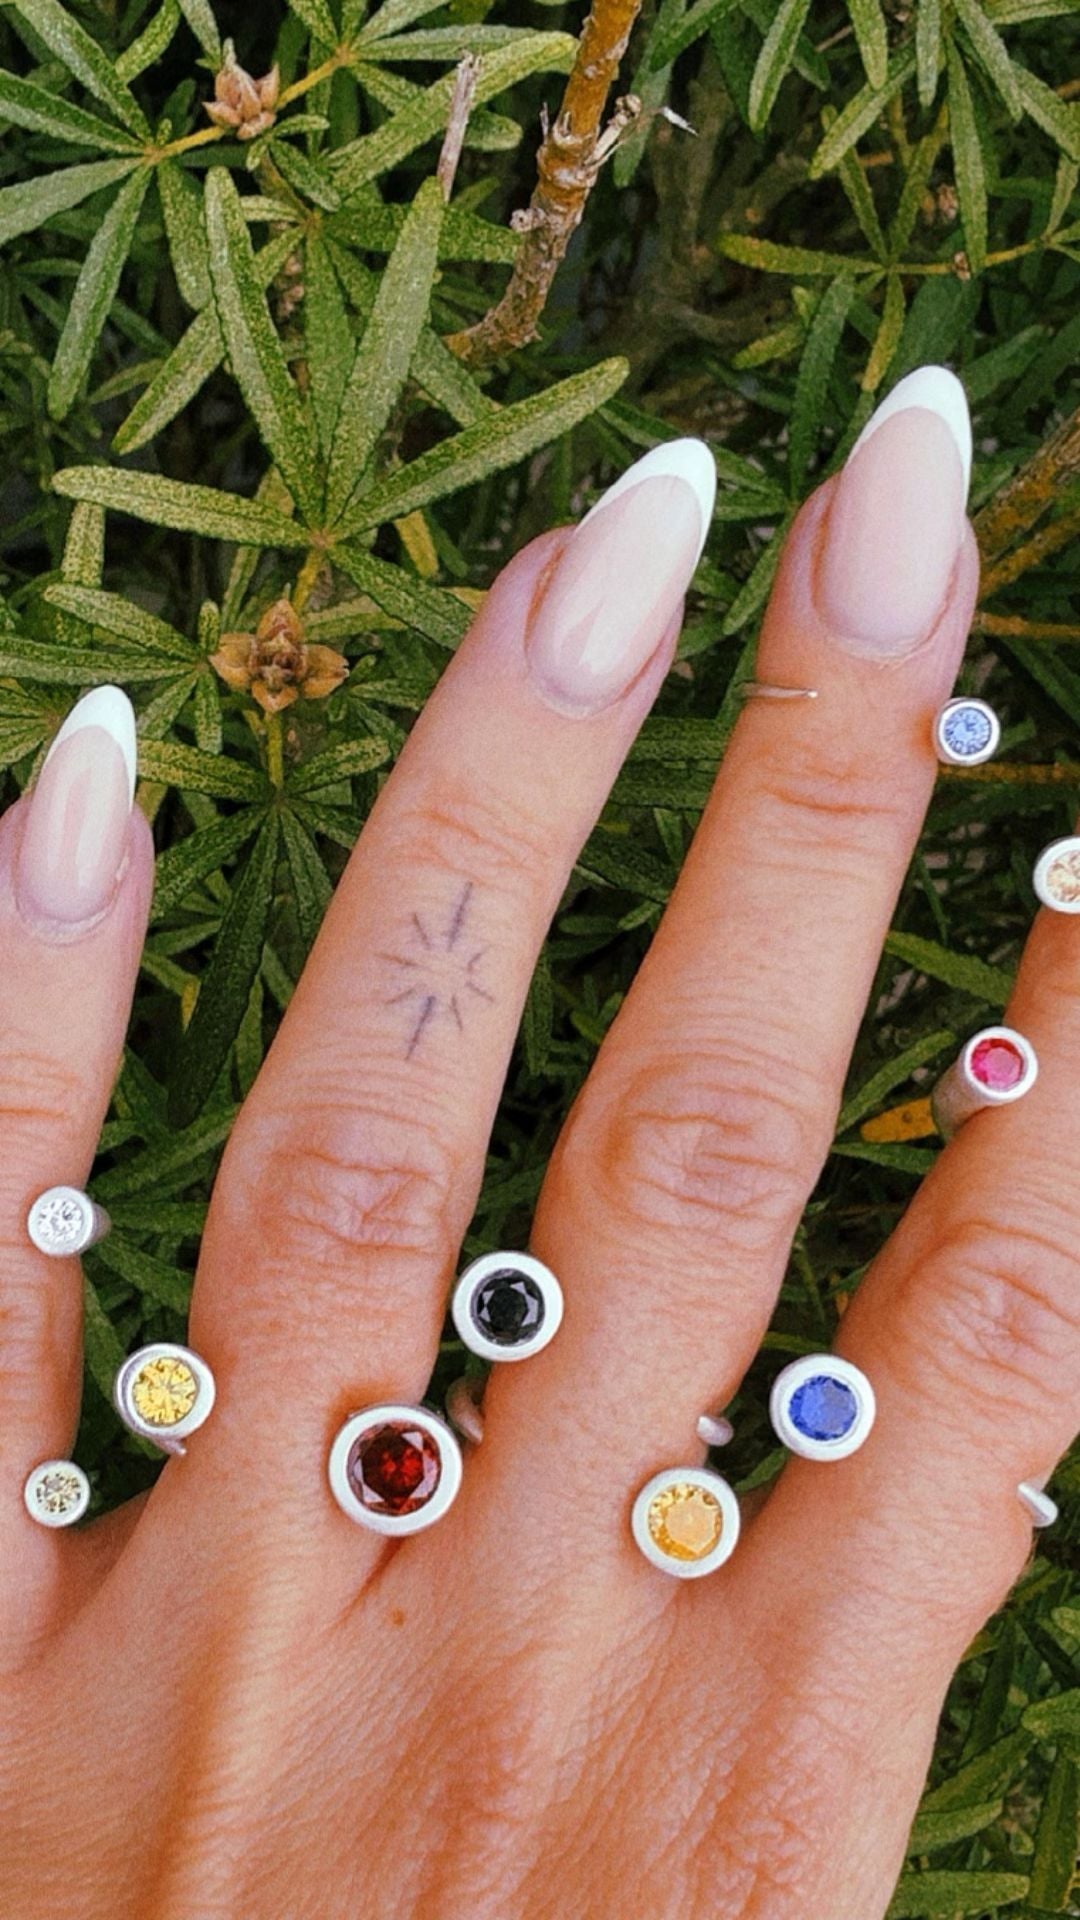
DIY breastmilk jewelry sounds like one project, but it is really two. There is the stone, made from preserved milk, and there is the silver that holds it. Most guides cover the first half and go quiet on the second, which is a shame, because the setting is what decides whether the finished piece looks properly made or slightly improvised. This guide covers the silver side.
How DIY breastmilk jewelry actually works
Milk is organic, so it cannot survive heat. It is turned into a solid stone using a preservation kit: a powder-and-resin process carried out separately, at room temperature, before any metalwork happens. Once cured, that stone behaves like any other cabochon. It is a small, hard, domed shape that needs something to sit in.
That is where silver clay comes in. Silver clay shapes like modelling clay in your hands, and when it is fired the binder burns away and leaves 99.9% fine silver behind. Small pieces can be fired with a handheld torch, so no kiln is required.
The stone and the silver are never fired together
This is the rule that catches people out. The milk stone goes nowhere near the flame. You make the setting first, fire it, finish it, and only then fit the stone. Resin will not survive firing, and there is no way around that.
Cubic zirconia is the exception in metal clay, which is why lab-grown stones can be pressed into the clay before firing. A milk stone cannot, so plan for a setting you are able to close or glue once the silver is finished.
Size the bezel for shrinkage
Silver clay shrinks by roughly 8-10% as it fires. A bezel that hugs your stone perfectly in soft clay will be too tight afterwards. Measure the stone, then build the opening deliberately oversized by about a tenth. It is far easier to pad a slightly loose setting than to rescue one that has closed up.
Dry-fit before you fire. Once the piece is bone dry but still unfired, you can widen the opening with a file or an emery board in seconds. After firing, the same correction is a much slower job.
Making the setting
The most reliable beginner design is a backplate with a collar. Roll the clay to an even thickness, cut a base slightly larger than your stone, then form a thin strip into a ring that stands a little taller than the stone is deep. Join the two with silver clay paste, add a bail or a hole for a chain, and let everything dry completely before you refine the edges.
If you have not worked with the material before, read how to use silver clay first. The handling is the same for every project, and a setting is not the piece to learn it on.
Firing, finishing and fitting
Straight out of the flame the silver is white and matt. A brass brush and a burnisher bring up the shine, and a polishing cloth finishes the job. Do all of this before the stone goes anywhere near the piece, because polishing compounds and resin do not mix well.
Then seat the stone. Fine silver is soft, so a thin collar can usually be eased over the edge of the stone with a burnisher, a little at a time, working opposite sides in turn rather than going round in one direction.
Practise before you use the real stone
Make one setting with a cheap glass cabochon of the same size first. You only have one milk stone, and a practice run tells you what your own shrinkage and fit actually look like rather than what the numbers suggest.
The silver clay starter kit includes the clay, torch, tools, cubic zirconia and instructions, which is enough for several practice settings before the piece that matters. We ship worldwide with duties covered.
