

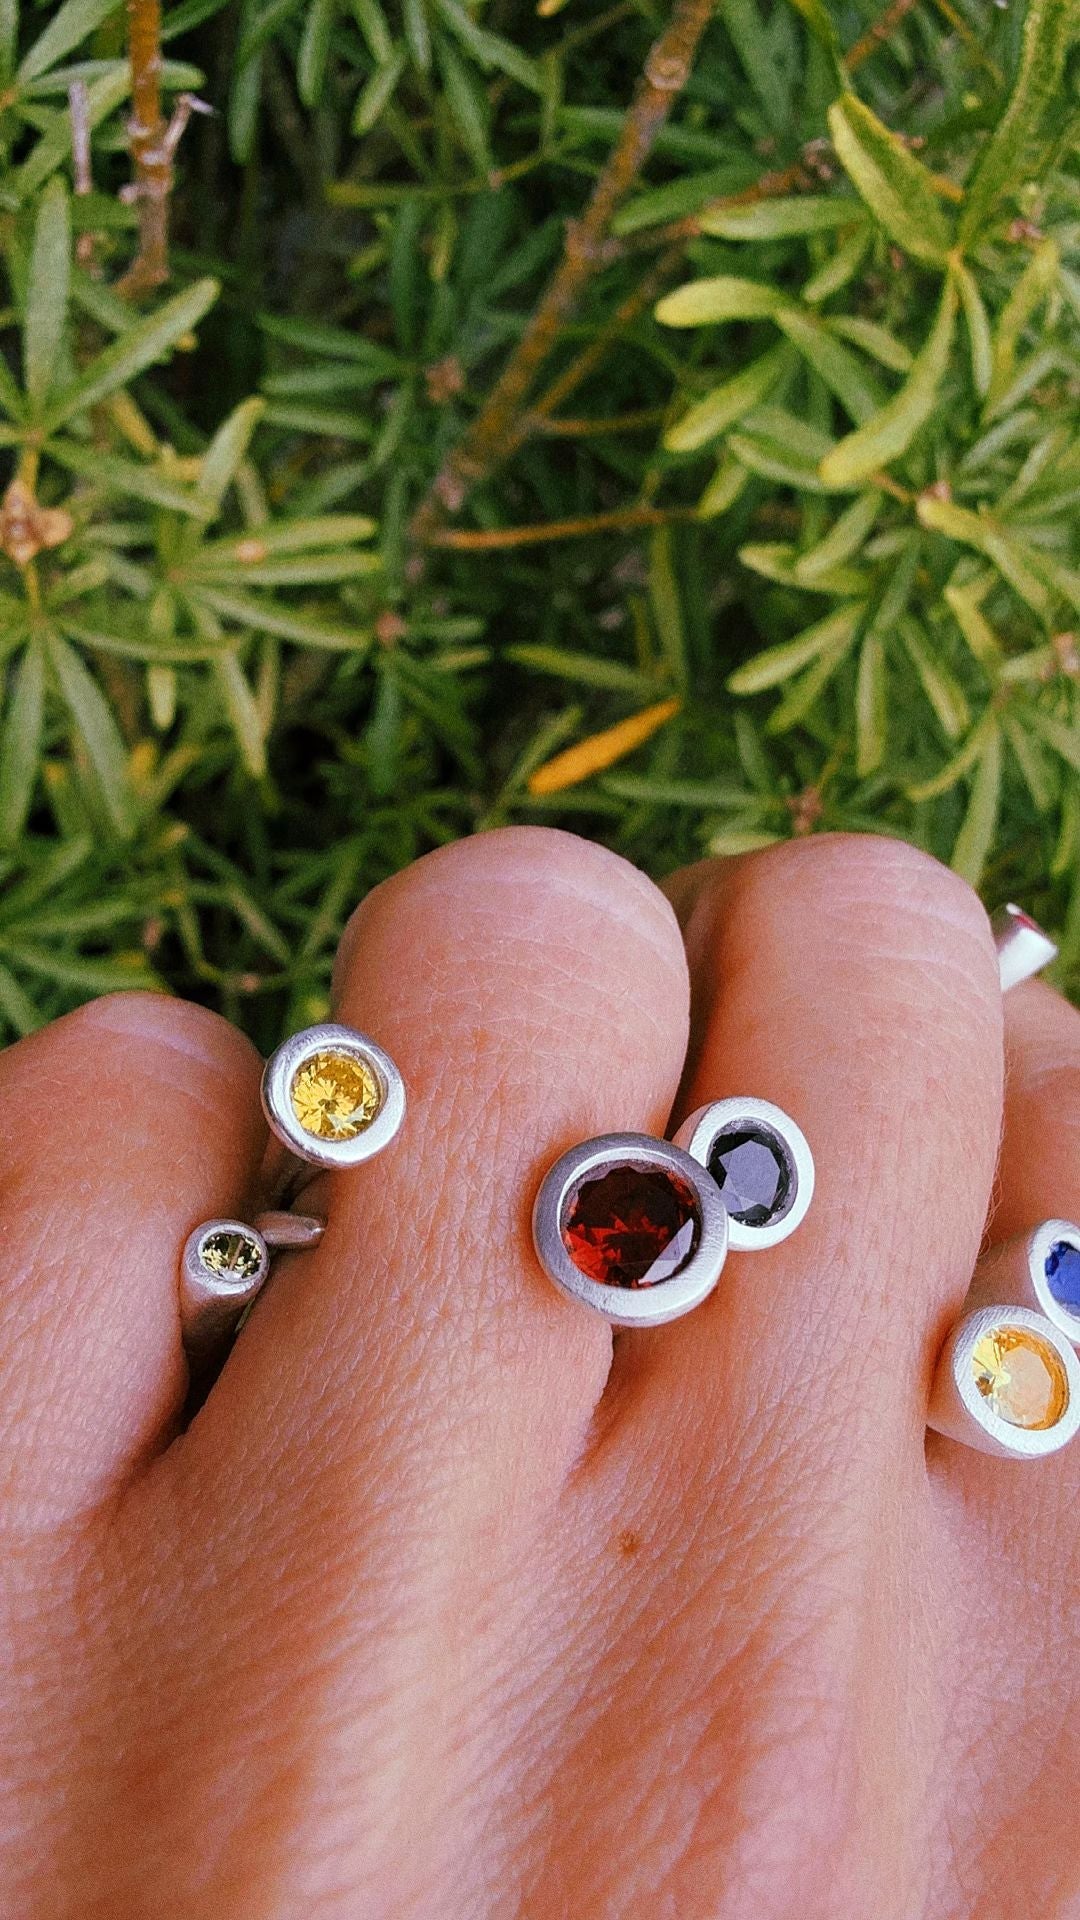
If you want to make your own engagement ring, the first thing worth establishing is what you are actually trying to achieve. There is a version of this project that works beautifully at a kitchen table, and a version that really does belong with a goldsmith. Knowing which one you are attempting saves a great deal of disappointment later.
What you can realistically make your own engagement ring from
Silver clay is shaped by hand like modelling clay and fires into 99.9% fine silver. That means a ring you make is real silver, not plated and not an imitation. It also means it is fine silver rather than sterling, and fine silver is the softer of the two. A band you wear every day for decades will pick up marks and will gradually lose a crisp edge.
That is not a reason to abandon the idea. It is a reason to be clear about which of these you are making:
- A proposal ring. Something handmade to propose with, before choosing a permanent ring together afterwards. This is by far the most common reason people take it on, and silver clay suits it perfectly.
- A design model. A full-size ring you can hold, wear for a week and size accurately, before commissioning the same design in gold or platinum. Far more useful than a drawing.
- A promise or commitment ring. Worn regularly, but not expected to be untouched in forty years' time.
If what you want is a diamond solitaire intended to survive a lifetime of daily wear, have it made professionally. That is an honest answer rather than a modest one.
Setting a stone
The cubic zirconia stones included in the starter kit are fire-safe, which is what makes stone setting straightforward here. You press the stone into the soft clay so the surface of the clay sits slightly over the girdle of the stone, then fire the whole thing together. The silver shrinks around the stone as it fires and grips it. There is no soldering, no separate setting and no claws to tighten.
Do not substitute a stone you cannot verify as fire-safe. Many gemstones will not survive torch heat, and some fracture without warning. If you want a specific natural stone in the final ring, that is an argument for making the model at home and having the real one set professionally.
Getting the size right
This is where most home-made rings go wrong. Silver clay shrinks by roughly 8–10% during firing, so a band built at the finished size will come out too small. You build it oversized and let the firing bring it down.
Two pieces of advice. Measure the finger properly rather than guessing, and measure it at a normal temperature — fingers change size noticeably in heat and cold. And if the ring is a surprise, borrow an existing ring already worn on that hand rather than trying to estimate.
Design choices that hold up
Simple works. A plain rounded band with a single stone reads as deliberate; a busy band made by an inexperienced hand rarely does. Keep the band a reasonable thickness rather than delicate, because a thin fine silver band will distort. Round every edge properly before firing, since a comfortable ring gets worn and an uncomfortable one does not.
Texture is the one place to be adventurous. Hammered, brushed and matte finishes all suit fine silver and disguise small irregularities far better than a mirror polish does.
Before you start
Make at least one practice ring first. Not a prototype of the design — a practice run of the process, so that the ring that matters is not the first one your hands have ever made.
The silver clay starter kit includes the clay, torch, tools, cubic zirconia stones and instructions, and we ship worldwide with duties covered. For the technique itself, work through the step-by-step silver clay ring tutorial first, and keep the complete silver clay guide to hand for the firing and finishing stages.
