

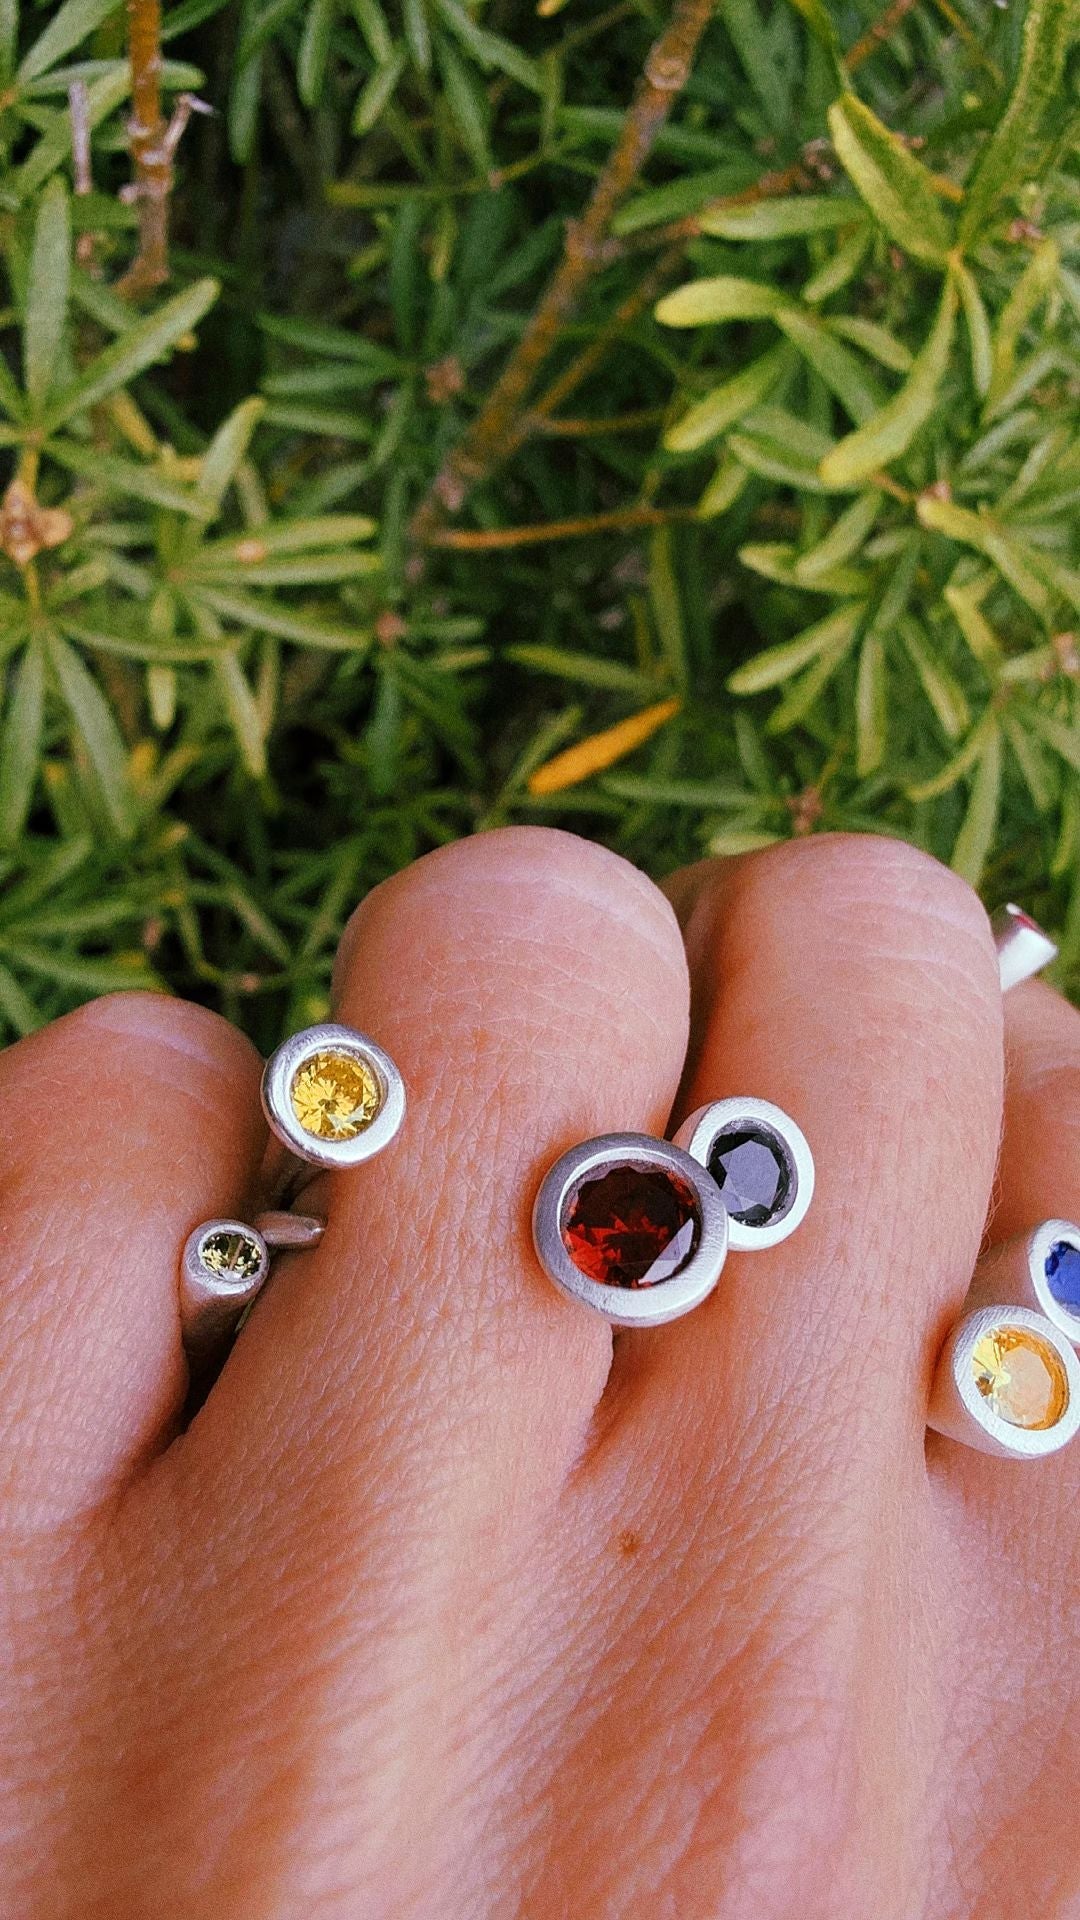
Most Halloween jewelry is bought in late October and forgotten by November. Plastic spiders, orange beads, a pumpkin charm on a cord. It does the job for one evening, and then it sits in a drawer. There is a better version of this, and it takes about an afternoon: make a few small silver pieces yourself, and wear them every autumn instead of once.
What makes Halloween jewelry worth keeping
The trick is to pick shapes that read as Halloween without shouting about it. A crescent moon, a small bat, a star, a ghost outline, a tiny key, a black stone set in silver. Worn in October they are unmistakably seasonal. Worn in March they simply look like jewellery. Anything in bright orange plastic does not survive that test.
Scale matters too. Small pieces are easier to make, easier to wear, and far more likely to end up in regular rotation. A 2 cm pendant or a pair of matching studs will get more use than a large statement piece that only works with one outfit.
Five pieces that work
A crescent moon pendant. The simplest shape on this list and the most wearable afterwards. Roll the clay flat, cut the crescent, make a hole for the bail before it dries, and you are most of the way there.
Ghost charms. A rounded top with a wavy bottom edge, two small dots pressed in for eyes. They look good on a bracelet or hanging from a bag.
A bat silhouette. Slightly more work because of the wing edges, but a bat in plain silver is genuinely elegant once it is polished.
Dark stone studs. Set a small black or deep red cubic zirconia into a plain silver disc. These are the pieces you will still be wearing in spring.
A spider web texture. Rather than making a spider, press a web pattern into the surface of a plain round pendant. It catches the light and stays subtle.
How to make Halloween jewelry in silver
Silver clay is well suited to this kind of project. It behaves like a soft modelling clay while you work it, which means you can cut shapes with a craft knife or a small cutter, press textures into the surface, and correct mistakes by adding a little water. Once the shape is dry, you fire it with a small torch. The binder burns away and what remains is 99.9% fine silver.
Two things to plan for. The piece shrinks by roughly 8 to 10% during firing, so cut your shapes slightly larger than the finished size you want. And any hole for a jump ring or a bail has to be made while the clay is still soft or leather-hard, because drilling fired silver is a different job entirely.
The silver clay starter kit has everything needed for a first session: the clay, a torch, the tools, cubic zirconia stones that can be set before firing, and printed instructions. If you have made pieces before and just need more material, the silver clay refills cover that. For the step-by-step process, see how to use silver clay, and for the background on what the material actually is, the complete guide to silver clay.
Starting in time
Silver clay needs to dry fully before firing, and that is the part people underestimate. A thin pendant can be ready in a few hours; something thicker is better left overnight. If you want the pieces finished for the end of October, give yourself two evenings rather than one, and make a spare of anything you plan to wear as a pair.
Make three or four small pieces in a single session and you will have a set that carries through the whole of autumn. That is a considerably better outcome than a plastic spider.
We ship worldwide with duties covered, so orders arrive with nothing left to pay on delivery.
