

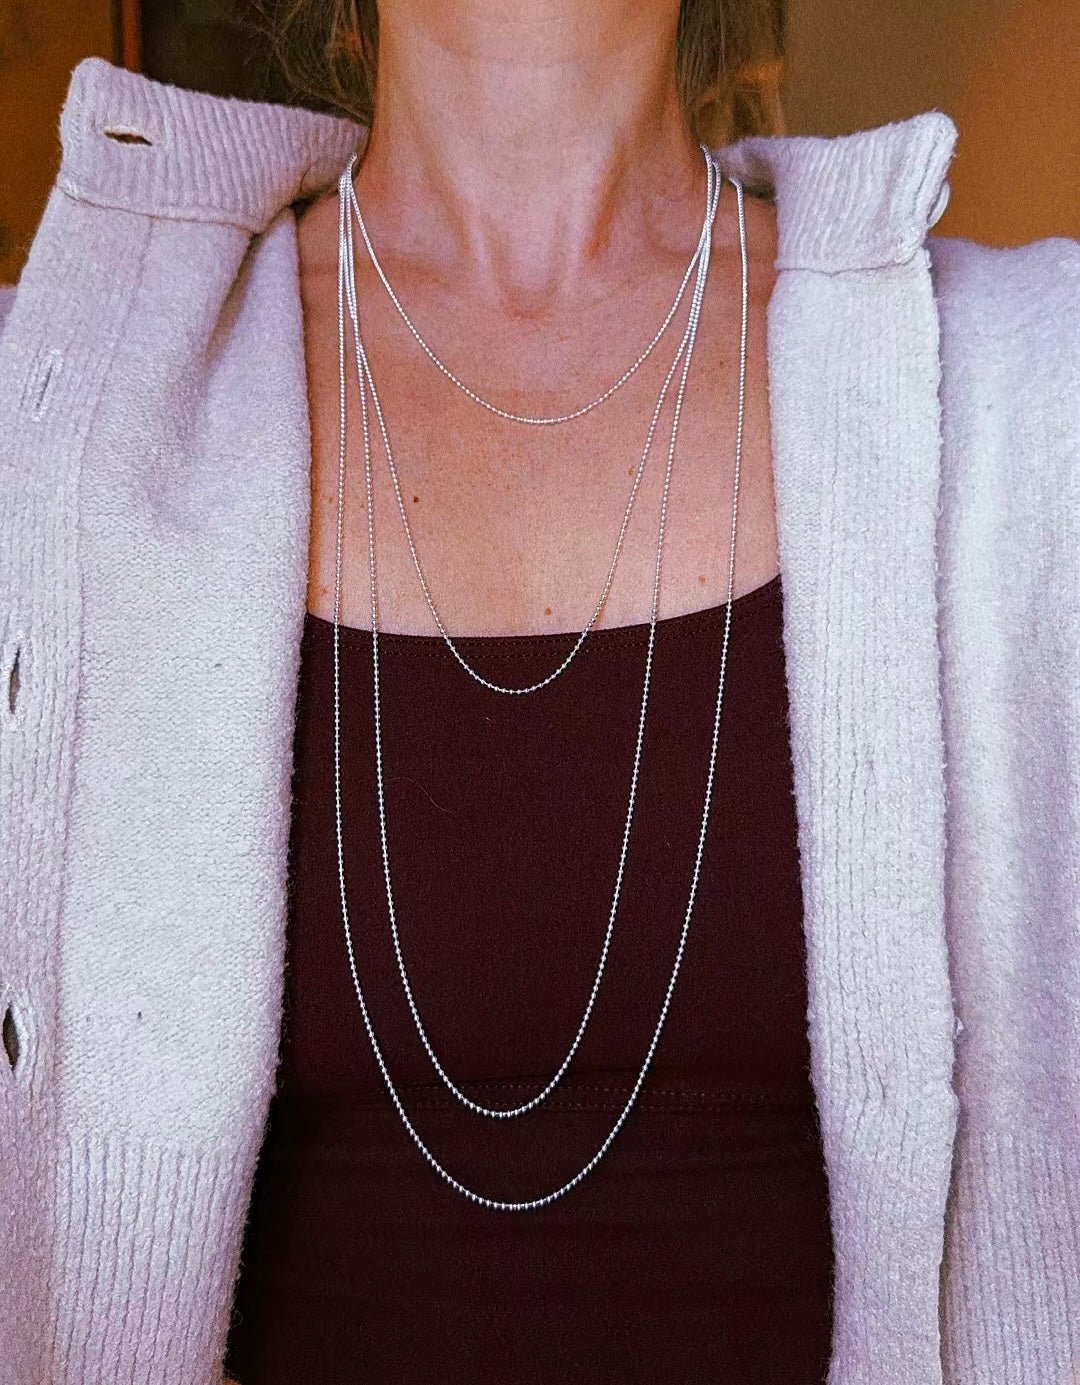
A lariat necklace is the one piece in a jewellery box that never quite behaves like the others. There is no clasp at the back. The chain is left open at both ends, so it can be knotted, looped through a ring, or simply left to drape down the front. That single difference changes how it sits, how you wear it, and how easily you can make one yourself.
What makes a necklace a lariat?
Three things. It has no clasp. It is longer than a standard chain, usually somewhere between 75 and 100 cm, so there is enough length to work with. And it is finished at one or both ends with something that gives it a purpose: a small pendant, a bead, a loop, or a bar that slips through a ring.
You will sometimes see a lariat called a Y-necklace, though the two are not quite the same. A Y-necklace has a fixed fastening at the back and drops into a Y shape at the front, and that shape is permanent. A true lariat has no fastening at all, so the shape comes from how you tie it that morning. If you are still working out which length suits you, our necklace length chart is a sensible starting point, and the guide to chain types covers which chains drape well and which hold their shape.
Three ways to wear a lariat necklace
The simple drop. Loop the chain once around the neck and let both ends hang at the front. This is the longest and most relaxed of the three, and it works well over a jumper or an open shirt where there is room for the ends to move.
The knot. Tie a loose overhand knot roughly at collarbone height and let the tails fall below it. The knot shortens the piece and creates a small point of interest exactly where a pendant would normally sit. It also stops the two ends swinging apart during the day.
The lasso. If one end finishes in a ring or a loop, thread the other end through it and pull gently. This gives you an adjustable necklace from a single piece: pull it tight for something close to a choker, or leave it loose for a long drop. It is the most practical version if you wear a lot of different necklines.
Making your own lariat pendant
Because a lariat has no clasp, the ends carry all of the design. That makes it an unusually forgiving project for a first attempt at handmade jewellery, since there is no fastening to fit and nothing that has to line up precisely.
How the ends attach matters as much as what they are. Jump rings are the usual join, and a drop that hangs from a formed loop rather than a soldered one needs a bail sized to the chain — both are small decisions that decide whether the ends swing freely or snag.
Silver clay is a good match here. It is a soft, mouldable clay that you shape by hand, dry, and then fire with a small torch. The binder burns away and what is left is 99.9% fine silver. The piece shrinks by roughly 8 to 10% as it fires, so make your shapes a touch larger than the finished size you have in mind. Two small matching drops, or one drop and one plain bar, are enough to turn a length of chain into a lariat.
Everything you need to try this is in the silver clay starter kit: clay, a torch, the tools, cubic zirconia stones that can be set before firing, and printed instructions. If you already have the kit and want more material, the silver clay refills are the same clay on its own. For the full process from packet to polished piece, the how to use silver clay guide walks through each step.
A few practical notes
Keep the two ends roughly equal in weight. A lariat hangs from the back of the neck rather than from a clasp, so a heavy end on one side will pull the whole necklace round through the day.
Choose a chain that moves. Fine cable, ball and snake chains all drape and knot well. Stiffer flat chains look good in the simple drop but fight you when you try to knot them.
And leave more length than feels necessary. A lariat that is slightly too long can always be knotted shorter. One that is too short has no second option.
A lariat is one style among many, and the names for the rest are worth knowing before you plan a set — our guide to the types of earrings doubles as a glossary of jewellery styles and fittings, and pairing a lariat with earrings in the same silver is an easy way to make two pieces look like one idea.
We ship worldwide with duties covered, so the kit arrives with nothing left to pay on delivery.
