

Most homemade Christmas gift ideas fall into one of two categories. There are the edible ones, which are lovely and gone by Boxing Day. And there are the crafted ones, which are given with real affection and then quietly live in a drawer. Neither is a failure exactly, but if you are going to spend an evening making something, it is worth asking whether the person will still have it next Christmas.
That question is what pushes a lot of people towards making jewellery. A ring or a pendant is small, it is personal, and it does not need to be stored, watered or eaten. The catch used to be that making silver jewellery meant a workshop, a torch you were slightly afraid of, and a year of practice. Silver clay changed that part.
What silver clay actually is
Silver clay is fine silver particles held together in a soft, workable binder. You shape it with your hands, a rolling pin and a few simple tools, exactly as you would model with any other clay. You let it dry. Then you fire it, and the binder burns away and the silver particles fuse together.
What you are left with is 99.9% fine silver. Not silver-coloured, not plated, not a lookalike. The piece shrinks by roughly 8 to 10% during firing, which is worth remembering when you are sizing a ring, but otherwise it behaves like any other piece of solid silver: you can polish it, wear it in the shower, and hand it on.
If you want the longer version before you commit an evening to it, the complete guide to silver clay covers the whole process from packet to polished piece.
Homemade Christmas gift ideas that end up being worn
A few things work particularly well as Christmas presents, mostly because they are quick enough to make several of:
- A simple band ring. Plain, textured, or stamped with a date. It is the project most people start with and it is still the one most often worn.
- A small pendant. A disc, a heart, a leaf pressed into the clay from your own garden. Hang it on a chain you already own.
- Stud or drop earrings. Small pieces use very little clay, so a single packet goes a long way.
- A charm with initials. Letters stamped into soft clay before drying, then fired. Good for adding to an existing bracelet.
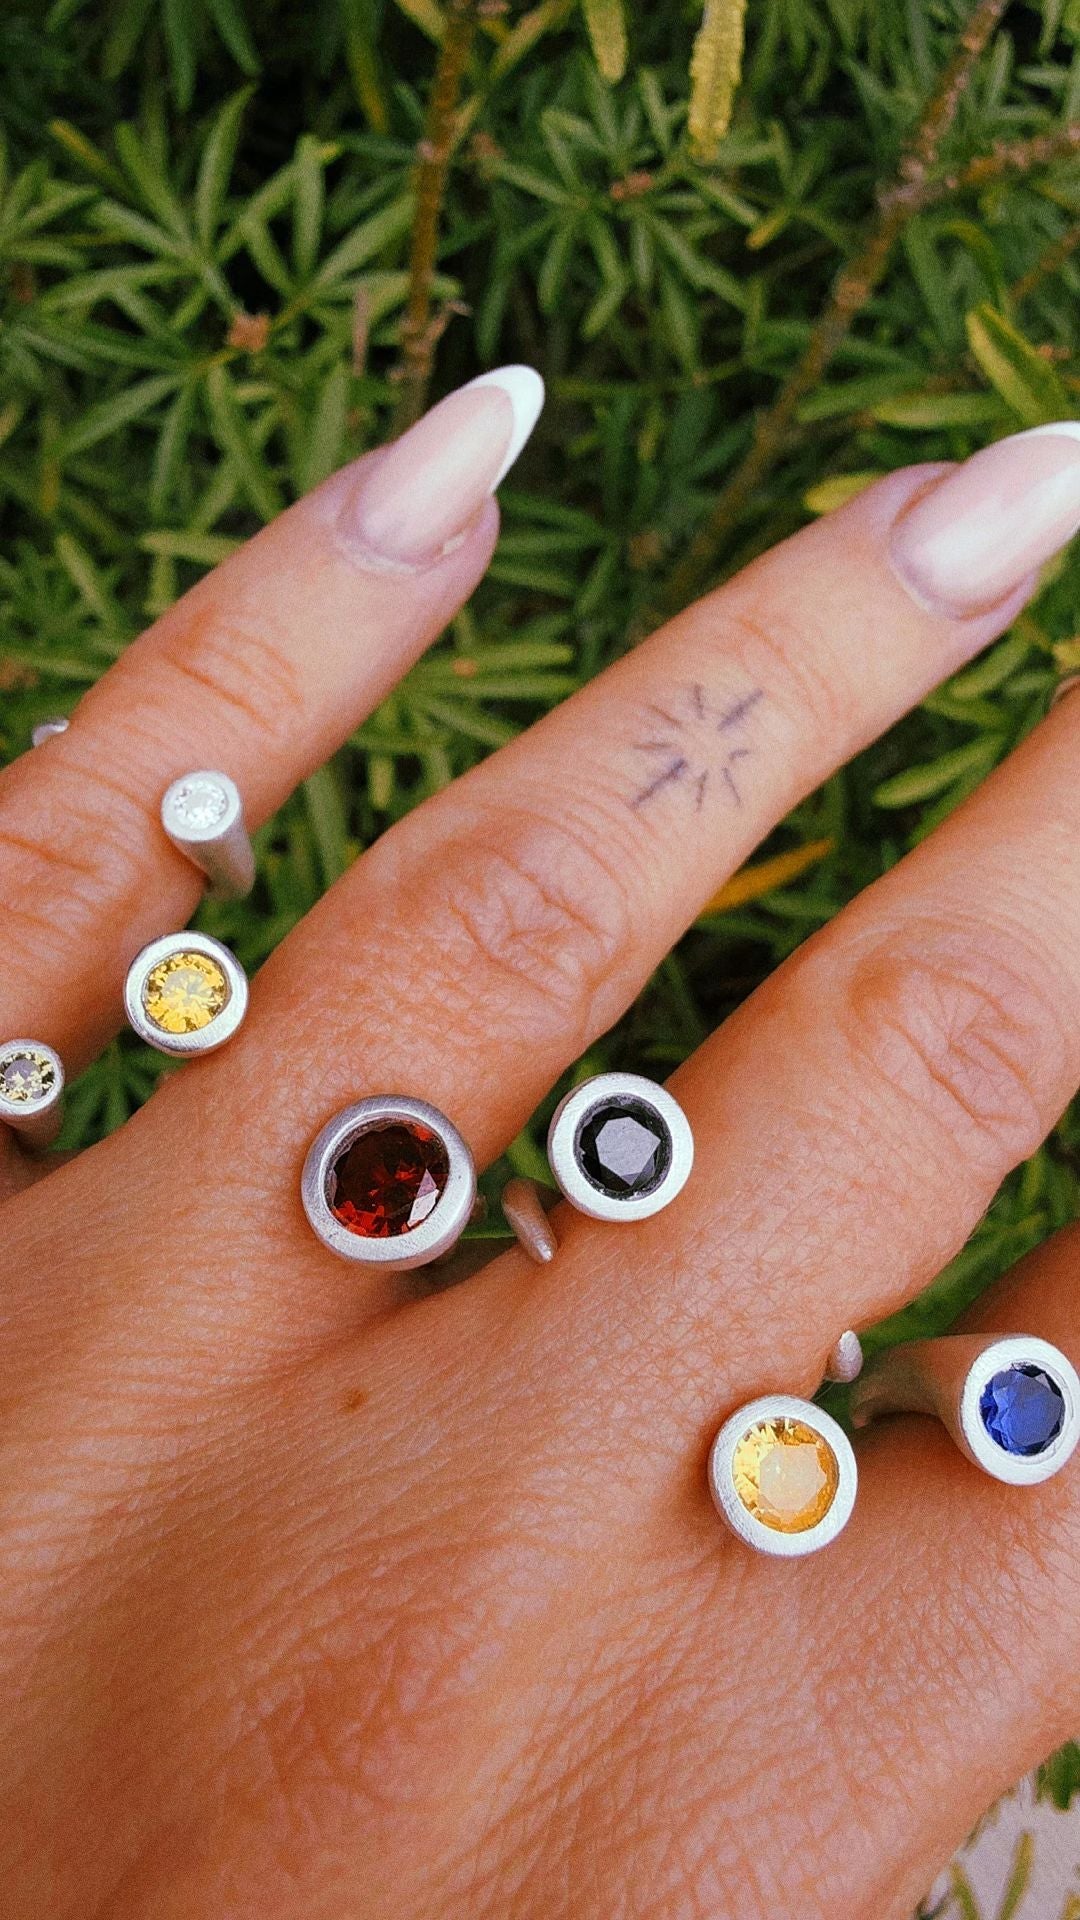
- A stone-set ring. Cubic zirconia can be set into the wet clay and fired in place, which is far easier than it sounds.
The useful thing about this list is that all five come out of the same materials. You are not buying a different kit for every person on your list.
How long it takes
Less time than most people expect, and more waiting than most people expect. The shaping itself is often twenty minutes. The drying is the slow part, because the clay has to be completely dry before it goes anywhere near heat. Firing is quick — silver clay is torch-firable, so a handheld torch does the job on a heatproof surface — and then there is sanding, brushing and polishing to bring up the shine.
Realistically, set aside an evening for your first piece and a couple of hours for each one after that. Our step-by-step walkthrough of using silver clay goes through each stage in order, which is worth reading before you start rather than halfway through.
Start with a ring
If you have never touched metal clay, do not begin with the most sentimental piece on your list. Make a ring for yourself first, get the feel of how the clay dries and how much it shrinks, and then make the ones that matter. The ring tutorial is the gentlest starting point.
Getting started in time
The silver clay starter kit contains the clay, a torch, the tools, cubic zirconia stones and written instructions, so there is nothing else to source at the last minute. If you already have tools and simply want more material, you can buy silver clay on its own.
We ship worldwide and cover the duties, so the price you see is the price you pay. The only real advice is to order with a few weeks in hand: December is not the month to discover you need a second packet.
