

A jewelry making kit is supposed to solve one problem: knowing where to start. Buying tools one at a time means researching every purchase before you have made anything, and half of what you buy turns out to be wrong for the work you end up doing. A good kit removes that stage. The difficulty is that the word covers everything from a serious set of tools to a box of plastic beads, and the listings look much the same.
What a good jewelry making kit contains
Whatever the craft, a kit worth buying holds four things: the material itself, the tools needed to work it, whatever finishes or fastens the piece, and instructions written for somebody who has never done this before. Miss any one of those and the kit is incomplete in a way you only discover halfway through a first attempt.
The fourth item is the one most often skimped on. A folded leaflet of exploded diagrams is not instructions. You want the order of operations, the mistakes people usually make, and some sense of what a step looks like when it has gone right.
Questions worth asking before you buy
What do I own at the end? Some kits produce a keepsake. Others produce practice. Both are fine, but they are not the same purchase, and the photographs rarely make the difference clear.
Can I carry on afterwards? The tools should outlast the materials. If a kit is genuinely single-use, you are buying a project, not a craft. Check whether refills of the consumable part are sold separately — if they are not, that tells you something.
Does it need equipment I do not have? This is where beginners get caught. A kit can be complete in itself and still assume a kiln, a bench pin, or a well-ventilated workshop. Read for what is not in the box.
Is the metal real? Plated findings and base-metal blanks are common in inexpensive kits. There is nothing wrong with either for practice, but a piece you intend to wear for years, or give to somebody, is a different requirement.
The main kinds of kit
Beading and stringing kits are the cheapest way in. Beads, cord, clasps, a pair of pliers. Almost nothing can go irreversibly wrong, and a first bracelet takes an evening.
Wire-working kits add pliers, cutters and a spool of wire. The results depend heavily on hand control, so the first few pieces are usually practice.
Resin kits produce colourful, durable pieces but involve mixing, curing times and ventilation, and mistakes cannot be undone.
Metal clay kits sit slightly apart. They produce solid precious metal without the sawing, soldering and bench equipment that silversmithing normally requires, which is why they suit a kitchen table rather than a workshop.
How a silver clay kit works
Silver clay is a soft, modellable clay carrying fine silver particles held in a binder. You shape it by hand, let it dry, then fire it with a small torch. The binder burns away and the piece that remains is 99.9% fine silver — solid metal, not plating over something cheaper. It shrinks by roughly 8–10% during firing, so pieces are built slightly oversized to finish at the intended size.
The practical appeal is the equipment list. Because it is torch-fired, there is no kiln, no soldering setup and no bench required to make a finished piece.
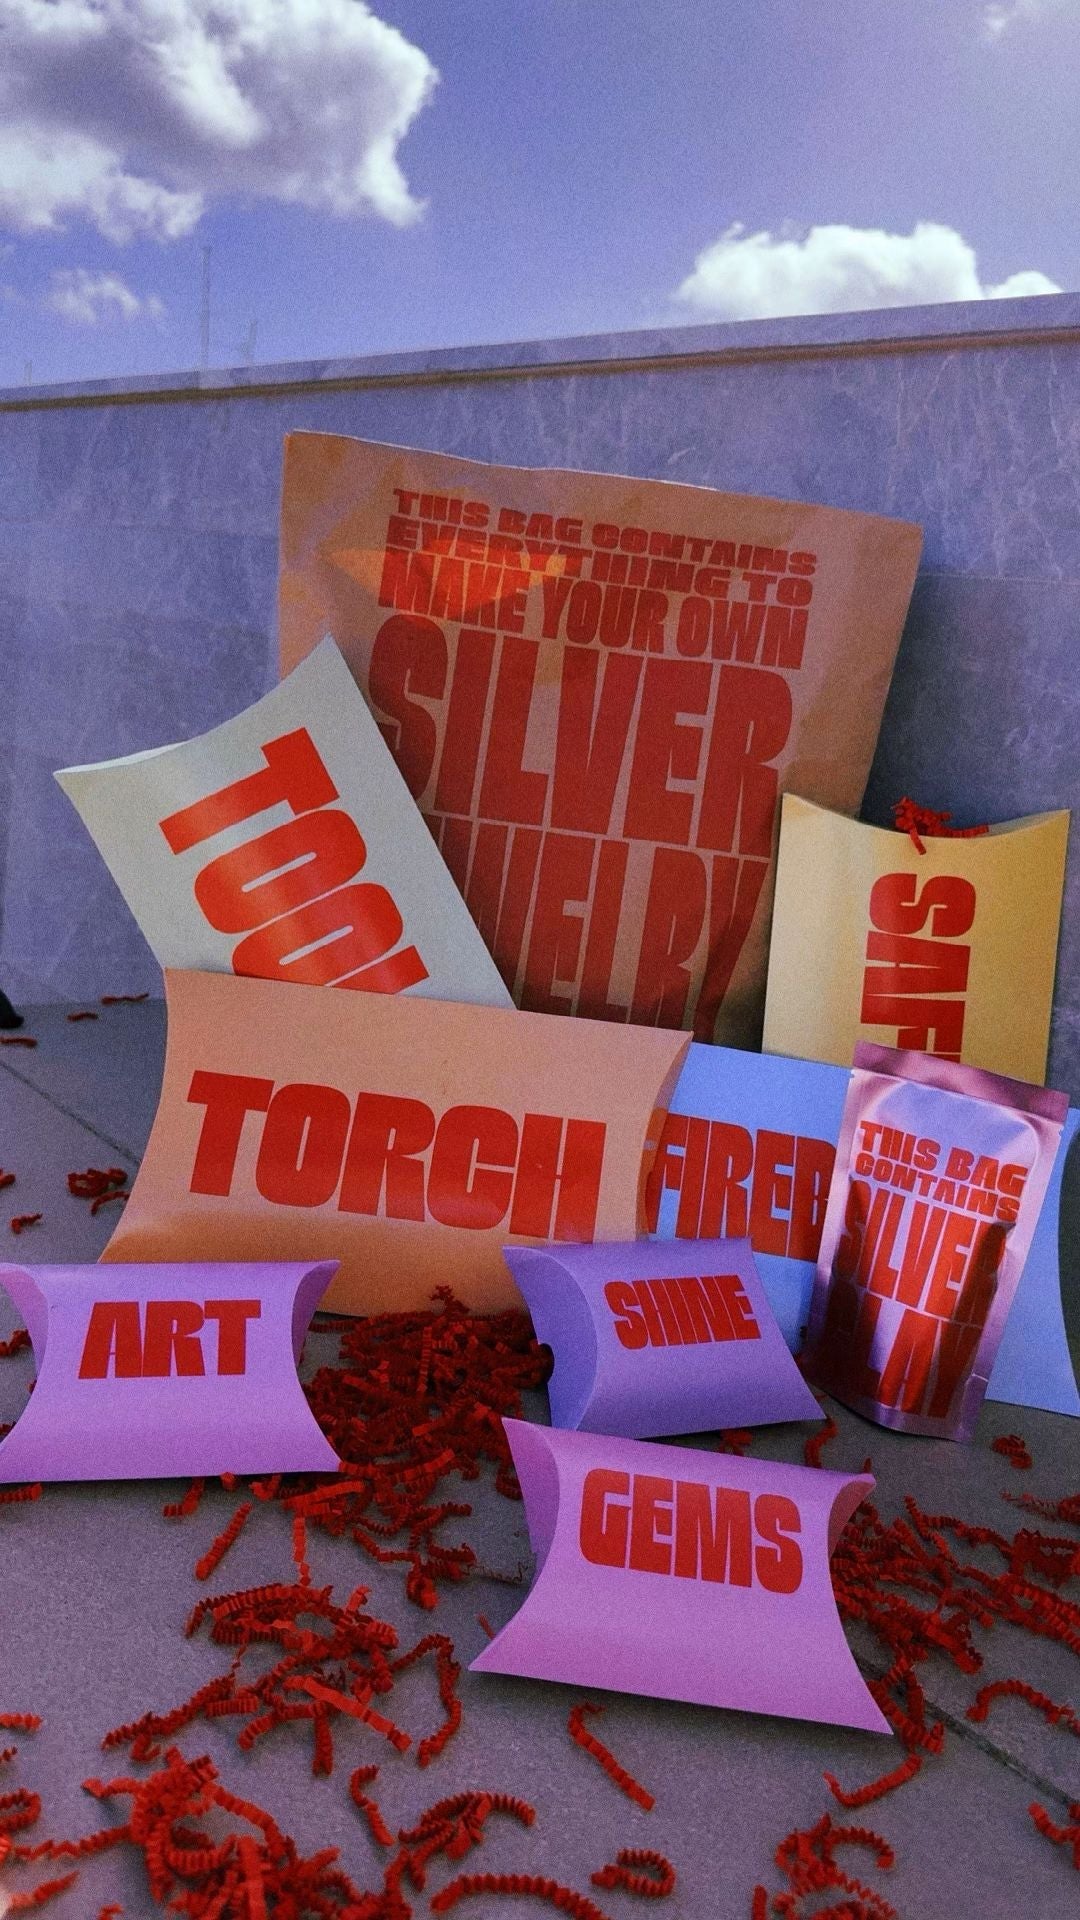
Measured against the four questions above, our silver clay starter kit contains the clay, a torch, the tools, cubic zirconia stones to set, and written instructions. The tools are reusable and the clay itself is sold separately once the kit is used up, so the kit is a beginning rather than a one-off. Orders ship worldwide with duties covered.
Before you open the box
Read the instructions all the way through first, then clear a surface and lay out everything the kit contains. Most first-attempt problems are timing problems — a step rushed, or a drying stage cut short — rather than skill problems.
Expect the first piece to be a rehearsal. It teaches you how the material behaves in your hands, which no instruction sheet can. If you want the full process before deciding, our complete guide to silver clay covers it from packet to polished piece.
