

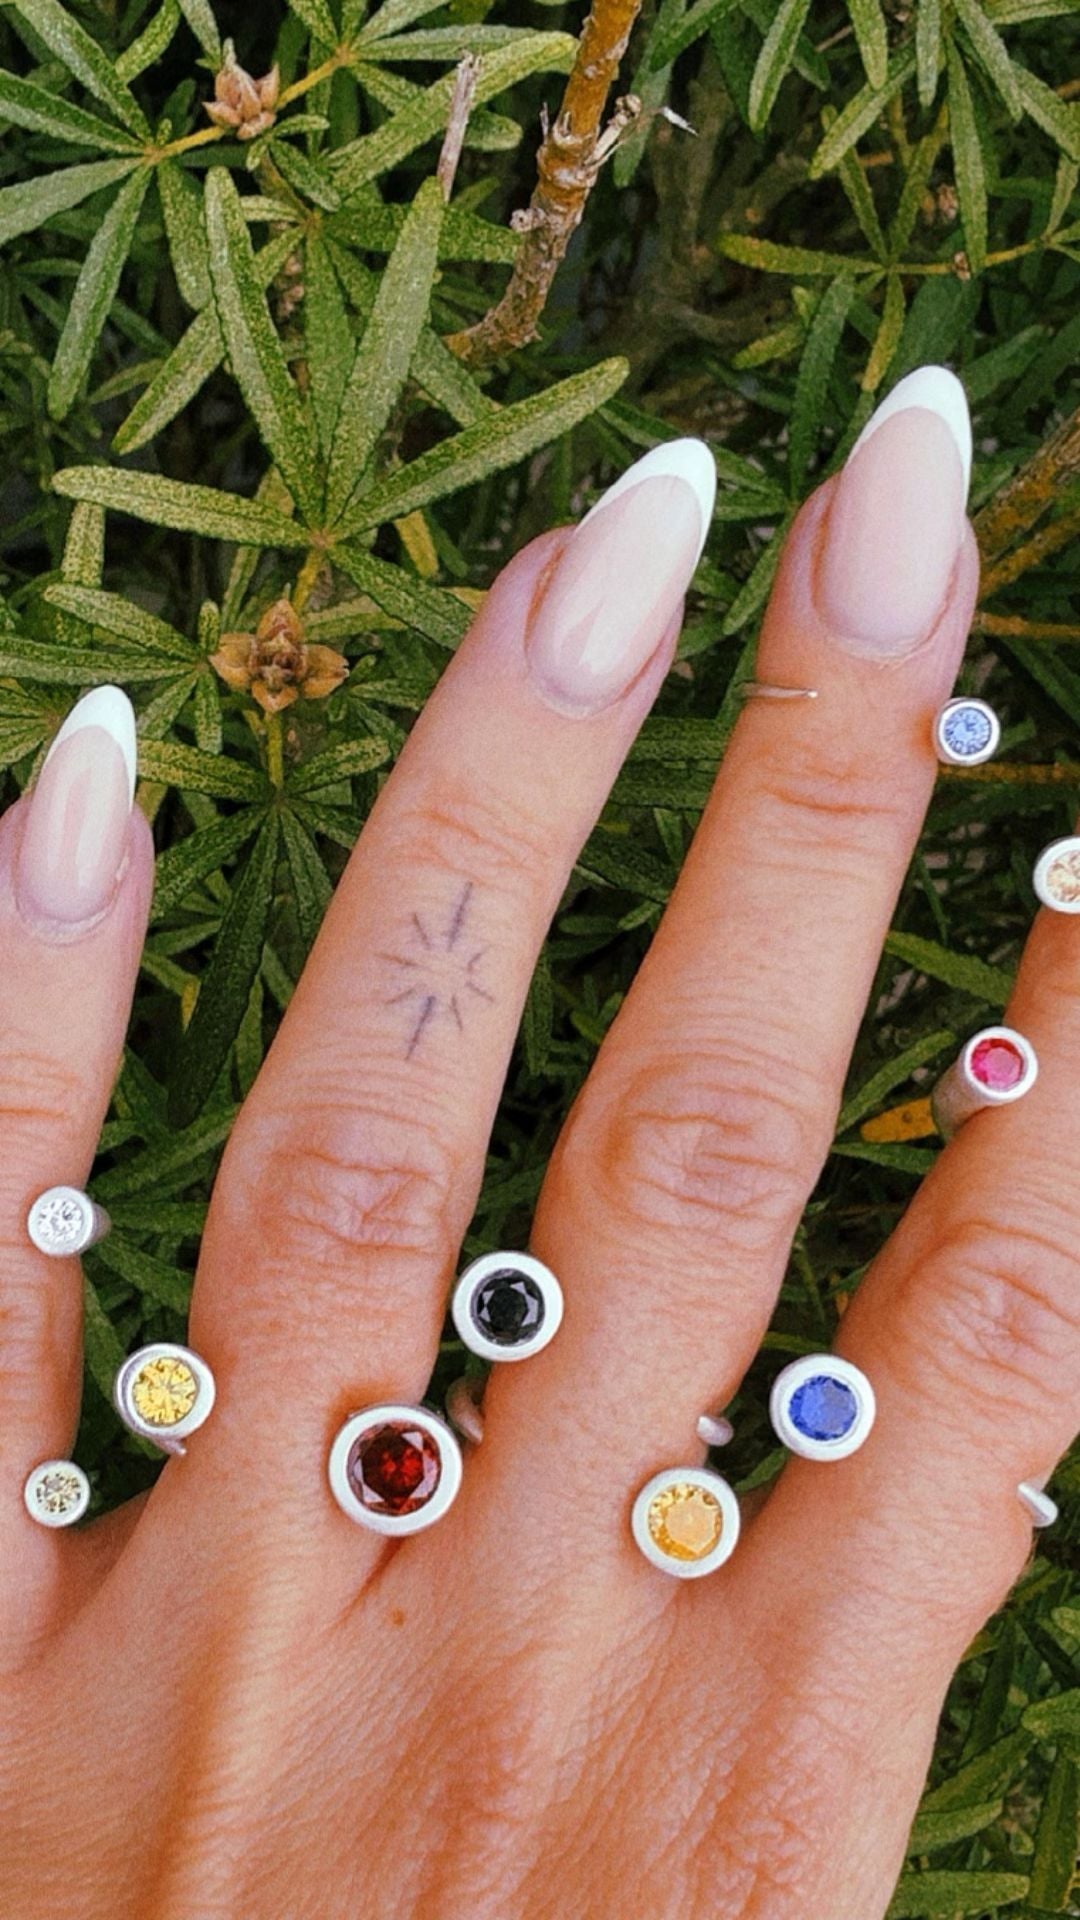
Handmade silver jewelry has a quality that mass-produced pieces never quite manage. The edges are slightly softer, the texture is not perfectly even, and the piece carries the mark of whoever made it. Most people buy it for that reason. Fewer people realise that making it yourself is well within reach, even with no metalworking background at all.
What makes handmade silver jewelry different
Factory silver is cast from a mould in batches of thousands, then tumbled and plated to a uniform finish. Handmade pieces are built one at a time, so small variations survive: a thumbprint in the band, a texture taken from a leaf, a stone set slightly off-centre because that is where it looked right.
Those variations are the point. A ring that is identical to ten thousand others is a product. A ring with a visible maker's decision in it is a piece of jewellery someone will still be wearing in twenty years.
Making handmade silver jewelry at home
The traditional route into silversmithing is long. You learn to saw, file, anneal and solder before you produce anything you would actually wear, and each of those skills needs equipment and practice.
Silver clay short-circuits that. It is fine silver powder held in an organic binder, so it behaves like modelling clay while you work. You shape it, let it dry, then fire it with a handheld torch. The binder burns away, the silver particles fuse, and you are left with 99.9% fine silver. The piece shrinks by roughly 8 to 10% during firing, which sharpens detail as it goes.
That means a first project can realistically be finished in an evening at a kitchen table, rather than after a term of classes.
What to make first
Start small. Small pieces dry faster, fire faster and forgive more.
- A simple band ring. Textured or plain, it teaches you sizing, drying and finishing in one go. Our ring tutorial walks through it.
- Stud earrings. Two tiny discs, a bit of texture, and posts added before firing.
- A stamped pendant. Initials, a date, a short word. This is the piece most people give away first.
- A fingerprint charm. Press a fingerprint into soft clay and it survives firing as fine silver.
None of these need a kiln, a bench or a rolling mill. They need clay, a torch, a few shaping tools and somewhere heatproof to work.
Finishing is where the piece comes alive
Freshly fired silver looks chalky white, and beginners often think something has gone wrong. It has not. That white surface is fine silver with a microscopically rough texture, and it takes polish beautifully.
Work through it in stages: a brass brush with a drop of soapy water to knock back the white, then a polishing cloth, then a burnisher on the edges you want to catch the light. If you want contrast, a patina darkens the recesses and makes stamped detail read clearly. Ten minutes of finishing usually makes more visible difference than an hour of shaping.
Selling what you make
Plenty of people start making handmade silver jewellery for themselves and end up taking commissions. Fingerprint and memorial pieces in particular are difficult to buy well and easy to make meaningfully, and customers value them accordingly. Start by making pieces for people you know, photograph them properly, and let it grow from there rather than building a shop before you have stock.
Getting started
If you want to try it, you need silver clay and a way to fire it. The silver clay starter kit includes the clay, a torch, tools, cubic zirconia stones and printed instructions, so there is nothing else to work out beforehand.
If you already have tools and just want more material, we sell silver clay on its own. We ship worldwide and cover duties, so the price you see is the price you pay.
