

A silver anklet is one of the few pieces of jewellery almost nobody thinks to make themselves, which is a shame, because it is far easier than a bracelet and far more forgiving than a ring. There is no precise finger size to hit and no clasp mechanism to engineer from scratch. What you need is a chain, a fastening and one or two small silver pieces of your own making. That is genuinely the whole project.
Why an anklet is a good early project
Rings punish you for being a millimetre out. Anklets do not. The tolerance on an ankle is generous, the piece hangs rather than fits, and a charm that sits slightly off-centre reads as deliberate rather than wrong. It is also small work: a single charm uses very little clay, so the cost of a first attempt is low and the cost of a second attempt is lower still.
The other advantage is that an anklet is worn loosely and moves constantly, which means solid, simple shapes work better than fine detail. Discs, small hearts, initials, tiny stars, a flat bar with a stamped date. None of these need advanced technique, and all of them look better in real silver than in anything plated.
Making the silver pieces
The charms themselves are the only part you make from scratch. Roll silver clay to an even thickness, cut or shape the form you want, and pierce a hole for the jump ring before the clay dries. Piercing afterwards is possible but tedious, and it is easy to crack a dry piece by pushing too hard.
Two things are worth planning for. First, the piece will shrink by roughly 8-10% during firing, so cut your shape slightly larger than the finished size you have in mind, and make the hole for the jump ring noticeably bigger than you think it needs to be. Second, keep charms for an anklet on the thicker side. A wafer-thin disc will catch on hems and bend; a slightly chunkier one will survive years of wear.
Once dry, the piece is fired with a torch and finishes as 99.9% fine silver. If you have not fired anything before, the step-by-step walkthrough in how to use silver clay covers the whole sequence from rolling to polishing.
Getting the length right
The most common mistake with a silver anklet is making it too tight. Measure around the ankle bone with a strip of paper or a soft tape, then add roughly two to three centimetres. An anklet should slide slightly as you walk, not sit gripped against the skin.
As a rough guide, most adult anklets fall between 23 and 27 centimetres. Adding an extension chain of two or three centimetres at the clasp end is worth doing even if you think you have the measurement right, because ankles swell in warm weather and after a long day, and an anklet that only fits in the morning gets left in the drawer.
Choosing the chain and clasp
Pick a chain that is fine but not fragile. A cable or curb chain in a light gauge drapes well and will not overpower a small charm. Avoid very delicate box chains here: an ankle takes more knocks than a neck does, and a kinked chain is difficult to repair invisibly.
The same choice comes up with a pendant, and necklace chain types compares cable, curb, rolo, box and snake chains in more detail than there is room for here.
For the clasp, a lobster clasp is easier to fasten one-handed at ankle height than a spring ring. Attach charms with jump rings rather than threading them directly onto the chain, so the charm can rotate and sit flat instead of twisting the links.
Finishing and wearing it
Fine silver is softer than sterling but it also tarnishes far more slowly, which suits a piece that spends the summer in contact with sun cream, sand and seawater. Rinse it in fresh water after a beach day, dry it properly, and give it an occasional rub with a polishing cloth.
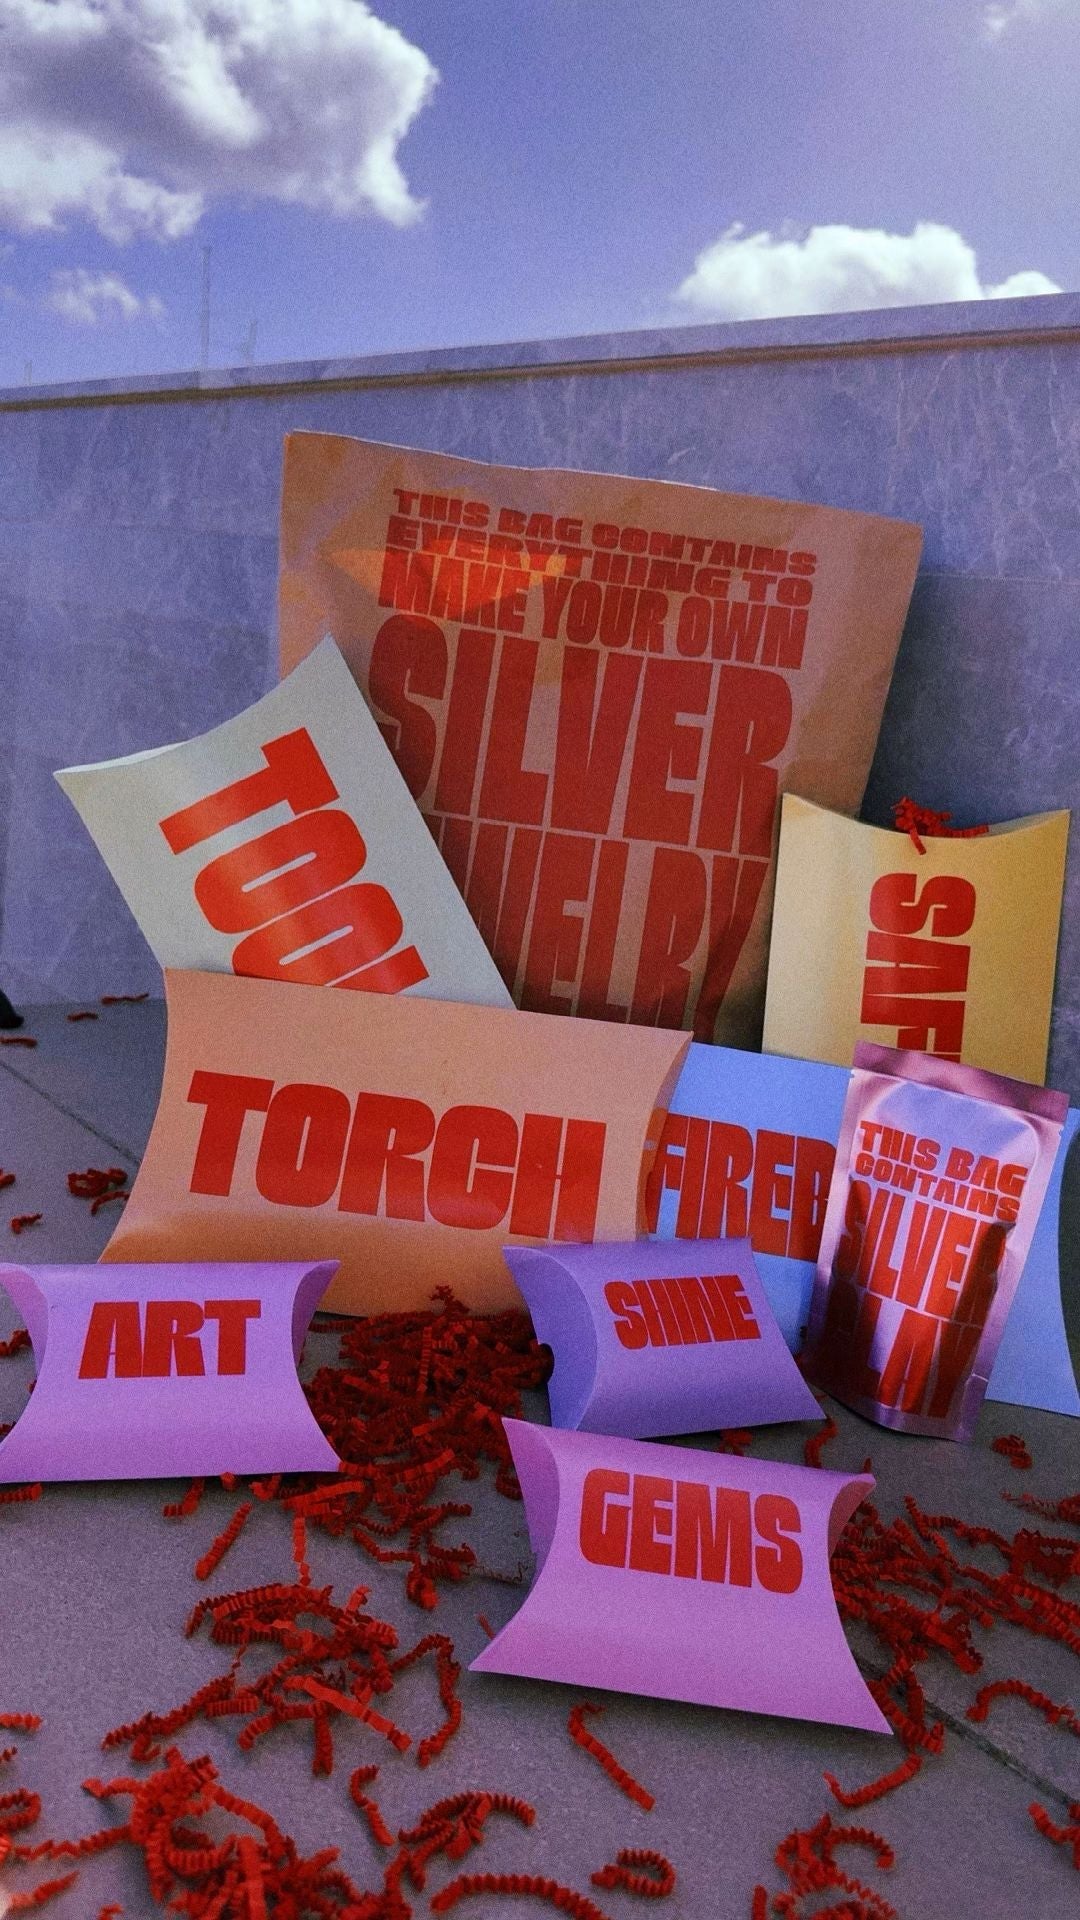
If you want to make a matching set, the same charms scale straight across to a bracelet or a pendant. The silver clay starter kit contains the clay, torch, tools, cubic zirconia and instructions needed to make several small pieces, and we ship worldwide with duties covered.
If that is the plan, our guides to types of earrings and types of bracelets set out the styles those charms can hang from, and silver clay earrings covers the pair most people make first.
